Square-a-Day Crochet Blankets
A crocheted square-a-day blanket is easy, quick and it almost grows when you are not looking.
You make one square each day of the year to reflect what was happening every day. At the end of twelve months you have a crochet record of how the year was for you.

Skills required
Because the effort you have to expend is only one square a day it can easily be done by beginners and experienced crocheters in a few moments each day.
If you are a beginner this project will help you get better at a simple granny square that will stand you in good stead for all of your crocheting life.
if you are an experienced crocheter you can add this little square to you repertoire of other crochet work that you have on the hook.
The square-a-day blanket is a perfect complement to other crochet work in progress (WIP) which you may have. The square-a-day blanket is a big project and will take you all year to finish. This means that you can also do other crochet work in-between.
Small, medium and large
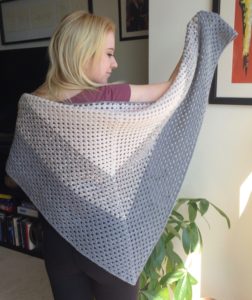
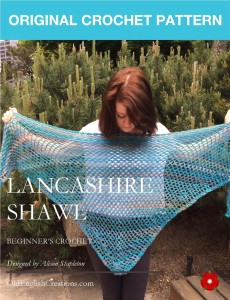
It is always a good idea to have more than one project on the go, a big one (like this blanket), a medium one like a hat or shawl and a small one like a bookmark.
It is advisable to have large and small pieces and this blanket falls into the small pieces section because you can take it with you.
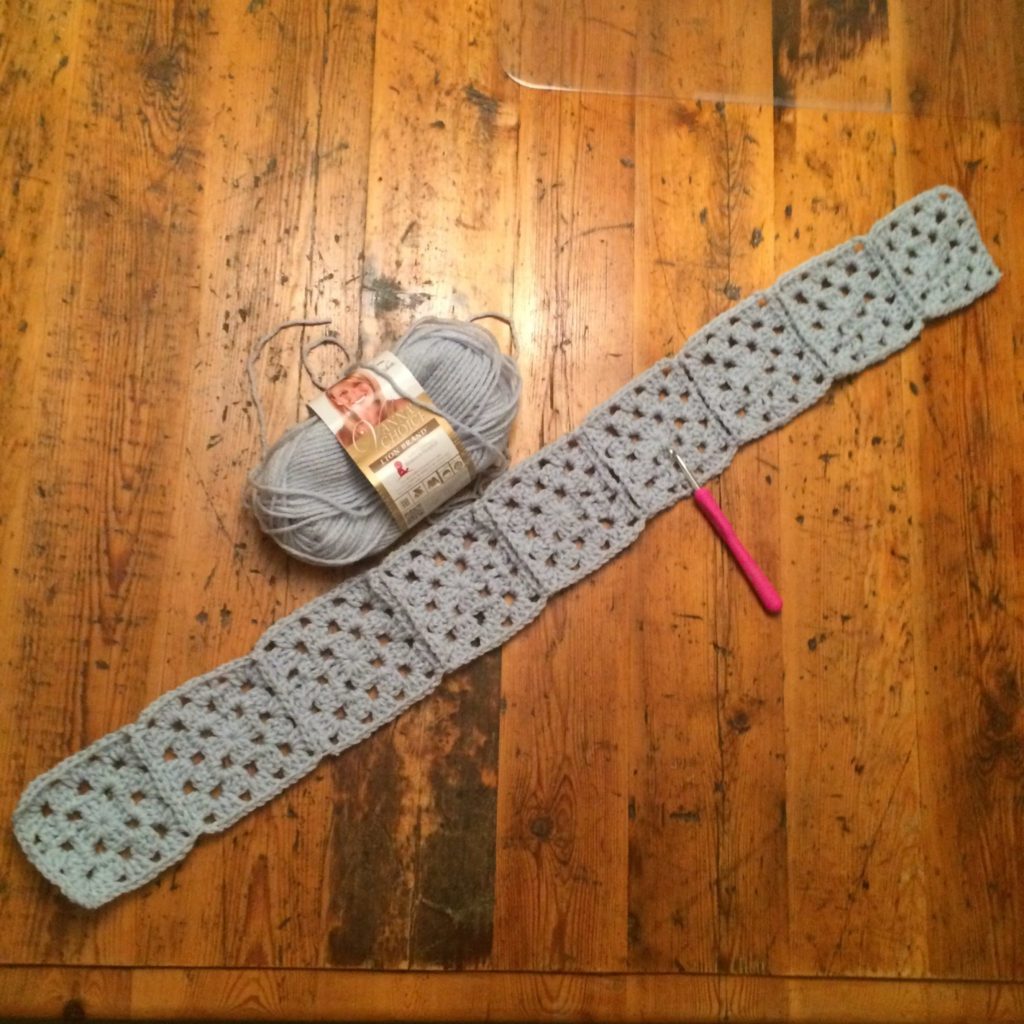
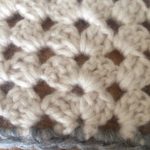
Basic square
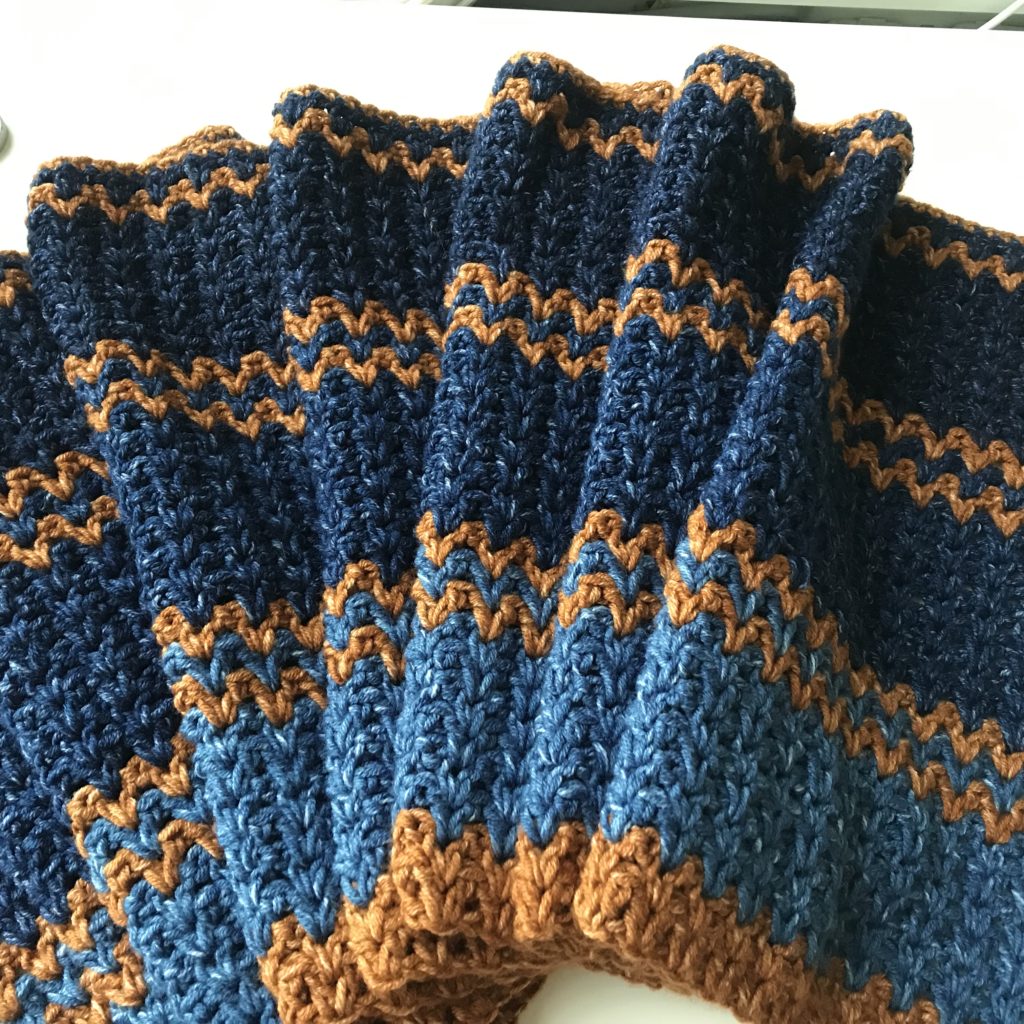
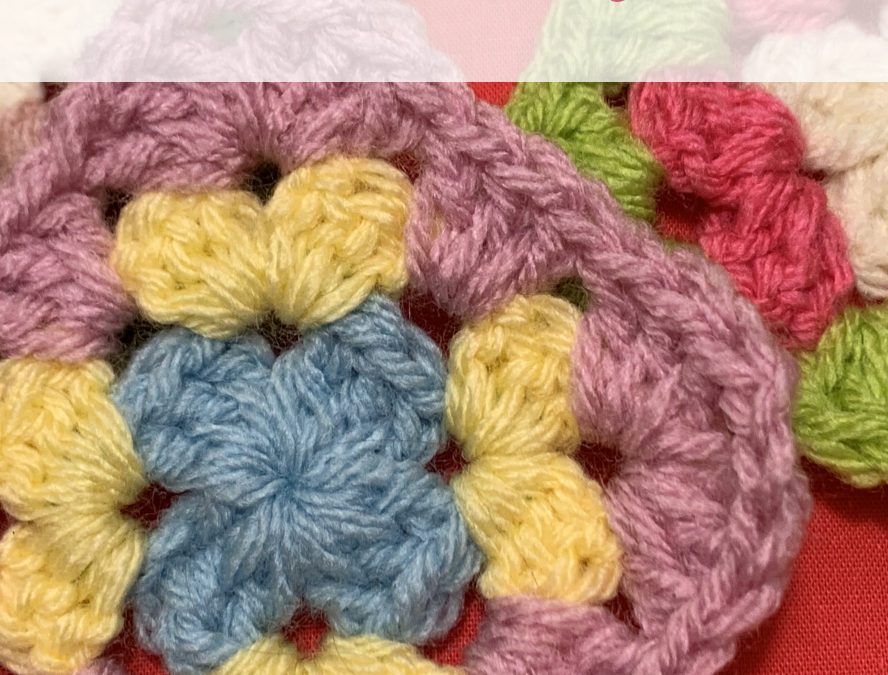
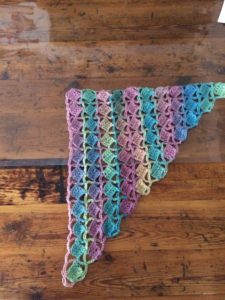
The squares you do are a basic two-row granny square motif. The two rows can be one colour or in some cases (see below) with two different colours in each square.
You can do one, two or three square-a-day blankets and we have three suggestions of blankets that you can make this year.

3 Types of Square-a-Day Blankets
Three types of daily square blankets that you can make and are explained here are:
- A daily rising planet blanket (astrology related)
- A daily high temperature blanket
- A daily mood blanket (your feelings)
Your life – your blanket
Clearly you can think up other ways to do the square-a-day blanket depending on interests in your own life.
If you are a gardener you can do one for planting, seedlings, flowers and fruits in your garden. The first rose bloom or the first apple on your trees. This is a good one as the seasons change and the garden lives a dies off over the year.
If you live in a rainy area you could do a square-a-day rainfall blanket.
Let the blanket reflect your life and the things that are important to you.
1) Daily Rising Planet Crochet Blanket.
For this blanket you will make one square for each day of the year.
The colour for each square is chosen depending on which planet rises before the Sun every day for 365 days.
Your blanket can be either 14 x 27 squares and this will make a long oblong blanket or it can be 18 x 21 squares which will make an almost square blanket.
Either way there is no simple way to make a rectangle that is 365 days so there will always be a few squares over and the left over squares can be where you write, or embroider, the date and year for the blanket.
Sunrise and the Pre-dawn Rising Planet
The pre-dawn rising planet (in fact this is also known as the Oriental Plane)t is the planet that rises on the eastern horizon every morning before the Sun at dawn.
This rising planet will change over the course of a year as the Sun and the planets move through the zodiac.
Choosing the Colours
You will use one colour for each planet. In astrology the Moon is considered a planet as well.
Moon – white
Mercury – taupe
Venus – pink
Mars – red
jupiter – blue
Saturn – grey
Uranus – turquoise
Neptune – mint green
Pluto – maroon
The Make-a-Square-a-Day method
Because we do in fact know which planet will rise before the Sun this blanket can be started and you can push forward with the daily squares if you choose.
But the best way to create this type of daily blanket is by making one-square-per-day which is the main idea.
This is a big project and it can be done alongside other smaller or medium sized projects that you have on the hook.
To make one small granny square and crochet it together will take you less than thirty minutes every morning or evening.
2) Temperature Blankets
There are two ways to do the squares in the temperature blankets. You can simply do the daily high temperatures or the high/low temperatures.
Daily high temperatures
In the high temperature blanket you take the daily high for the day where you live and crochet the square in the pre-determined colours you choose.
So for example in Vancouver the highs are about 26C in summer and 4C in winter.
So each degree on the thermometer can be one colour or you can designate one colour to cover two degrees because there are only so many colours of yarn in one make.
Daily high/low temperature blanket
The other option is the high/low temperature blanket.
In this blanket you do a granny square with two rows where the first row is the low temperature and the second row is the high for the day. This makes a more colourful combination of squares in the blanket.
The only thing is that you need a wider range of colours to cover the low temperatures as well.
Example colours for a temperature blanket
Zero and below white
1C to 2C cream
3C to 4C grey/taupe
5Cto 6C light blue
7C to 8C teal
9C to 10C green
11C to 12C lemon
13C to 14C yellow gold
15C to 16C orange
17C to 18C pink
19C to 20C hot pink
21C to 22C red
23C to 24C magenta
25C to 26C violet
27C to 28C purple
29C and above black
3) Daily Mood Blanket
A mood blanket can be done by crocheting a square in the mood you wake up in each morning.
We all like to think we are upbeat and happy each and every day and that is the goal of most people but reality is different. The only problem with this blanket is that you may be in a sad mood for many days and the blanket will bear witness to this.
Also if you get halfway through the year and your cat dies you will be is a sad mood for weeks and this will show in the blanket.
The mood blanket will reflect life as it really is. If you feel comfortable with making a mood blanket here are some suggested colours that you can use for each mood.
Example colours for a mood blanket
Anger – red
Joy – orange
Happiness – yellow
Envious – green
Sadness – blue
Optimistic – indigo
Inspired – violet
Bored – white
Tired – black
You can choose the colours beforehand and hopefully you will have a happy and cheerful year.