Shawl and Wrap Shapes Wraps are rectangles and shawls are triangles. This is the general consensus. You can get semi-circle wraps as well. But in this post I'm discussing the structure of crocheted triangles. Triangles A triangle has three sides and three...
Triangle Shawl Crochet Design
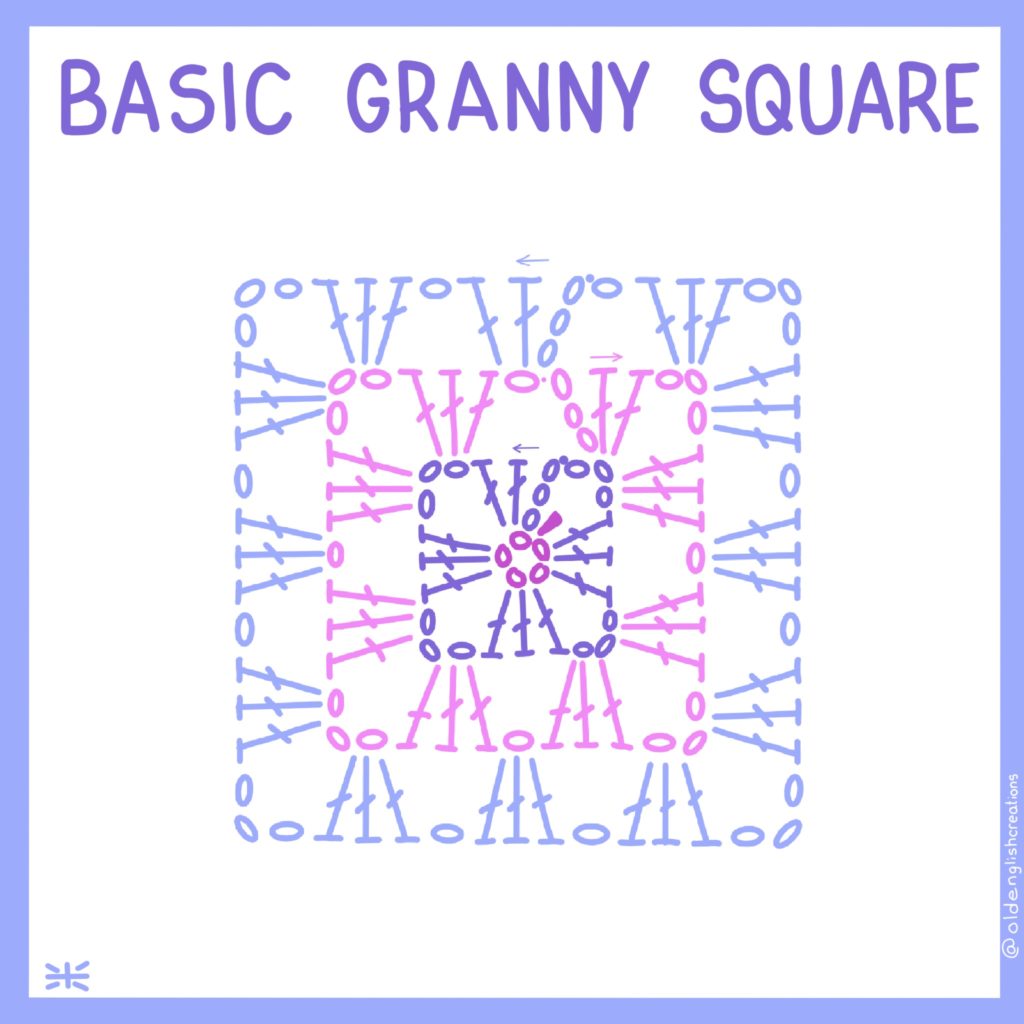
Shawl and Wrap Shapes
Wraps are rectangles and shawls are triangles.
This is the general consensus.
You can get semi-circle wraps as well. But in this post I’m discussing the structure of crocheted triangles.
Triangles
A triangle has three sides and three corners.
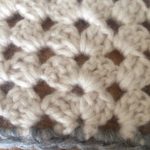
Typically there is one long side and two shorter sides both the same length. This is known as a scalene triangle and is the most popular shape for triangle shawls.

Crochet Designs for Triangle Shawls
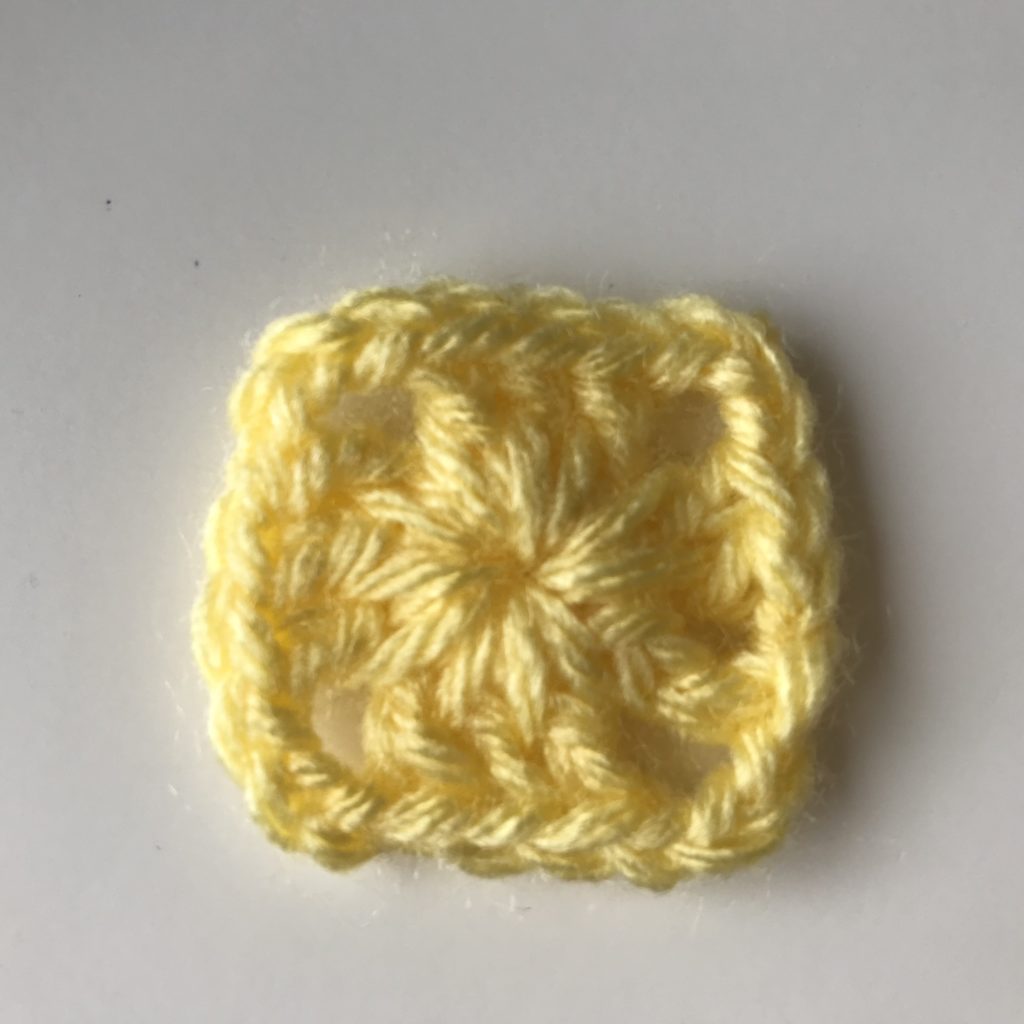
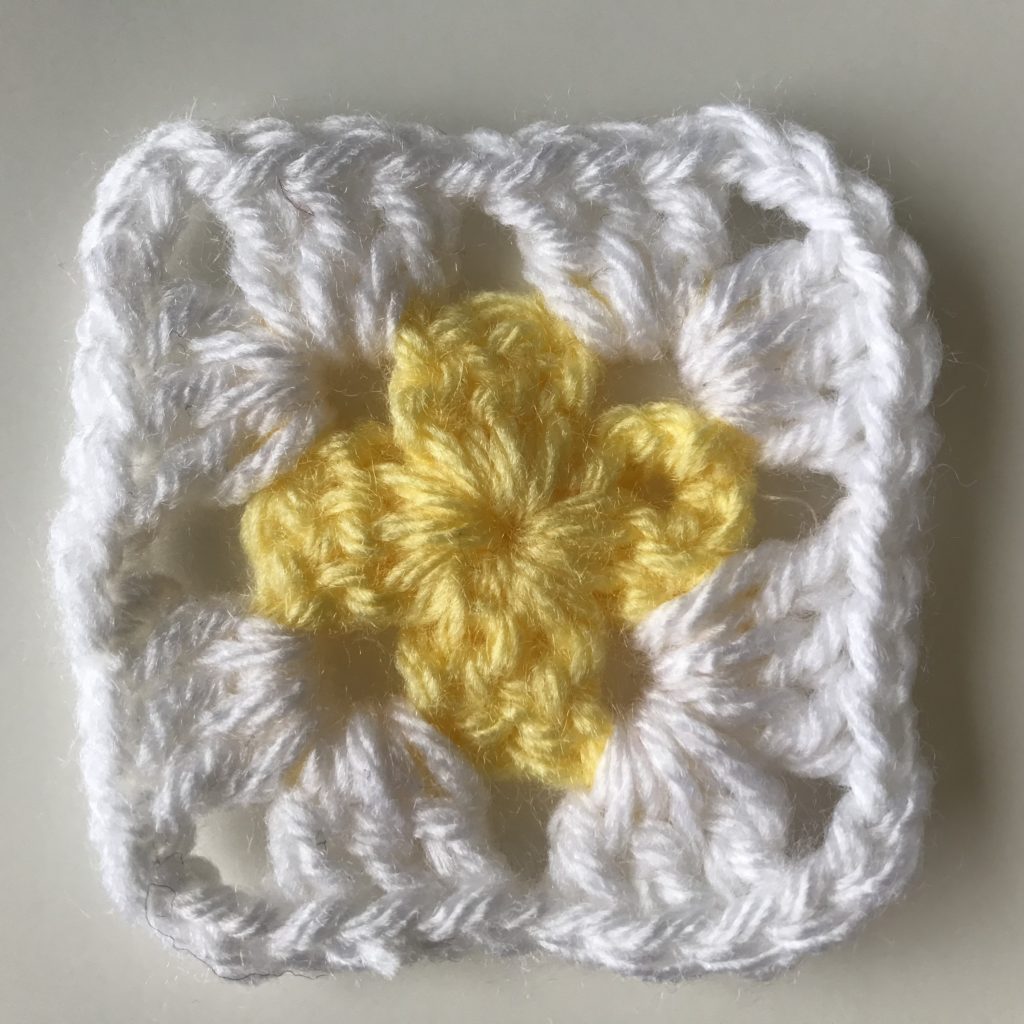
If you are making a shawl in a solid piece as opposed to granny squares or other motive shapes then it will be made in one piece.
The starting point sets the stage for the design and there are only a few ways to construct a triangle shawl in crochet.
Any type of stripe or pattern stitch can be used but the way the shawl grows will be the same.
Point Up – Horizontal
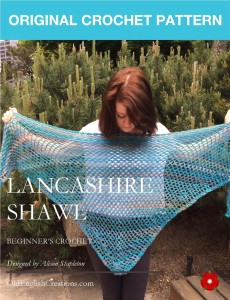
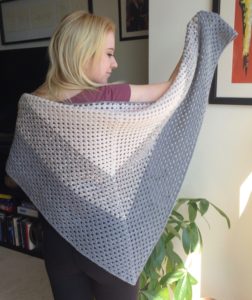
This is a popular method where you work from the bottom point and go up in rows which increase each row. In this design you can stop or keep going once the size is suitable.
An example of this design is the Lancashire Shawl.
Wide Top Down – Horizontal
In this design the full-width of the top side is set, typically as a chain length, and cannot be adjusted later. Here you work rows down towards the point. Each row is shorter than the previous as you decrease at the start and end of each row.
Here you work rows down towards the point. Each row is shorter than the previous as you decrease at the start and end of each row.
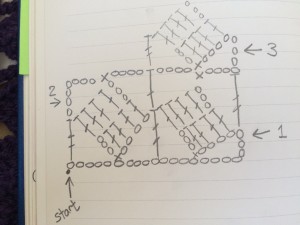
Center Top to Sides – Both Diagonal
In this design you start at the center top and make a triangle immediately. This can be seen in the half granny style. Each row adds to the sides and the point grows downwards.
The center top to sides design can be adjusted when the size is reached or you can continue to add more rows.
The Cumbria Shawl is a good example of this design.
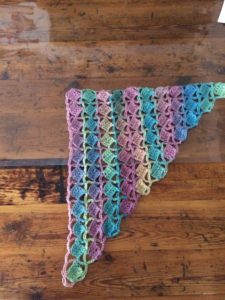
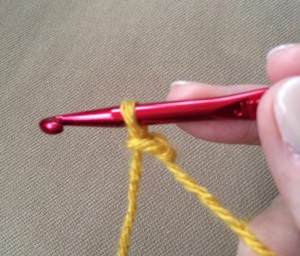
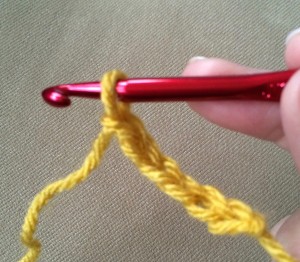
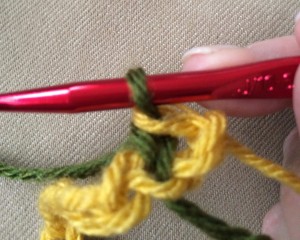
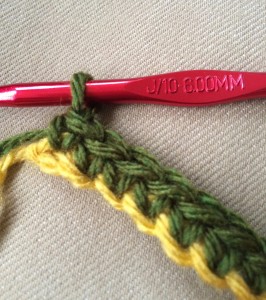
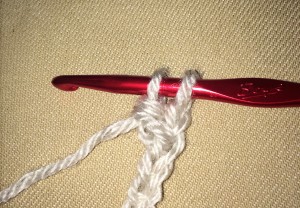
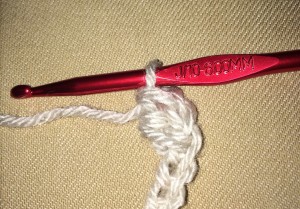
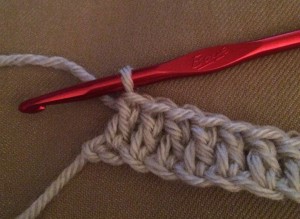
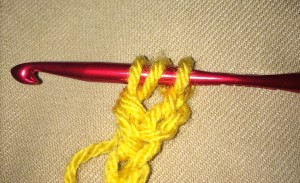
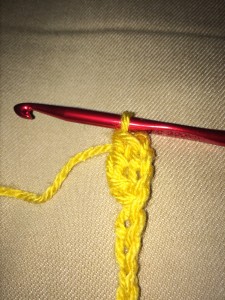
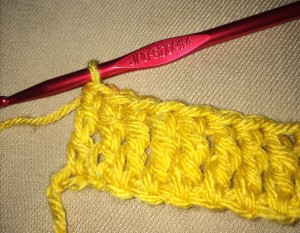
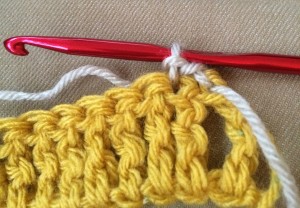
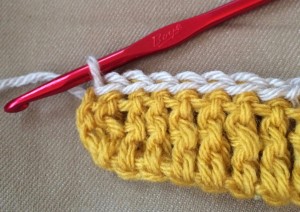
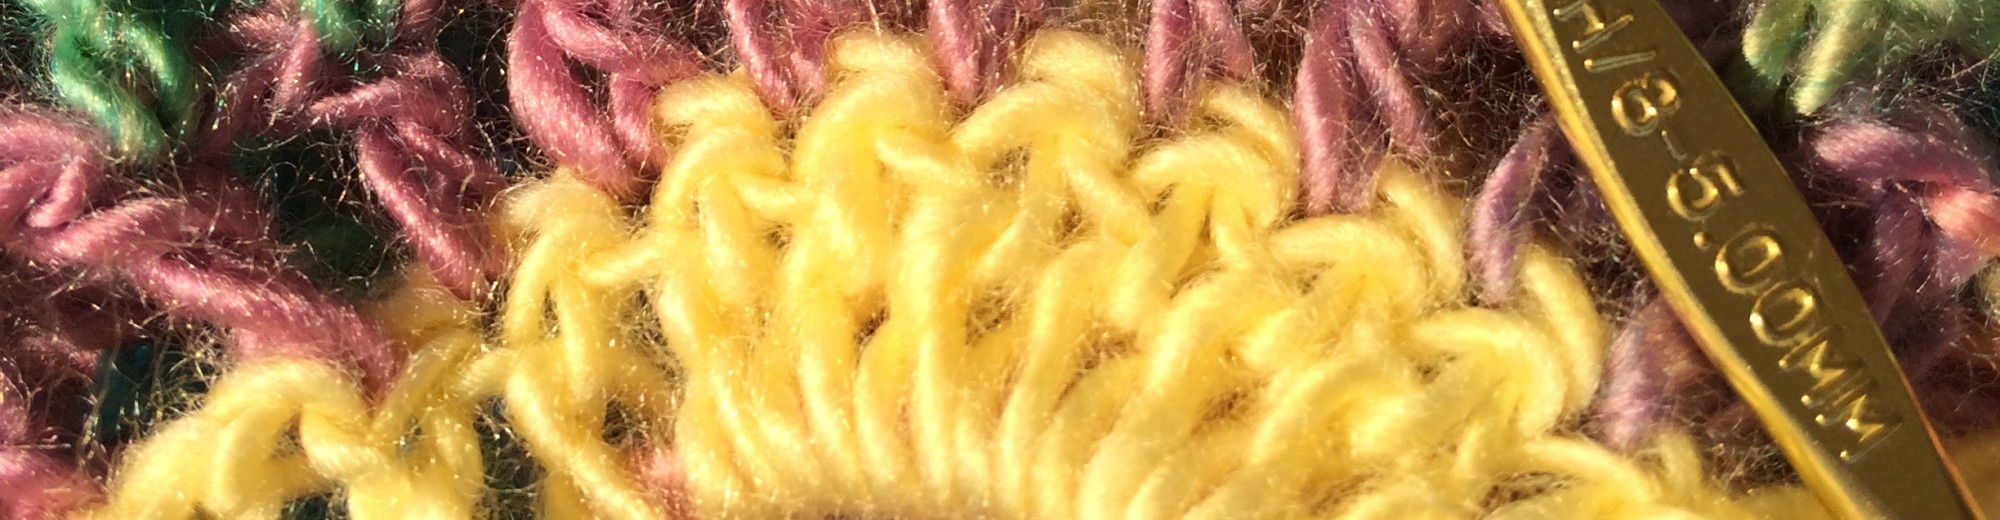
Left to Right – Vertical
In this design you start at the left side and work vertical rows towards the right side. Which increases on one side only and the top side remains the same. At the
At the point you start to decrease on the lower side again and the rows get shorter.
The image below is the first half of the shawl as the rows grow vertically towards the point. When I’ve finished it I’ll get the completed image in here for you.
Centre to Sides – Vertical
Here the base chain is from the top center to the point. You work first the left side to the side point and then the right side to the side point. Care needs to be taken to get both sides the same.
Each row is vertically from the center chain and reduces at the bottom whilst keeping the top edge straight.
In this design the depth of the shawl is determined at the start but you can make the width wider if you do a shallower decrease.
Your Choice
All shawl designs have their pros and cons. Personally, I like the point up and the center top to side methods as the triangle shape it set from the start.
It is a personal choice and the stitch pattern and the colour choices used will help determine the type of design you should choose.
Alison

Author Bio
Alison Heathcote, a passionate crochet enthusiast and dedicated business blogger, combines her love for crafting and entrepreneurship to inspire and connect with others.
With a knack for transforming yarn into beautiful creations and a flair for sharing valuable insights about running a successful crochet business, Alison embodies the perfect blend of creativity and practicality.
More Articles
If you enjoyed this post and crochet is your thing, you may like some other crochet articles from our blog.
Colour Magic – Using Colour in Crochet
Discover how finding new combinations of colour can change the feel of an item or garment.
Colour Magic – Using Colour in Crochet
Discover how finding new combinations of colour can change the feel of an item or garment.

Your First Crochet Sale
Your First Crochet Sale Your first sale is defined as the one where you sell a hand-made crocheted item to someone you have never met. When you make your first sale it is one of the five steps towards building your prosperous crochet business. That initial sale can be...


 A trellis is a wooden frame found in a garden on which plants can grow. Typically climbers and roses grow well on a trellis.
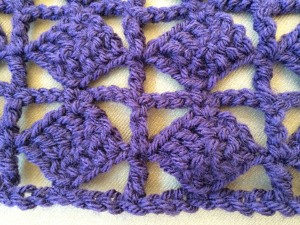

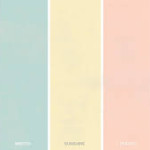 Colours for babies
 Colours for kids
 Colours for adults
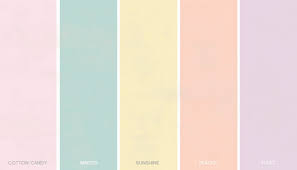 Soft tones compliment a fading complexion and whiter hair.
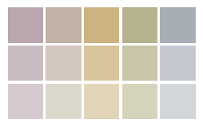
 Neutrals