5 Steps
These are five of the most important steps you can take to begin your prosperous crochet business. As you transition from being a hobbyist crocheter, and you are on the road towards having a prosperous crochet business, your approach to your craft and money will change.
The day you sell your first hand crafted item to a stranger (not your Mom or Granny) that is the day you become a micro business owner. Here are the five steps that will guide you towards building your prosperous crochet business.
Step 1. Make your First Sale
The first step is the hardest and that is to make your first sale. Whether it is your first pair of baby booties or your first scarf, the important things is to make the sale and to be in business. Sell your first item. Make your first sale. Take the cash and bank it.
Do not buy wine or new shoes to “celebrate” your first sale. The money that comes in from your first sale goes into the business and can be used for more supplies (wool and hooks), or it goes towards the purchase of stationery for your business cards, website support, or sheets of tissue to keep your garments clean.
Step 2. Know Who is Your Dream Customer
Know who your customer is. Is he or she in your neighborhood or nationwide? If you are offering goods that you ship, you have to approach your sales to a broader audience.
If you are making baby goods pitch that way, if you are doing women’s accessories like scarves and hats pitch that way.
You are not selling crochet but dreams. You are selling possibilities of how good someone will look after they have worn your items.
You are selling hope for your customer to feed a need in them to look good, tren
dy or sexy. You are not selling crochet.
Step 3. Own Your Niche
Your niche is the little spot where your goods lie in the general crochet market.
There are people making all sorts of crochet items but you will make one type of items and become the best there is in that area. This is your niche, a slim section of the broader market.
If you can crochet to a quality level that you can sell, and by that I mean it is good work technically, with a steady tension, and quality yarns, and your finishing is excellent with no hanging threads or knots, then that is quality crochet.
You may make amigurumi and this is your niche. You may craft hats and this is your niche. Your niche does not have to be a particular item although it often is. Your niche can be that you work in Irish crochet or using only fingerling. So the item is not the niche but the yarn or technique is your niche.
Step 4. Love Your Art
Crocheting is art. You have to love what you are doing. Some women will only crochet with top quality yarns because they believe “life is too short to use cheap wool.” Maybe so, but you have to love what you make. You have to love the texture, the color, the way the item drapes and the end result. As you make each hat or bag you are putting something of yourself into each piece. You have to love it. This makes a difference to the finished item. Believe me.
People shop on emotional impulses. They purchase things that speak to them either by the colour, texture or the item evokes a feeling of nostalgia and reminds them of what their granny used to give them years ago. Whatever the reason you have a better chance of selling goods that you craft if you love them from start to finish.
If you imbue love into your products the person who buys it will love it too, in fact you want her to love it and then want it.
Shopping is an emotional investment not just a cash exchange. Know that your potential customers have to fall in love with your hats or scarves before they will hand over the cash. In this way they feel better about buying from you and they don’t feel bad about the purchase when they get home.
Only make things you love and with yarns you love in colors and textures you love and others will love them too.
If you love your work you can talk about it and sell with passion and pride, and it becomes easier to sell. You have to believe that it is your best work and know you are being true to you art. Love your art.
Step 5. Be Generous of Spirit
You could spend one whole day making a hat and sell it for $10. So the hourly rate is weak at about $1 per hour. But that is not the point. Ignore the hourly rate and focus on the craft. If you buy your wool all at once and have a decent stash of good yarns you can plan your production of hats.
Every $10 you make has to go somewhere. Some goes back into the business to buy more supplies, some goes to tax (yes it does), some will come to you as your ‘pay’ and some can go to your giving program.
Your giving program is simply the plan you have to give to others. Those of us lucky enough to earn money can give something back to those less fortunate. It does not have to be much perhaps 10c on your $10 but it is important to be generous of spirit.
I give a percentage of my profits to local charities. I don’t do this every day or every week but towards December I have a sum that I give to people and causes I like to support to help them over their year end.
You need to have a giving plan otherwise you could be giving too much away if someone catches you for a donation in the shopping center car park. You may think you can afford to give $5 because yesterday you sold two hats but this will be an emotional give (and we all do it me perhaps more than most) not a planned give. Make a plan to be generous of spirit.
All businesses and big businesses do give to others. Look at the big companies and you can see their giving donations and the types of places they choose to support. You can’t help everyone so choose a sector in your community that appeals to you and make a giving plan that suits your income and your interest.
These are the first 5 steps to a prosperous crochet business. They can be used for any micro-business start-up. People all over the world have little businesses going on in their basements and backyards making things that they love and sharing their art with the world, and you can too.
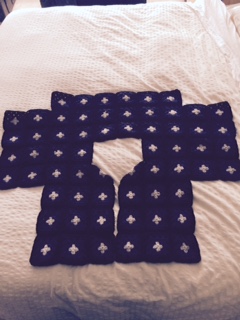
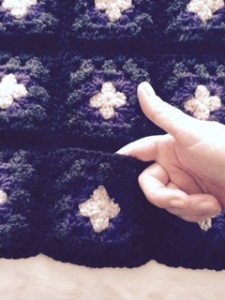
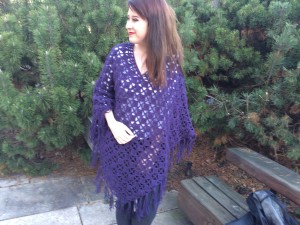
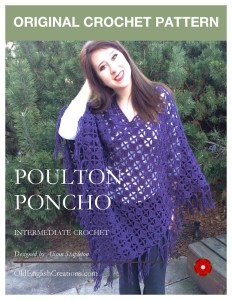 Poulton Poncho
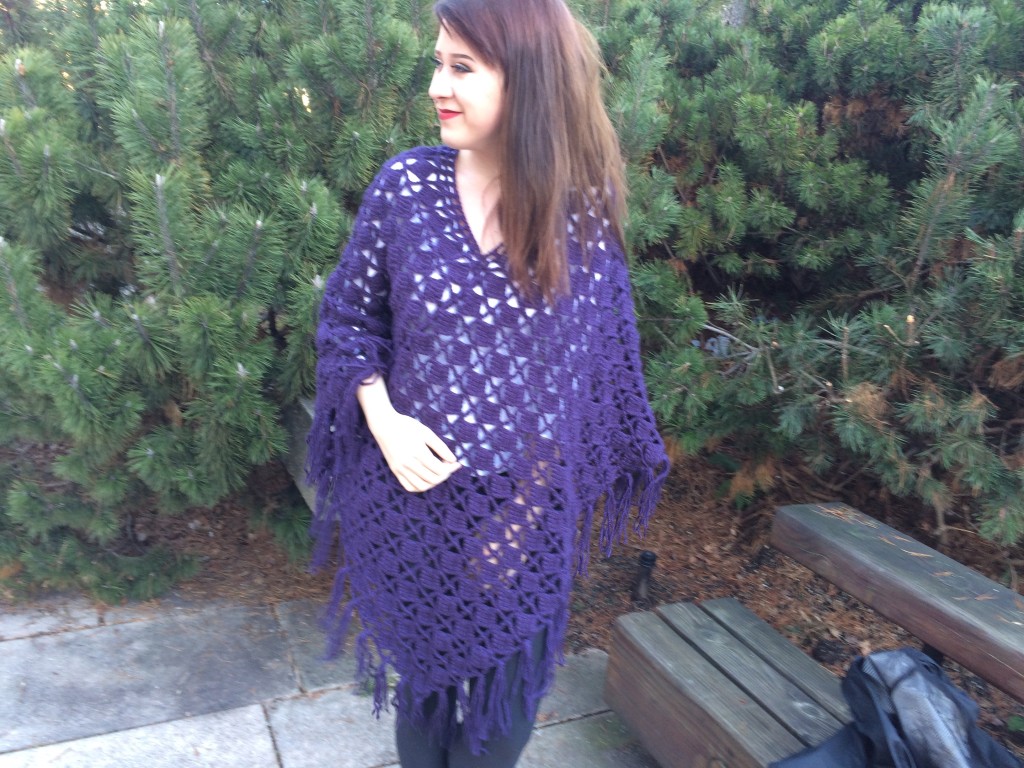


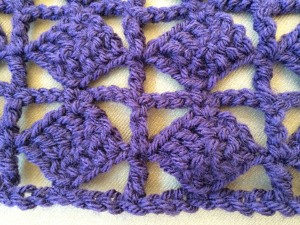
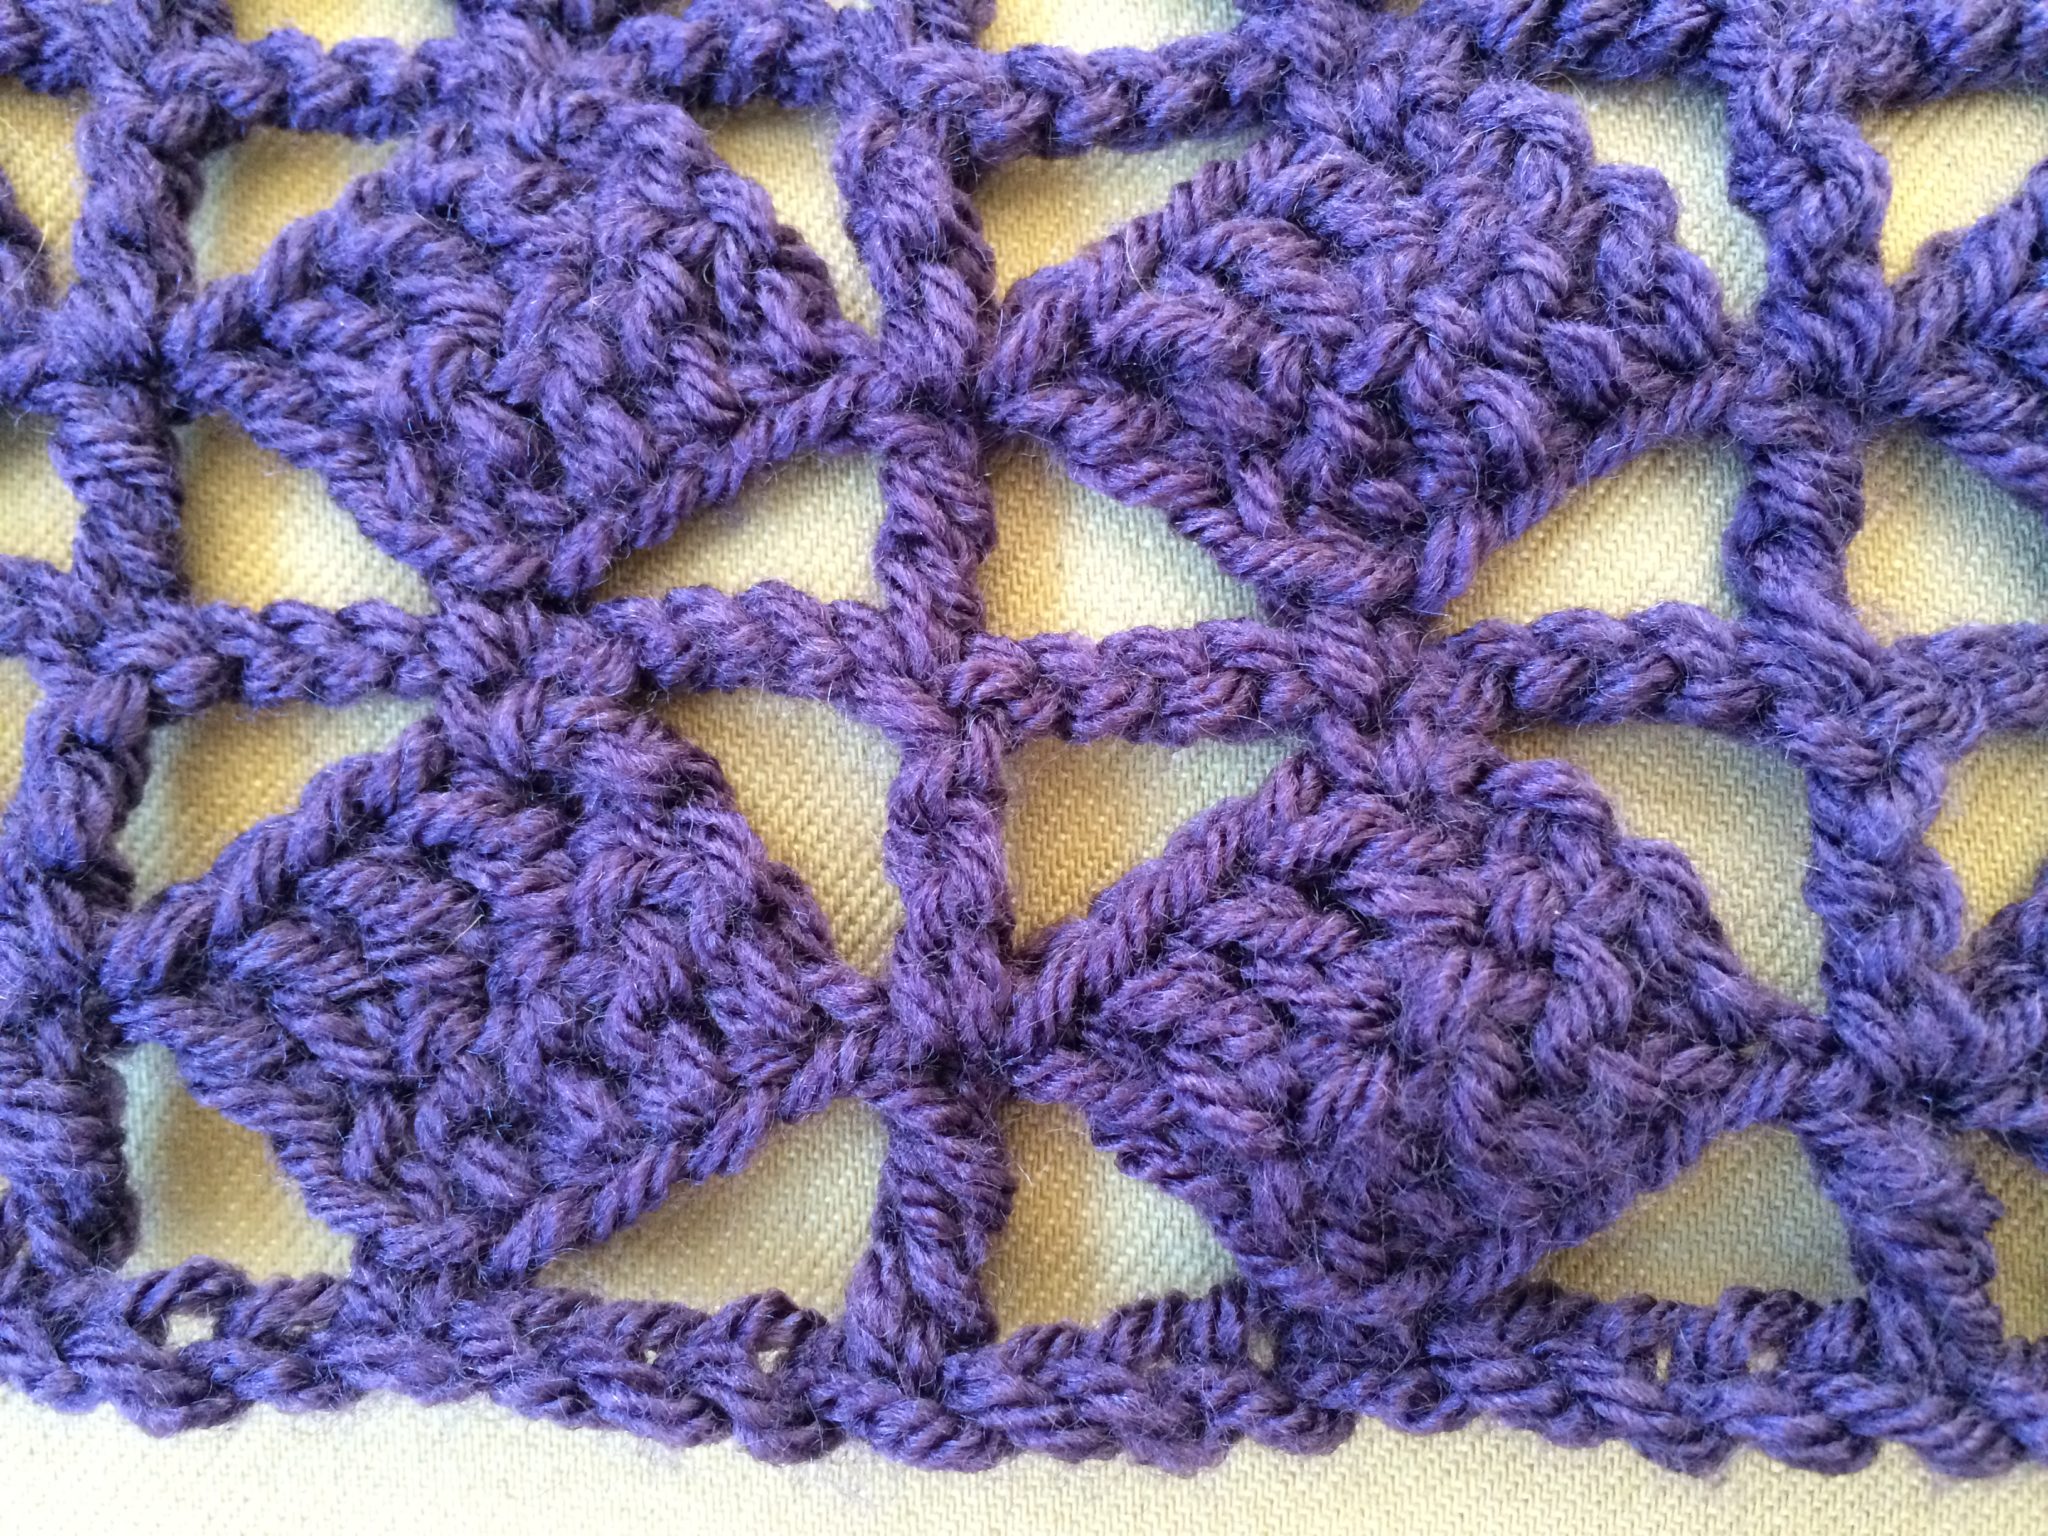
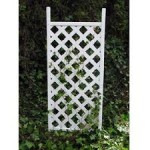 A trellis is a wooden frame found in a garden on which plants can grow. Typically climbers and roses grow well on a trellis.