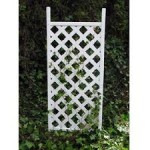
 A trellis is a wooden frame found in a garden on which plants can grow. Typically climbers and roses grow well on a trellis.
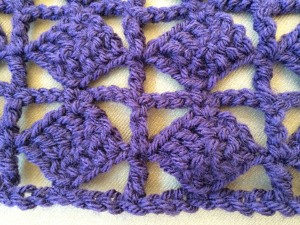
Inspiration Looking at the wonderful old cable patterns with deep texture inspired me to make this collection of three cozy cable headbands for you. These headbands can be used as ear warmers as well. I live in Vancouver, Canada where the winters can be rainy...
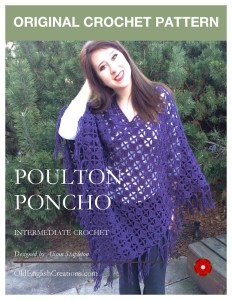
Poulton Poncho Pattern
Our Poulton Poncho pattern is now available to buy
We call it the Poulton poncho because it is named after the small town of that name in Lancashire. Well the town’s name is really Poulton-le-Fylde but that seemed like a long name for a crochet pattern.
Designed by Alison Stapleton
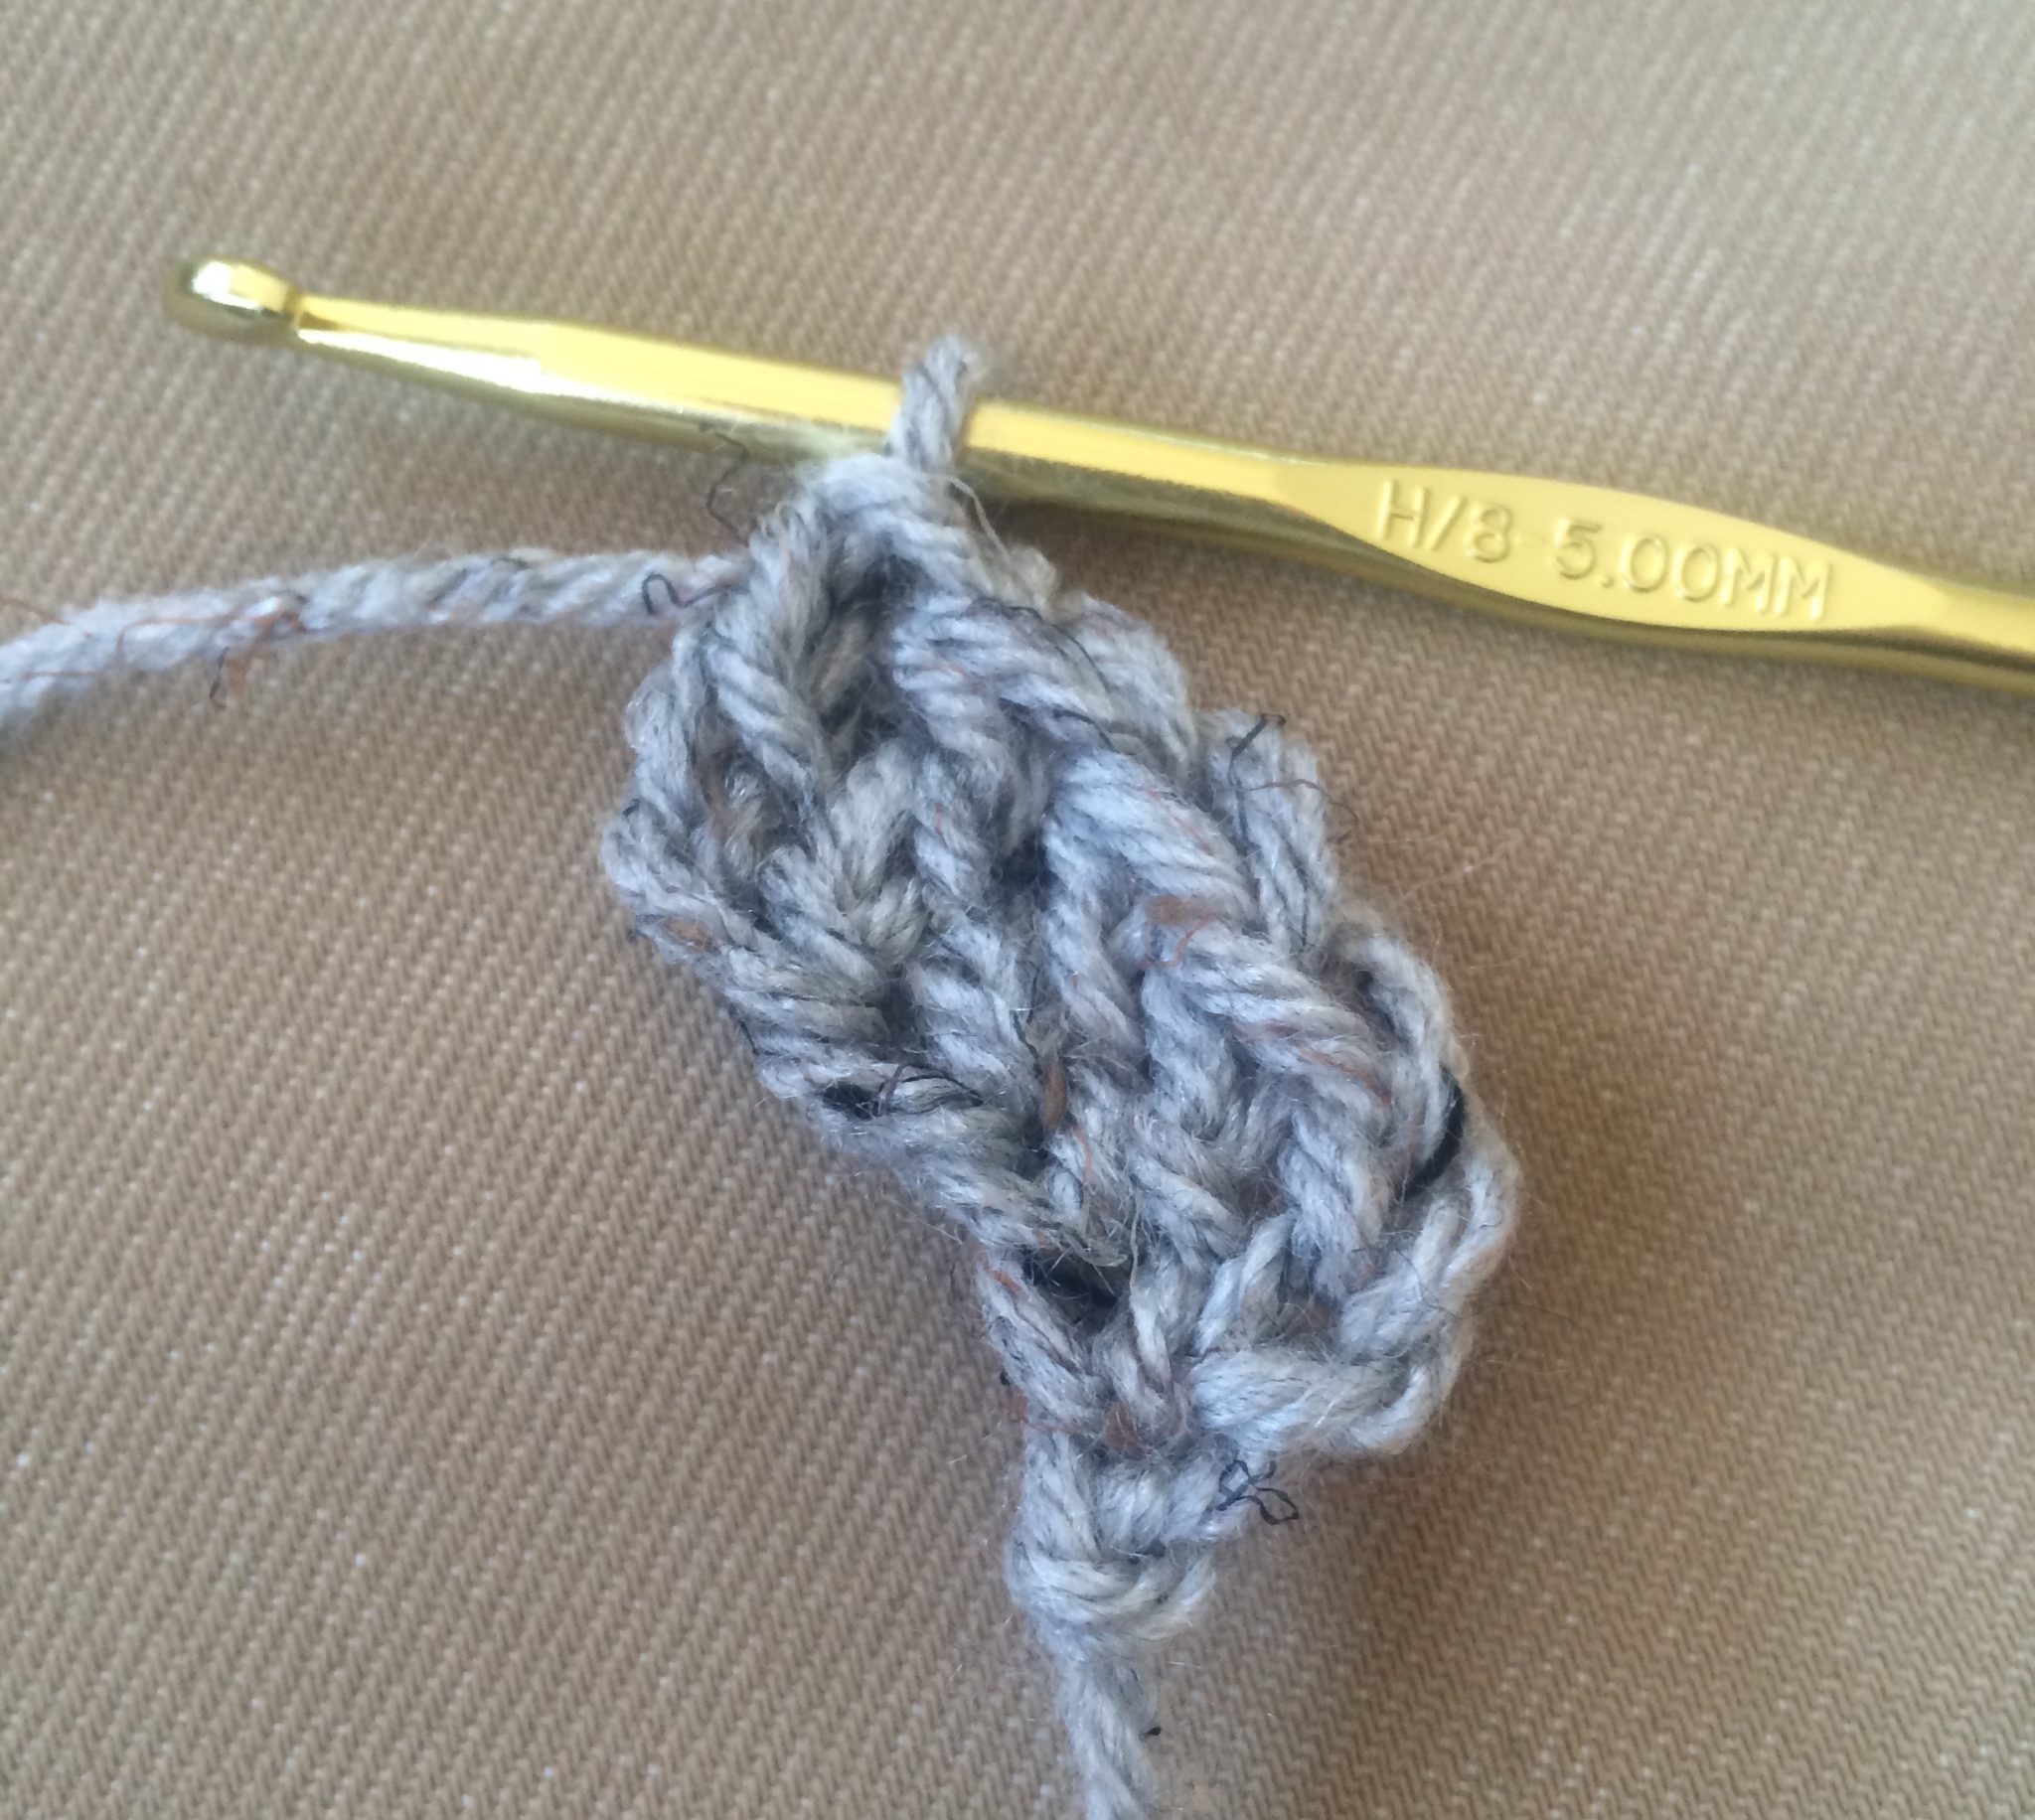
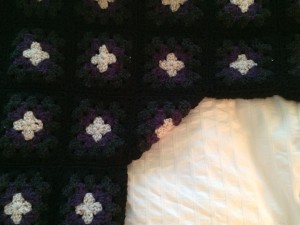
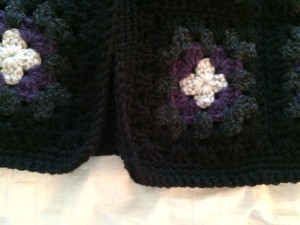
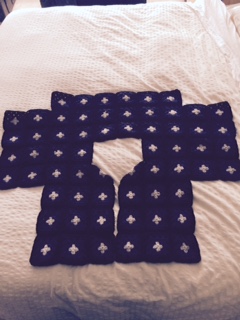
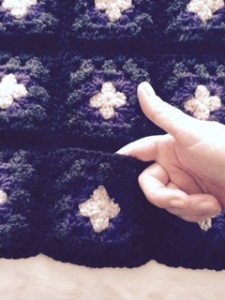
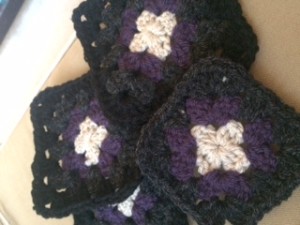
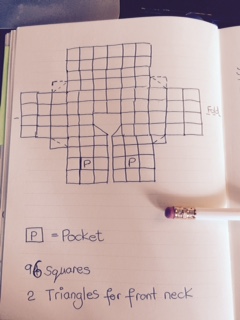
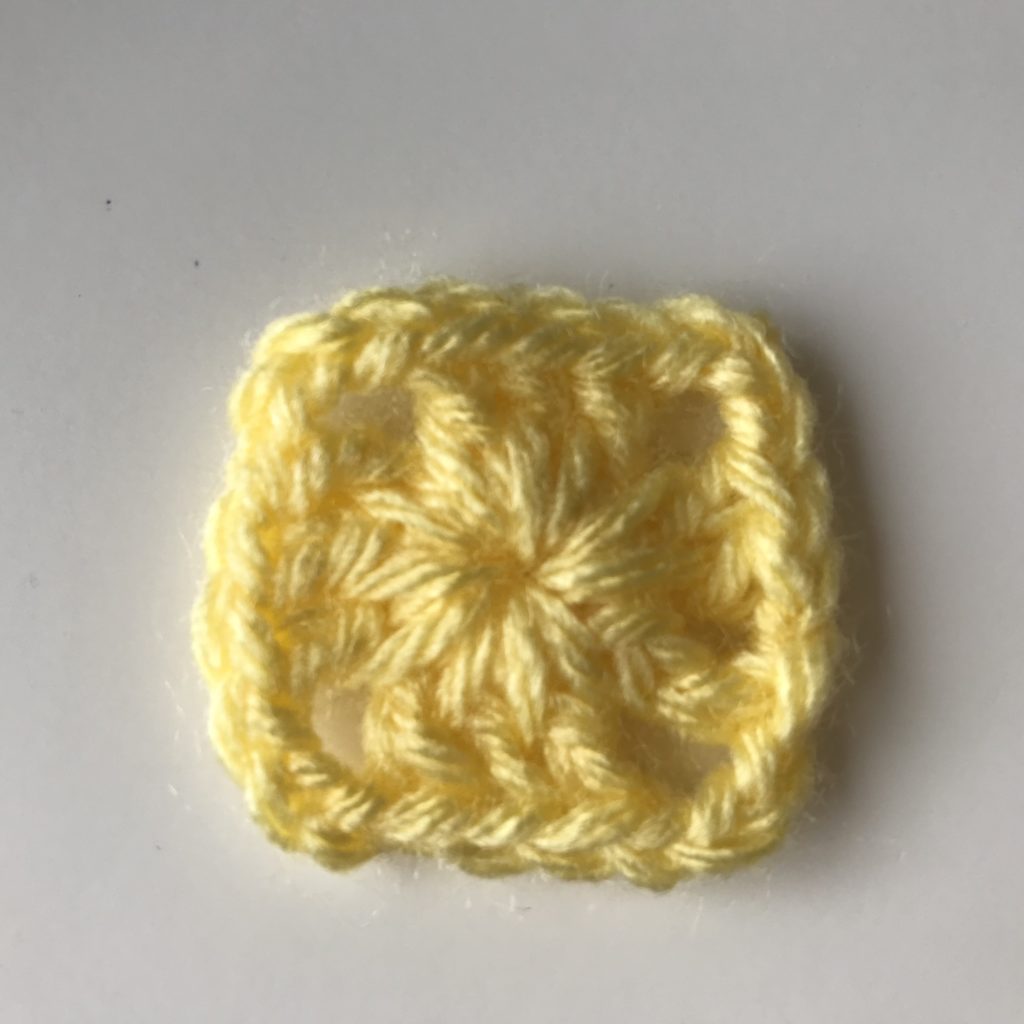
This pattern uses the clever trellis pattern and is made in two rectangles.
This pattern is at the intermediate level.
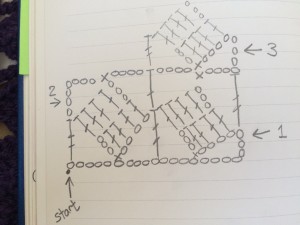
You need to know the following stitches:
- Chain (ch)
- Single crochet (sc)
- Double crochet (dc)
- Triple crochet (tc)
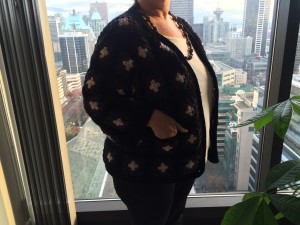
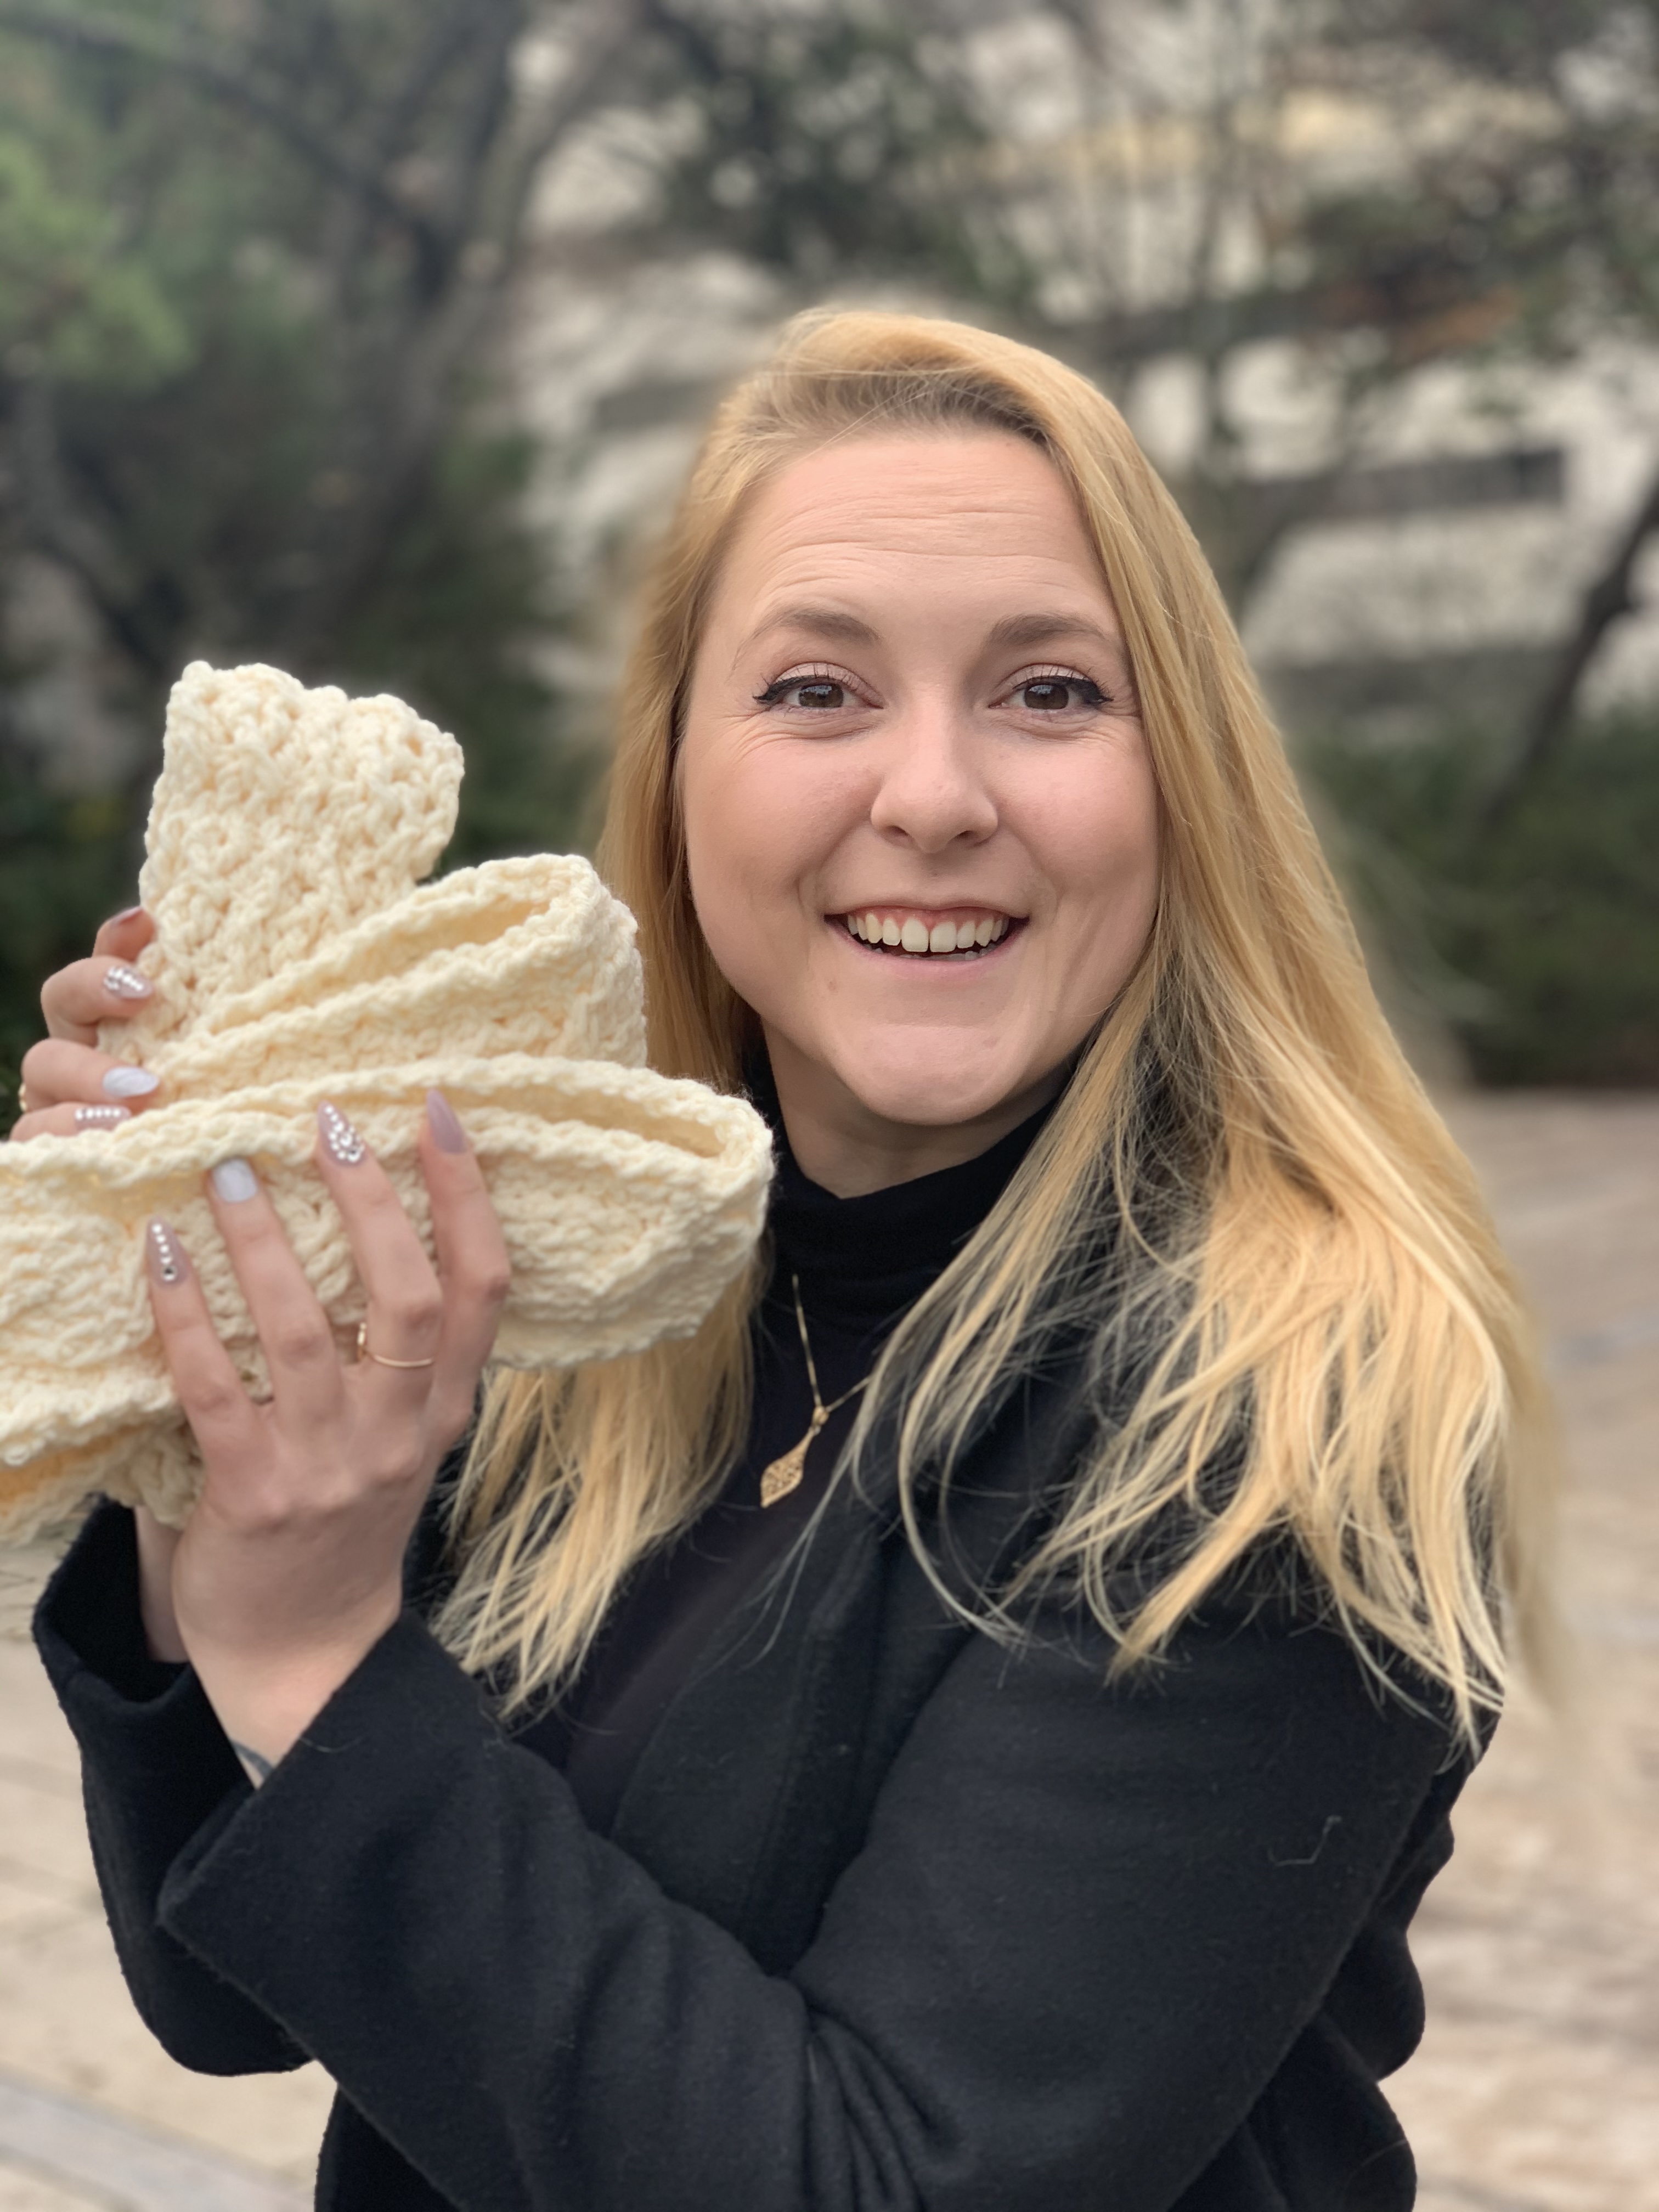
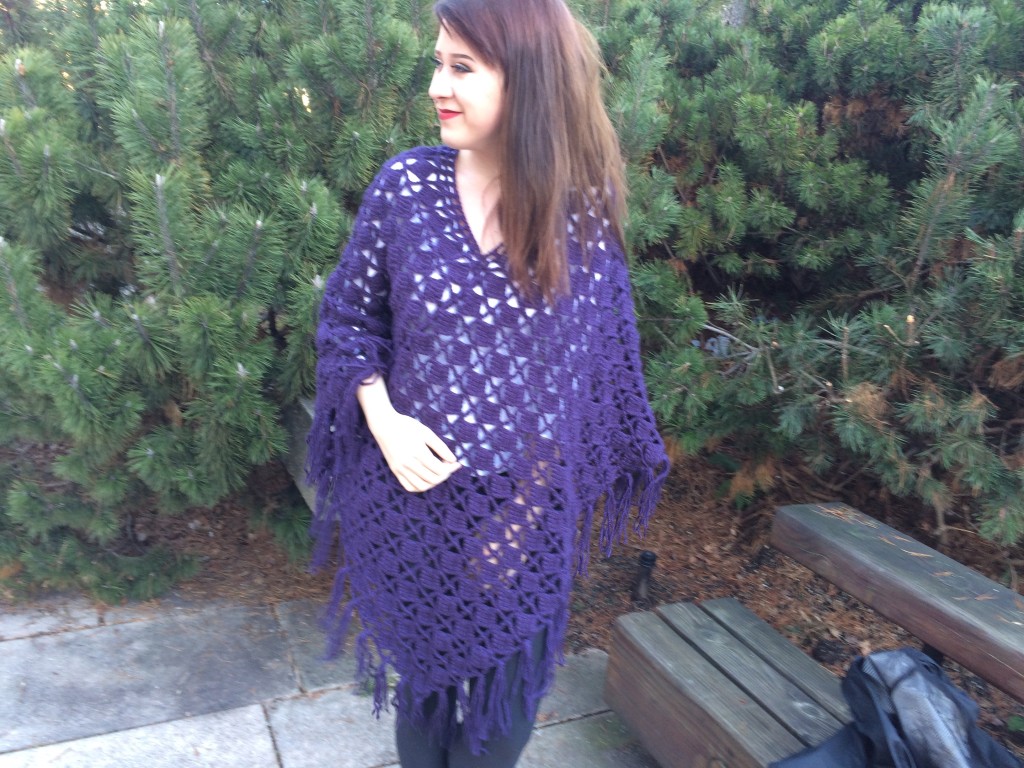
 Poulton Poncho
Make this easy two piece poncho as a quick intermediate project.
Pattern only
[purchase_link id=”2149″ style=”” color=”” text=”Download now”]
Share the love
If you love using our original designed pattern, help us grow and please promote, like and share with photos of your finished garment, using the hash tag #OECpattern.
We would love to see your completed creations.
About Old English Creations original crochet patterns
Original designs
All our patterns are Old English Creations original designs created by our talented designers Alison and Lynn.
Each one is technically correct and uses US crochet terminology and not UK crochet terminology.
You can Buy Patterns
Our patterns are sold as a PDF downloads. This means you get a file sent to your computer and not an actual paper pattern. You have to print it yourself.
You can get Free Patterns
We have a few free pattern available and when you get them you can see the quality of our patterns.
You can print them on paper and you can read them on your iPad or phone.
How to use our patterns
You may sell the finished garments you make from our patterns.
Copyright
Our original patterns may not be reproduced by photocopy, posted on the web or sold without written permission from Old English Creations.
However, you may sell the finished item you created from this pattern.
Please respect the craft of the designers.