Making Space for Crochet Special Places I have a cherished spot in my home that's dedicated to my crocheting. It's where I spend a lot of my creative time. At any given moment, you'll find me working on at least two crochet projects. One of them is usually a...
Crochet and Sustainability for Eco-friendly Self-care
Crochet and Sustainability
Eco-Friendly Self-care
Crochet and sustainability have a natural intersection, as this craft involves creating beautiful and useful items from yarn, a renewable and versatile material. Eco-friendly self-care involves taking care of oneself while also considering the impact that our actions have on the planet. By incorporating sustainable crochet practices into our daily self-care routines, we can not only improve our own well-being but also reduce our environmental impact.
Eco-friendly Yarns
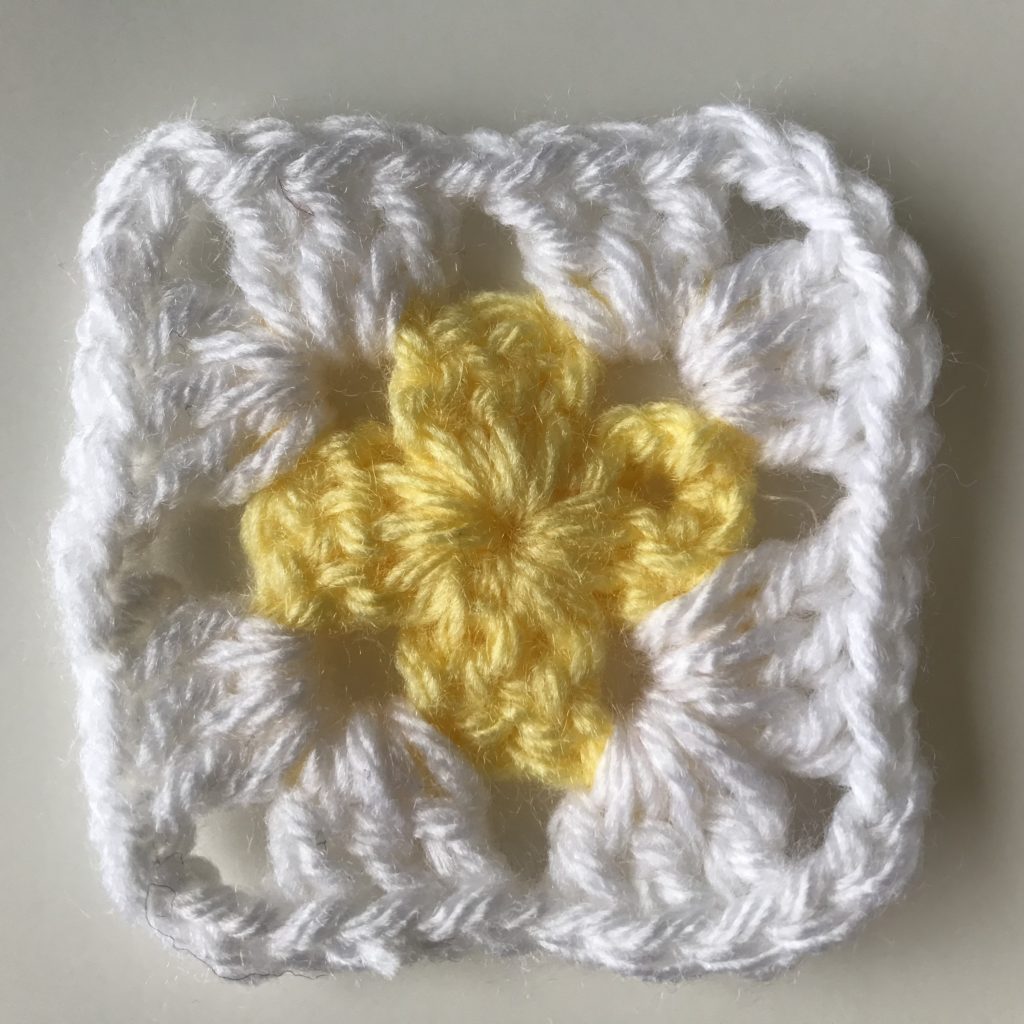
One way to practice sustainable crochet is to choose eco-friendly yarns. Many companies now offer yarns that are made from sustainable materials such as organic cotton, bamboo, hemp, and even recycled fibers. These yarns are produced with less harm to the environment, and choosing them can support sustainable agriculture, reduce the use of pesticides and chemicals, and decrease the amount of waste that ends up in landfills.
Natural Dyes
Another way to practice sustainable crochet is to use natural dyes. Natural dyes can be created from plants, flowers, and even food waste. Not only are they better for the environment than synthetic dyes, but they can also create beautiful and unique colors. Experimenting with natural dyeing can be a fun and rewarding way to add a sustainable element to your crochet practice.
Slow Fashion
In addition to choosing eco-friendly materials and practices, sustainable crochet also involves using your crochet skills to create items that are useful, long-lasting, and reduce waste. For example, instead of buying single-use items such as plastic bags or paper towels, you can create reusable alternatives through crochet. You can also repurpose materials such as old t-shirts or sheets to create yarn and use them in your crochet projects. By finding creative ways to reuse and repurpose materials, you can reduce waste and contribute to a more sustainable lifestyle.
Crochet with Purpose
Furthermore, crochet can also be used to create items that serve a specific purpose in reducing environmental impact. For example, you can crochet produce bags to use at the grocery store instead of using plastic bags. You can also crochet dishcloths or cleaning cloths to replace disposable sponges or paper towels. These items are not only sustainable but also functional and beautiful.
Mental Health
Incorporating sustainable crochet practices into your daily self-care routine can also have a positive impact on your mental health. Sustainable crochet can be a form of mindfulness, as it requires focus, patience, and creativity. By taking the time to create something with your own hands, you can feel a sense of accomplishment and pride, which can boost your self-esteem and overall well-being. Additionally, by contributing to a more sustainable lifestyle, you can feel a sense of purpose and fulfillment, which can also improve your mental health.
Going Forward
In conclusion, sustainable crochet is an excellent way to practice eco-friendly self-care while also engaging in a creative and rewarding activity. By choosing eco-friendly materials and practices, creating items that reduce waste, and contributing to a more sustainable lifestyle, you can make a positive impact on the planet while also taking care of yourself. So grab your hooks, choose some sustainable yarns, and let your creativity flow!


Author Bio
Alison is a passionate crochet enthusiast and dedicated business blogger. She combines her love for crafting and entrepreneurship to inspire and connect with others.
With a knack for transforming yarn into beautiful creations and a flair for sharing valuable insights about running a successful crochet business, Alison embodies the perfect blend of creativity and practicality.
Read more about Alison’s crochet journey.
More Articles
If you enjoyed this post and crochet is your thing, you may like some other crochet articles from our blog.
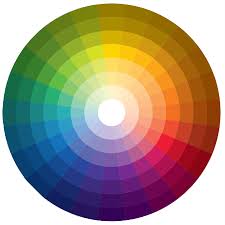
The Meaning of Colour
Wear the colour you like or choose a colour whose meaning is how you want your day to go.
No Results Found
The page you requested could not be found. Try refining your search, or use the navigation above to locate the post.