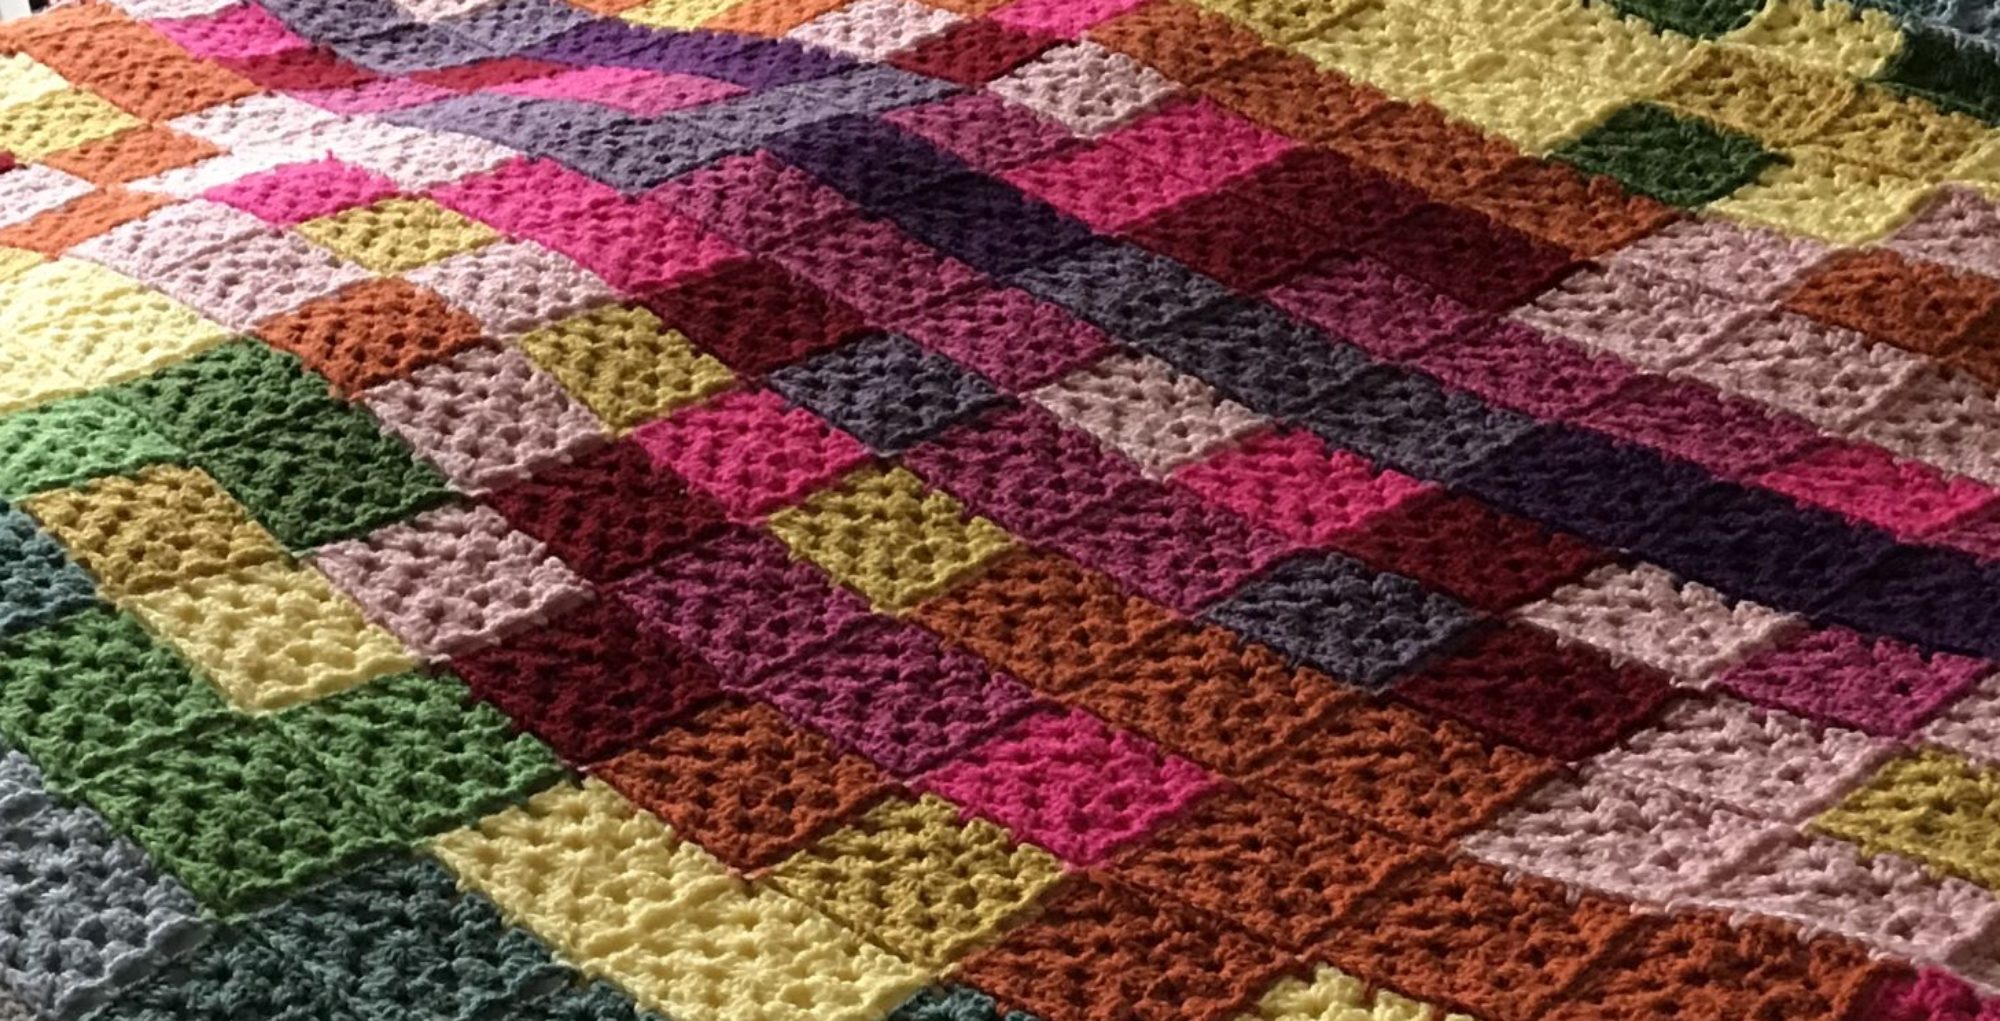
Making Space for Crochet Special Places I have a cherished spot in my home that's dedicated to my crocheting. It's where I spend a lot of my creative time. At any given moment, you'll find me working on at least two crochet projects. One of them is usually a...
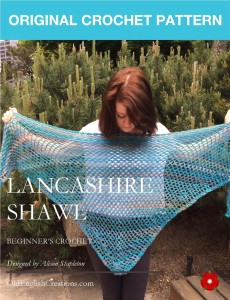
Cumbria Shawl – Original Crochet Pattern
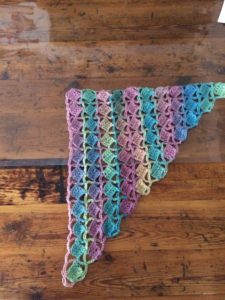
Cumbria Shawl
This easy crochet shawl is part of our English County Shawl Collection exclusively available at Amazon.
Suitable for beginner crocheters.
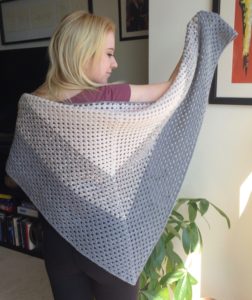
Designed by Alison

Author Bio
Alison is a passionate crochet enthusiast and dedicated business blogger. She combines her love for crafting and entrepreneurship to inspire and connect with others.
With a knack for transforming yarn into beautiful creations and a flair for sharing valuable insights about running a successful crochet business, Alison embodies the perfect blend of creativity and practicality.
Read more about Alison’s crochet journey.
More Articles
If you enjoyed this post and crochet is your thing, you may like some other crochet articles from our blog.
Crochet Basics
Author: Alison - Updated: November 2024 Crochet Basics Getting Started About Crochet Crochet is a vast subject. and you really need to know a few of the basics before you can really get into it. This post is just to go over a few of the basic points and in crochet...
The Calm Crocheter: Newsletter
"The Calm Crochet" Newsletter Welcome to the Calm Crocheter Discover the art of crochet as self-care. At Old English Creations, we believe that crochet is more than a craft—it's a soothing ritual that nurtures your mind and spirit. Our Calm Crocheter newsletter is...

