Crochet Temperature Blanket – Week 1 Progress

by Alison Stapleton

Temperature Blanket Details

This year I am making a temperature blanket.

Each day will be represented by a three-row granny square in the colour of the high temperature that day where I live in the city of Vancouver in Canada.

I started on January 1, 2018, and make one square every day until December 31, 2018. That will be 365 crochet granny squares in all.

Size

I want my blanket to lay on my king sized bed and run in vertical rows for each set of 18 days.

My design is to make this blanket 18 squares by 21 rows as that makes a squarer blanket than the usual 14 squares (or two weeks) by 21 rows which result in a long, narrow blanket more suited to a single or twin sized bed.

I plan to make some extra white squares at the end to square off the blanket and on this can embroider the date for the year (2018). Here I may do MMXVIII just to be different.

The Details Up To Day 9

I know it says “week one” on the title of the post but it was actually Day 9 before  I got this published.

For the first week, the temperatures in Vancouver remained between 5C and 6C for the highs.

In a way, it was annoying to have to do the light blue for day after day and on into Day 9!

But, I think it will soon get a little colder as we move into late January and February is typically the coldest month.

My Progress

I like that I can do one granny square just after dinner each night while watching TV and chatting with my family. It is very doable and once the day’s square is completed that is all I have to do. So, there is a feeling of satisfaction in completing the single motif.

I do not feel the need to do more crocheting but I do have other projects on the hook that I will work at over the weekends.

I will post again when I reach week 2 and share wyouyrou just how good the blanket is coming along.

This is like a crochet along (CAL) and all the squares are the same.

Temperature blanket Day 9

Temperature Degree Colours

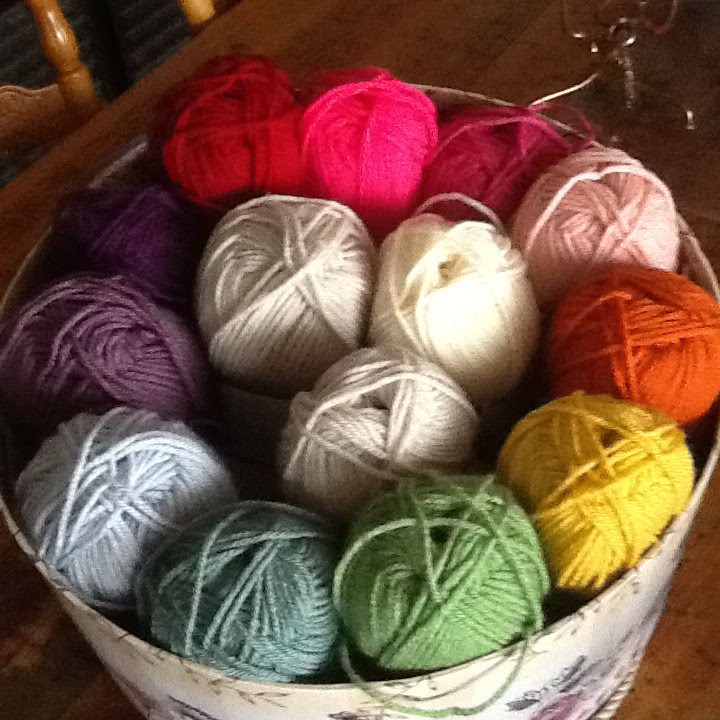
I have the colours already decided listed here.

Temperature blanket stash of colours.

Zero and below white

1C to 2C cream

3C to 4C taupe

5Cto 6C light blue

7C to 8C teal

9C to 10C green

11C to 12C lemon

13C to 14C yellow gold

15C to 16C orange

17C to 18C pink

19C to 20C hot pink

21C to 22C red

23C to 24C magenta

25C to 26C violet

27C to 28C purple

29C and above black

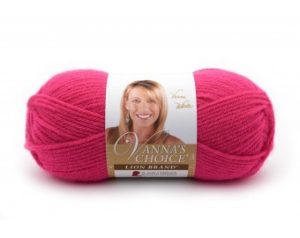
I bought the yarn (which is Vanna’s Choice [4] weight yarn) on January the first at my local yarn store (LYS) in downtown Vancouver.

I am using a 5.25mm crochet hook.

Instagram @OldEnglishCreations

Follow my daily progress and tag me with your temperature blanket images all year.


Carleton iPad Cover – Crochet Pattern

by Alison Stapleton

Tech Essentials

I’ve had an iPad for several years now and I’ve been frustrated with the big bulky and clunky hard cases sold in the Apple Store. They are not neat and they make the whole item seem bigger than it is.

If the iPad designers made such a sleek and smooth piece of kit why would you want to hide it all in a nasty plastic flap thingy?

You are probably like me and you need the information and connectivity the Ipad gives without the bulk of junky covers.

I take my iPad with me most days and slip it into my bag. In fact these days I don’t buy a handbag or tote that will not fit my IPad.

I had worked on several prototype designs made in crochet for my IPad cover but they all had the same problem that the sleek pad would just slip right out.

This was not good.

Carleton Nip and Tuck iPad Cover

This new design is based on the simple pillow case method where the case is snug (nip) and then you ease the inner flap (tuck) over the end so the iPad will not slide out.

Our Carleton iPad Crochet Cover has no external flaps or buttons to catch on other things.


No matter who you are or how you crochet you will likely have an iPad. If you are a crocheter you can make this easy breezy iPad cover in less than three hours.

And if you don’t have an iPad I bet your grandkids do.


Materials

Made from Vanna’s Choice by Lion Brand or any other 4 weight yarn.

2 x 50g balls, one in black and one in pink.

Size 5.25mm crochet hook or the hook required to match the gauge.

Your label (optional)

Yarn needle to sew in ends.

Stitch marker.


Gauge

15 stitches and 12 rows to 4″ x 4″ (10cm x 10cm).


Measurements

Width 17cm, height 23cm.

Note: When resting and by that I mean when the iPad is not in the cover, the cover is slightly smaller than the actual iPad.


Pattern Notes

This cover is worked in the round and after the first row the work spirals up and is not round by round. There is no seam.

The fit is a snug fit to grip the iPad the cover will stretch a little as you insert the iPad this is normal.

Colour choices

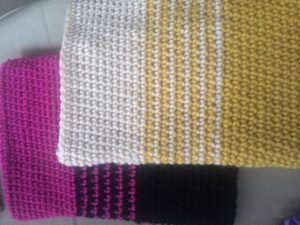
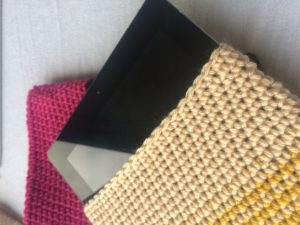
The pattern here is for the black/pink version but I am also showing you the gold/cream colourway.  When you use colour in crochet it changes the feel of the item.

The black/pink is vibrant and businesslike and the gold/cream is lighter and has more whimsey.


Stitches used

Chain – ch.

Slip stitch – sl st.

Single crochet – sc.

Learn more about the five basic crochet stitches you need to know.


Pattern

Please note: This pattern will be free for just over a week and then be available as a PDF download for a nominal fee.

Body

Foundation chain: With black ch 24.

Rnd 1: Ch 1 (as 1st st), 1 sc in every chain to end (24 sts), 2 sc into same st (as side corner), 1 sc into every st up the other side, 2 sc into same st, (52 sts). Do not join with sl st. Place a stitch marker into next st.

Rnd 2: Immediately make the next st into the first st of rnd 1 and continue in a spiral from here.

Work until completed 12 rnds and end at stitch marker side. Leave black (do not cut),

Join pink, work 1 sl st into next 2 sts then continue in sc, complete one rnd, leave pink, pick up black and work 1 sc into each of the sl sts from the rnd below and then continue.

From this point you will have two spirals (one pink and one black) with two thread in use. Continue until you have five pink and five black rnds completed. End at the stitch marker side. With black make 1 sl st into the next 2 sts. Cut black and fasten off.

With pink continue and work every st and go over the 2 black sl sts with sc all the way round. Continue spiral in pink for twelve more rnds. End at stitch marker side. Turn.

Inner flap

Row 1: 1 ch (as 1st st), 1 sc into next 24 sts, turn (25 sts).

Row 2-8: Repeat row 1. Fasten off.


Finishing

Turn item inside out. Fold flap down and neatly sew down both sides making sure not to go through to the front. Weave in ends. Turn right side out.

Sew on your label at the right hand side bottom 1cm in from the corner (optional).


Newsletter signup


Crochet Bag Patterns

 by Alison Stapleton

Crochet bags are fun and easy to make. There are many types of bags and most can be made in crochet. The beauty of these designs is that they usually can be made in a day or two.

Start now and have a new bag each season (that’s four this year) or go ahead and craft yourself one for each month.

Crochet bags do not last forever and depending on the yarns you use they can get worn, fluff or pill easily.

Take care to choose natural fibres like cotton or wool  or select tough acrylics.

Where to put your crochet bags when out and about

Never chuck a crochet bag (or any bag for that matter) onto the floor.  Rather leave it hanging on the back of your chair

In a restaurant or coffee shop

Tuck your bag behind your back on the chair in a restaurant or coffee shop.

Only place spectacular evening bags on the dining table.

You can get a handy dandy portable handbag hook and dangle your bag stylishly from the table edge.

On the bus, train or subway

Always have your bag on your knee. Don’t leave it on the seat next to you (this attracts grab-and-runs). Not on the floor.

If your commute is very dirty put you crochet bag into a see-though plastic bag for travelling in busy public places.

In the cloakroom

Hang it on the hook or knob behind the door. Never place your crochet bag on top of the cistern. Really?

Never ever on the floor. Tuck it under your arm as you hover.

At the basin, if you have to put it on the counter, place some paper towels down first.

You never know what lurks in public places.


Care for your crochet bag

You have spent many hours making your crochet bag so you need to care for it to extend its longevity.

When bags like this get dirty or stained it is hard to clean them so the best way is to protect them beforehand.

Any bag you make and use says something about you. You want you crochet bags to be beautiful for a long time so take care and enjoy using your hand crafted bags.


Bag patterns coming soon

These bag patterns will be coming soon. I will add them as soon as I can.

The patterns are free for a few days and then cost $2 for a PDF download. Check back often to pick up your free bag patterns.

There are more free patterns here.


Square-a-Day Crochet Blankets – 3 Options

Square-a-Day Crochet Blankets

A crocheted square-a-day blanket is easy, quick and it almost grows when you are not looking.

You make one square each day of the year to reflect what was happening every day. At the end of twelve months you have a crochet record of how the year was for you.
Skills required

Because the effort you have to expend is only one square a day it can easily be done by beginners and experienced crocheters in a few moments each day.

If you are a beginner this project will help you get better at a simple granny square that will stand you in good stead for all of your crocheting life.

if you are an experienced crocheter you can add this little square to you repertoire of other crochet work that you have on the hook.

The square-a-day blanket is a perfect complement to other crochet work in progress (WIP) which you may have. The square-a-day blanket is a big project and will take you all year to finish. This means that you can also do other crochet work in-between.

Small, medium and large

It is always a good idea to have more than one project on the go, a big one (like this blanket), a medium one like a hat or shawl and a small one like a bookmark.

It is advisable to have large and small pieces and this blanket falls into the small pieces section because you can take it with you.

Basic square

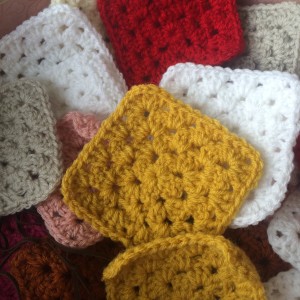
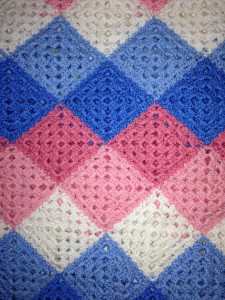
The squares you do are a basic two-row granny square motif. The two rows can be one colour or in some cases (see below) with two different colours in each square.

You can do one, two or three square-a-day blankets and we have three suggestions of blankets that you can make this year.


3 Types of Square-a-Day Blankets

Three types of daily square blankets that you can make and are explained here are:

  • A daily rising planet blanket (astrology related)
  • A daily high temperature blanket
  • A daily mood blanket (your feelings)

Your life – your blanket

Clearly you can think up other ways to do the square-a-day blanket depending on interests in your own life.

If you are a gardener you can do one for planting, seedlings, flowers and fruits in your garden. The first rose bloom or the first apple on your trees. This is a good one as the seasons change and the garden lives a dies off over the year.

If you live in a rainy area you could do a square-a-day rainfall blanket.

Let the blanket reflect your life and the things that are important to you.


1) Daily Rising Planet Crochet Blanket.

For this blanket you will make one square for each day of the year.

The colour for each square is chosen depending on which planet rises before the Sun every day for 365 days.

Your blanket can be either 14 x 27 squares and this will make a long oblong blanket or it can be 18 x 21 squares which will make an almost square blanket.

Either way there is no simple way to make a rectangle that is 365 days so there will always be a few squares over and the left over squares can be where you write, or embroider, the date and year for the blanket.

Sunrise and the Pre-dawn Rising Planet

The pre-dawn rising planet (in fact this is also known as the Oriental Plane)t is the planet that rises on the eastern horizon every morning before the Sun at dawn.

This rising planet will change over the course of a year as the Sun and the planets move through the zodiac.

Choosing the Colours

You will use one colour for each planet. In astrology the Moon is considered a planet as well.

Moon – white

Mercury – taupe

Venus – pink

Mars – red

jupiter – blue

Saturn – grey

Uranus – turquoise

Neptune – mint green

Pluto – maroon


The Make-a-Square-a-Day method

Because we do in fact know which planet will rise before the Sun this blanket can be started and you can push forward with the daily squares if you choose.

But the best way to create this type of daily blanket is by making one-square-per-day which is the main idea.

This is a big project and it can be done alongside other smaller or medium sized projects that you have on the hook.

To make one small granny square and crochet it together will take you less than thirty minutes every morning or evening.


2) Temperature Blankets

There are two ways to do the squares in the temperature blankets. You can simply do the daily high temperatures or the high/low temperatures.

Daily high temperatures

In the high temperature blanket you take the daily high for the day where you live and crochet the square in the pre-determined colours you choose.

So for example in Vancouver the highs are about 26C in summer and 4C in winter.

So each degree on the thermometer can be one colour or you can designate one colour to cover two degrees because there are only so many colours of yarn in one make.

Daily high/low temperature blanket

The other option is the high/low temperature blanket.

In this blanket you do a granny square with two rows where the first row is the low temperature and the second row is the high for the day. This makes a more colourful combination of squares in the blanket.

The only thing is that you need a wider range of colours to cover the low temperatures as well.

Example colours for a temperature blanket

Zero and below white

1C to 2C cream

3C to 4C grey/taupe

5Cto 6C light blue

7C to 8C teal

9C to 10C green

11C to 12C lemon

13C to 14C yellow gold

15C to 16C orange

17C to 18C pink

19C to 20C hot pink

21C to 22C red

23C to 24C magenta

25C to 26C violet

27C to 28C purple

29C and above black


3) Daily Mood Blanket

A mood blanket can be done by crocheting a square in the mood you wake up in each morning.

We all like to think we are upbeat and happy each and every day and that is the goal of most people but reality is different. The only problem with this blanket is that you may be in a sad mood for many days and the blanket will bear witness to this.

Also if you get halfway through the year and your cat dies you will be is a sad mood for weeks and this will show in the blanket.

The mood blanket will reflect life as it really is. If you feel comfortable with making a mood blanket here are some suggested colours that you can use for each mood.

Example colours for a mood blanket

Anger – red

Joy – orange

Happiness – yellow

Envious – green

Sadness – blue

Optimistic – indigo

Inspired – violet

Bored – white

Tired – black

You can choose the colours beforehand and hopefully you will have a happy and cheerful year.
 

Author Bio

Alison Heathcote, a passionate crochet enthusiast and dedicated business blogger, combines her love for crafting and entrepreneurship to inspire and connect with others.

With a knack for transforming yarn into beautiful creations and a flair for sharing valuable insights about running a successful crochet business, Alison embodies the perfect blend of creativity and practicality.

More Articles

If you enjoyed this post and crochet is your thing, you may like some other crochet articles from our blog.

Crochet and Self-care 

Crochet and Self-care 

Author: Alison Heathcote   -   Published: April 2013   -   Revised: January 2024 Crochet for Self-care Crochet is a wonderful activity that can provide relaxation, mindfulness, and creativity, making it an ideal addition to your daily self-care routine. Whether you...

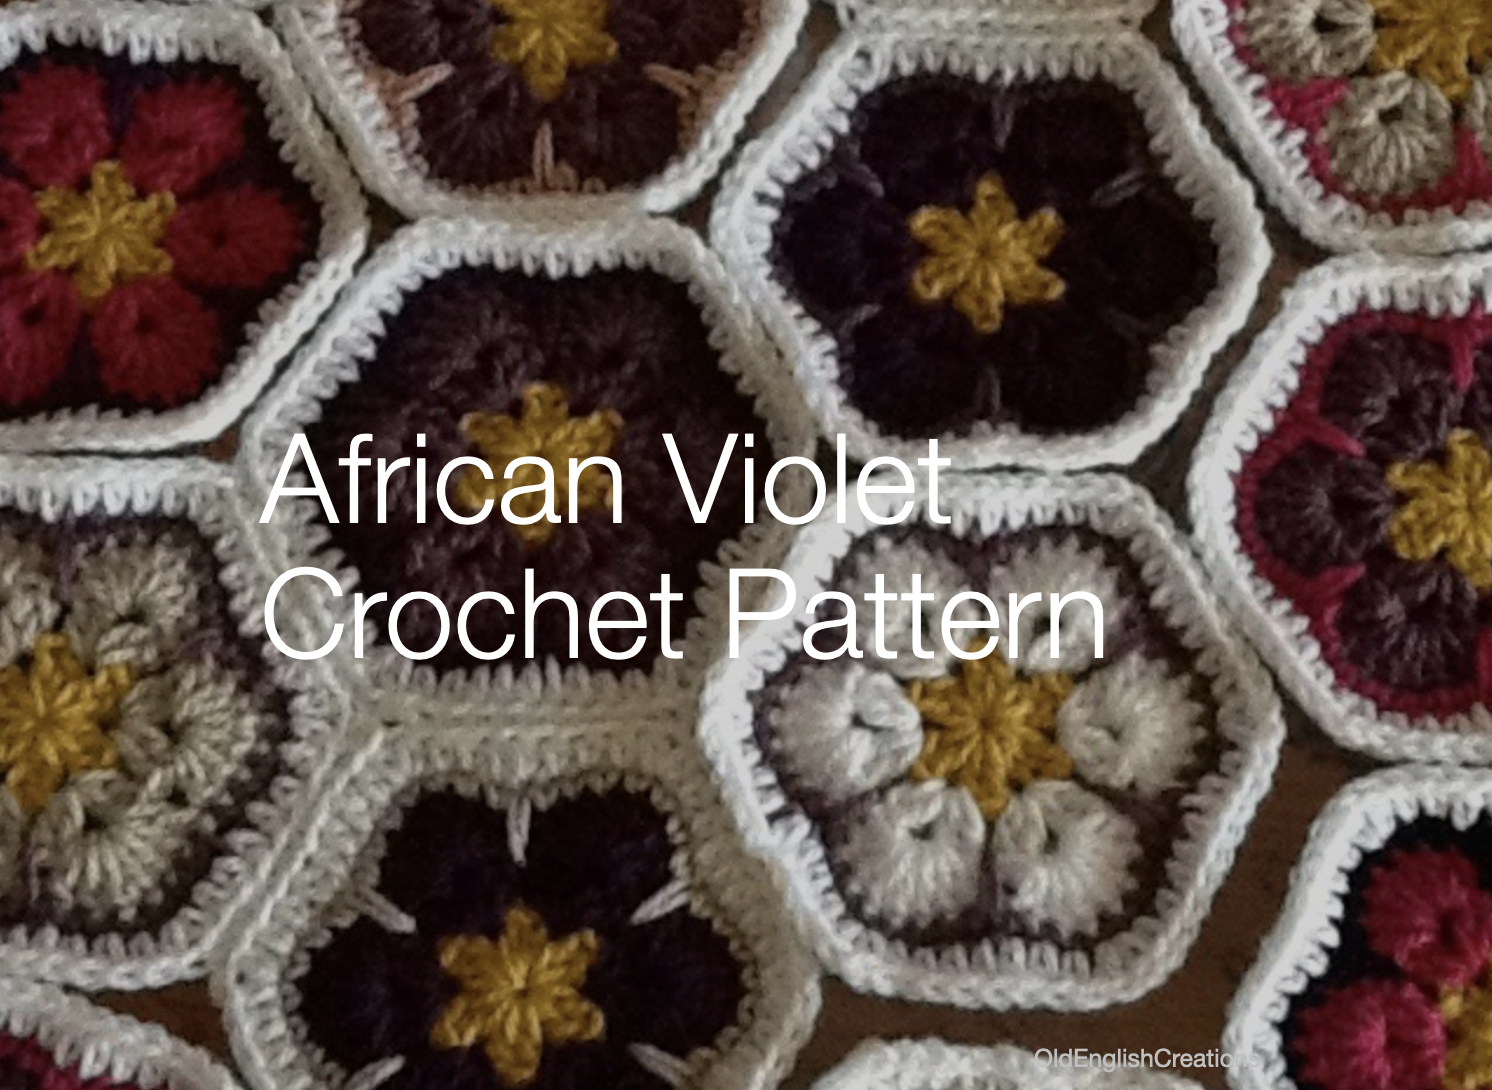
African Violet Flower Crochet Pattern

African Violets

The African Violet is a delightful indoor plant that blooms in a variety of violet and purple shades.

The petals can be deep purple through to pale pink and white as well.

The edges of the petals are different colours and add interest to the shape.

The flowers are surrounded by dark green almost circular leaves. Each bloom has a small yellow center.

The basic structure of yellow, violet and green leaves is an excellent shape that lends itself to crochet.


African Violet Care

African violets like to be in bright spots but not direct sunlight.

Place them anywhere and even in the bathroom near a window.

When the flowers die off pinch them out as others will grow in their place.

They are forgiving little plants and will bloom several times a year.


Propagation

This dainty little plant can be easily grown from a leaf cutting just thrust into fresh soil and the new leaves will shoot up from the cut base of the original leaf.


Watering

The trick to watering an African violet is to use tepid water and never cold water.

Never drip water onto the leaves, but instead carefully pour water onto the soil in the pot.

Water once a week with about a half a cup of water.

If the leaves get dusty you can brush them lightly with a dry paintbrush or a pastry brush.

African Violet Hexagonal Motif

Shapes can be powerful symbols in themselves.

Many motifs in crochet are square and this one is a hexagon. Six sided shapes are found in nature where bees make honey.  

The balance of six side makes the shape of a hexagon itself somewhat satisfying to see and agreeable to work with.

Use this basic six sided motif to create many items.

It can be used for a simple coaster or combined with others to make larger projects like scarves, shawls or blankets.


Note:

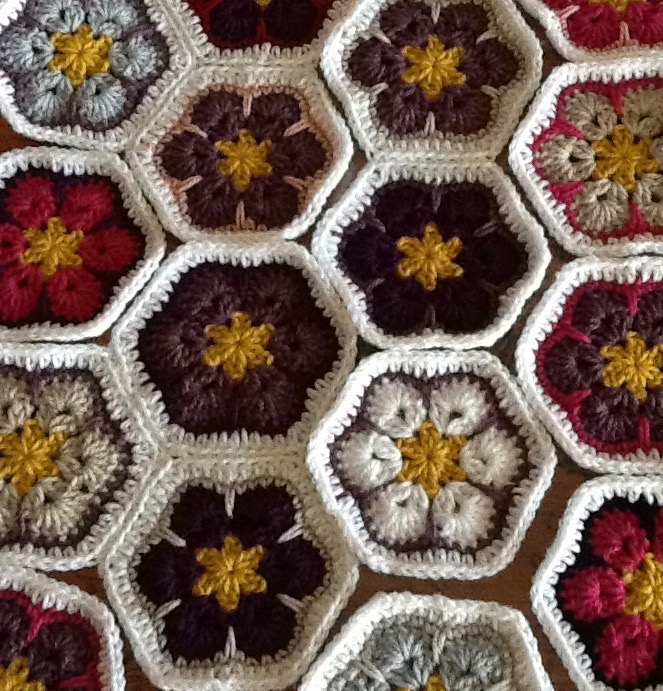
With the African violet flower hexagon motif I have made a small blanket to lay at the bottom of my bed.

When I have a lie down in the afternoon (to read you know) I can slip my feet underneath the light blanket to keep my toes warm in case I nod off.


African Violet Crochet Pattern Details

You will need…

You will need yarn in yellow, white and complimentary shades of violet, pinks and purples.

You may use as few as two violet colours (one main and one complimentary) or as many colours as you like in a random fashion.

Use one color for the edging and in this case I have chosen white.

Note: My bedroom is mainly light and neutral and this is why I chose white as the edging for this blanket. You can select a colour that will compliment your bedroom colour scheme and use that as the edging colour on the last round.

Stitches used in this pattern

There are four basic crochet stitches used in the African violet flower motif and one special stitch, the spike stitch.

Please note, we use the US crochet stitch terminology and not UK on all patterns on this site.

  • Chain (ch).
  • Single crochet (sc).
  • Double crochet (dc).
  • Half double crochet (hdc).
  • Spike stitch (sp st) see note below.

Special stitches

Spike stitch (sp st) insert your hook into the gap in the row below the current row and pull up a loop loosely (two loops on hook), yarn over pull through both loops.


African Violet Crochet Pattern

Center chain ring: With yellow. Ch 5, join with a sl st to form ring.

Round 1: Ch 2 (as 1st dc), dc, ch 1, *dc 2 ch 1*, repeat from * to * [4] times, sl st to join at top of 1st st. Cut yarn.

Round 2: Join violet with sl st into space.  Ch 2 (as 1st dc), ch 1, dc 2, * dc 2, ch1, dc 2 * repeat [4] times. Join with sl st.

Round 3: Sl st into next 2 sts (to be in space), Ch 2 (as 1st dc), dc 6 into space, * in next space dc 7 *, repeat from * to * [4] times, join with sl st. Fasten off.

Round 4: Join contrast colour. Sl st to join into the 1st st on the left of a petal. Sc6 until you get to the gap between two petals. * Sp st, sc 7 * repeat from * to * [4] times. Join with sl st. Fasten off.

Round 5: Join white. Hdc1 in every stitch until you get to the middle st of the 7 sts in the petal, in this middle st (hdc 1, ch 1, hdc 1). Continue until end making all 6 points at the top of the petals. Join with sl st. Fasten off.


Finishing

Sew in all ends by weaving up the edge of the motif.

Layout the motifs is an appealing way if you have use random colours. Take your time with the colour placement.

Pick up two motifs and with right sides facing sew them together.

“Outer loops only” sew-up method

Sew with white and a tapestry sewing needle through the outer loops only of the top row of stitches. Double stitch at the corners to keep them sharp.

This method leaves an attractive edge to each motif when laid flat.

Do not sew through both loops.

Note: Joining the hexagons by sewing them results in a firmer, smoother and less bulky seam than crocheting them together does.

Sewing may seam seem to take longer but it makes for a far superior finish.

Sewn crochet blankets will last better in the wash and after ten years they will still be joined.

I still own an acrylic crocheted blanket that I made in 1990. I use it every day and wash twice a month and the seams are only now starting to fray.

Author Bio

Alison Heathcote, a passionate crochet enthusiast and dedicated business blogger, combines her love for crafting and entrepreneurship to inspire and connect with others.

With a knack for transforming yarn into beautiful creations and a flair for sharing valuable insights about running a successful crochet business, Alison embodies the perfect blend of creativity and practicality.

More Articles

If you enjoyed this post and crochet is your thing, you may like some other crochet articles from our blog.