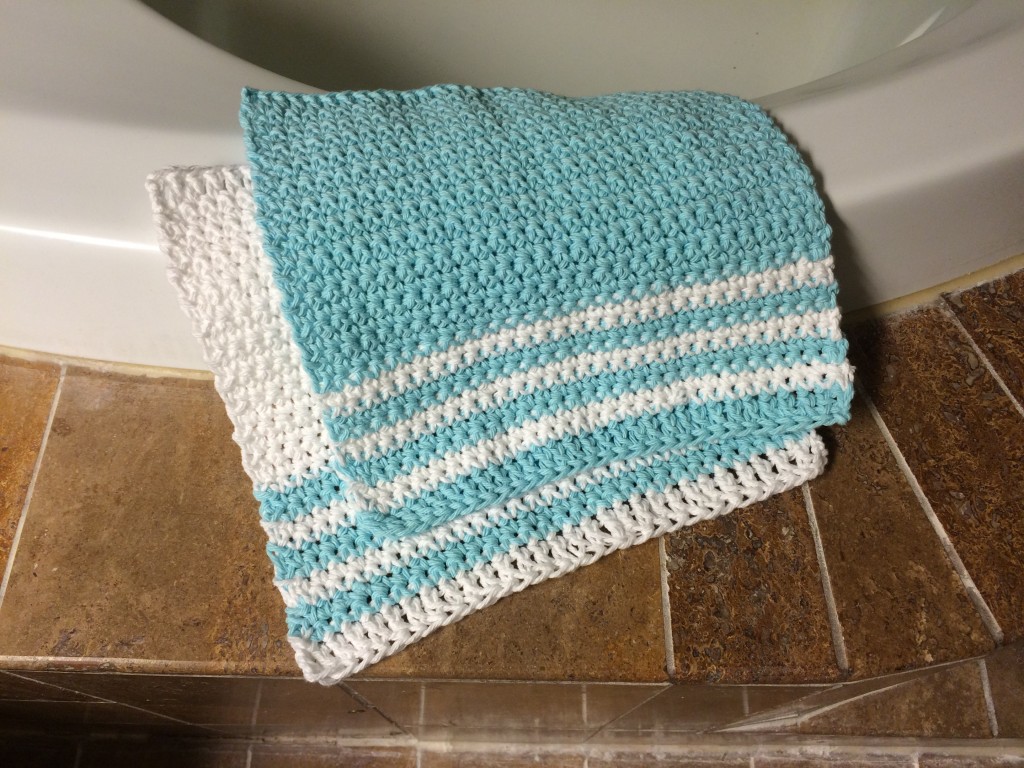
Making Space for Crochet Special Places I have a cherished spot in my home that's dedicated to my crocheting. It's where I spend a lot of my creative time. At any given moment, you'll find me working on at least two crochet projects. One of them is usually a...
Christmas Crochet Bunting Garland
Author: Alison – Updated: September 2025
Merry Christmas Bunting: Crochet Pattern
Inspiration
Bring some handmade charm into your home this holiday season with this festive crochet bunting. I’m sharing my original pattern for a “Merry Christmas” garland that you can craft ahead of time and enjoy as part of your seasonal decorations.
Pennants
A pennant is a little triangular flag, and for this project you’ll make seventeen of them. Once finished, they’re strung together to spell out a joyful Christmas message. You can follow the pattern in classic red, green, and white, or change up the colors to suit your own style or even adapt it for other celebrations throughout the year. To see the full step-by-step process, watch the video on YouTube here.
Materials
Yarn
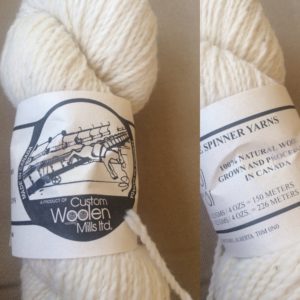
For this bunting, I used Impeccable acrylic yarn in size [4] worsted weight. You’ll need one ball each in red, green, and white. The exact shades I chose were Ruby Red, Sage Green, and Ivory. Get this yarn here.
Hook
5mm crochet hook. Get this hook here.
Tapestry needle. Get a similar needle here.
Measurements
Pennant
Each pennant is about 20 cm (8 inches) wide, 19 cm (7 ½ inches) tall, and 22 cm (8 ¾ inches) along the two long sides of the triangle.
Gauge
The gauge is approximately 14 stitches and 8 rows over a 10 x 10 cm (4 x 4 inch) square.
Bunting
When complete, the full bunting chain with end loops measures around 4 meters (just over 13 feet) in length.

Watch on YouTube
I have made a video about making the Christmas Bunting and you can watch it on YouTube by clicking the video below.
Pattern Notes: Construction Sequence
Pennants
Begin by making all the pennants. Each one starts at the bottom tip of the triangle and is worked upward. You’ll increase two stitches at the second stitch in from each edge on every row for 13 rows.
Embroidery
Once the pennants are complete, embroider the letters onto them using a simple chain stitch. This creates the words for your bunting.
Bunting Cord
Next, make the bunting cord with a long chain stitch. Add a small loop at each end so your garland is easy to hang.
Tassels
Finish by attaching tassels to the ends of the bunting for a festive touch.
Crochet Terminology
US Crochet Terms
This pattern is written using US (American/Canadian) crochet terminology.
For example, a double crochet (dc) is worked as follows:
- Yarn over, insert the hook, yarn over and pull through (3 loops on hook).
- Yarn over and pull through 2 loops (2 loops remain).
- Yarn over again and pull through the last 2 loops.
- One loop stays on the hook and the double crochet is complete.
Stitches and Abbreviations
ch = chain stitch
sc = single crochet
dc = double crochet
st = stitch
sl st = slip stitch
Pennant Crochet Stitch Diagram
Color Combinations
Make 17 pennants in total. 6 red, 5 green and 6 white.

Embroider Letters
On 14 pennants embroider the capital letters:
M E R R Y C H R I S T M A S
Leave three pennants blank.
With a tapestry needle and contrasting yarn embroider each letter.
Align your letters from row 6 to row 11. Try to place the letters in the middle and do not pull too hard.
The letter M will be wider than all the other letters being 9 stitches across whereas the other letters will be 7 stitches across and the “I” only 3 stitches wide.
Keep the embroidery chain stitch at an even tension.
Embroidery Chain Stitch Examples
Letters
Here are the photos of each pennant I made showing the embroidery chain stitch letters to help you as a guide.


Bunting Cord Pattern
Starting Loop
With red, ch10, and sl st into the first chain to form a loop. Chain 10.
Join the Pennants
Single crochet across the top 27 stitches of the first pennant.
Gaps
Chain 5 for the gap.
Join the next pennant.
Note
Make sure the pennants are added in the correct order to spell the words “_MERRY_CHRISTMAS_” with a blank pennant at the front, a blank pennant between the two words and a blank pennant at the end.
Ending Loop
After the last pennant is joined, ch20 and slip stitch into the 10th chain from the hook to form a loop.
Fasten off. Weave in the ends.

End Loops
End Loops
Here are the photos of the two end pennants.
They show the 10 chain loops with which to hang your bunting.


Tassels
Make the Tassels
The tassels hang at the point of each pennant. Cut four strands of yarn, two strands of red and two strands of white, 20cm (8 inches) long.
Fold in the middle.
I ran out of green and so I only used red and white.
Join Tassels
Right side facing, from behind, insert your hook into the base point of a pennant and pull the folded loop of the 4 strands through for about 2cm, then pull the rest of the loose strands through the folded loops.
Gently ease the tassel into place.
Repeat on every pennant.
Slightly trim the tassels with sharp scissors if necessary.


About Old English Creations
Heartfelt Creativity
At Old English Creations, we’re building a small but heartfelt crochet business that celebrates creativity, mindfulness and the joy of making. Our focus is on sharing original crochet patterns, tips and inspiration which encourages you to bring more handmade beauty into your life.
Modest
We currently earn a micro income through sales of our unique patterns on Etsy, with plans to grow further through our YouTube channel and our blog. Right now, the income is modest and just enough to buy more yarn and keep the creativity flowing, but every purchase, view and share truly helps support Alison’s work and passion for crochet design.
YouTube
You can find us on YouTube at Old English Creations, where we post occasional tutorials, pattern walkthroughs and crochet inspiration. If you enjoy a video, please like and share it because it makes a real difference in helping us grow.
Website and Blog
Visit our home base at OldEnglishCreations.com for patterns, behind-the-scenes posts and crochet insights. It’s also where you’ll find resources for both hobby crocheters and those looking to turn their passion into a small business.
Newsletter
Join our newsletter to receive early access to new patterns, practical crochet business tips, and creative ideas to keep your hook moving.
Follow us on Instagram at @oldenglishcreations for snapshots of works-in-progress, finished pieces and plenty of colorful yarn inspiration.

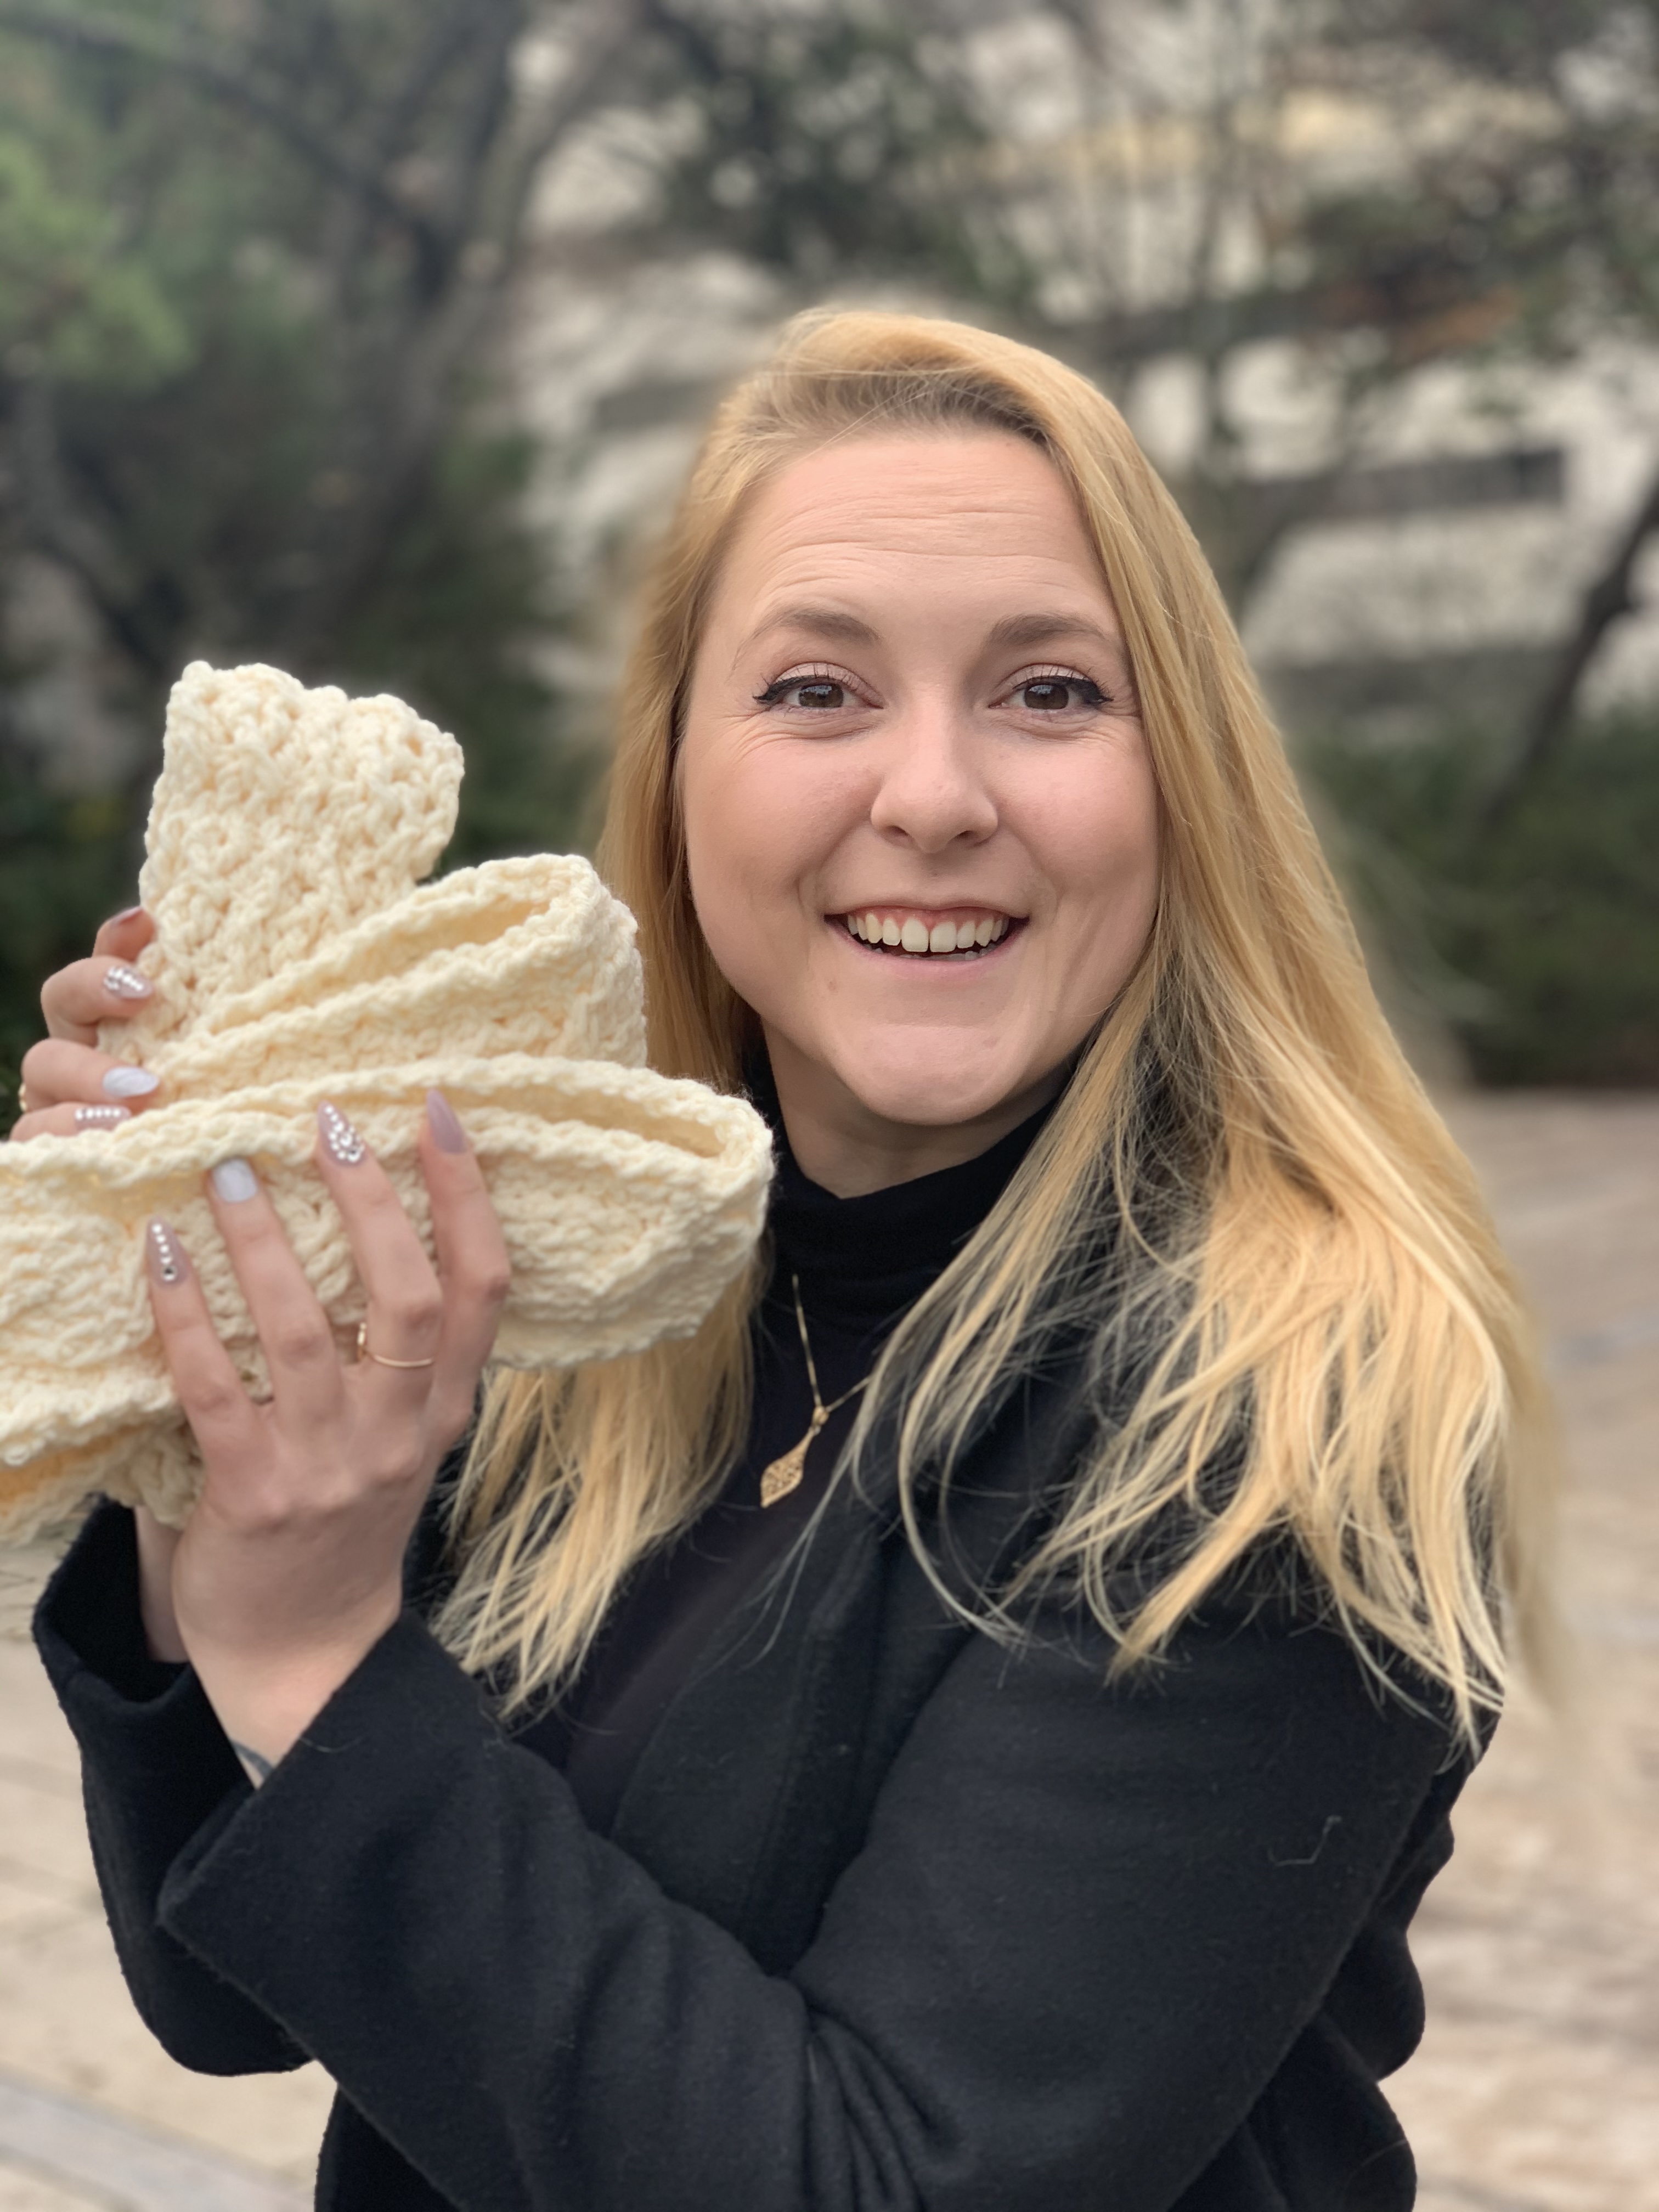
Author Bio
Alison is a passionate crochet enthusiast and dedicated business blogger. She combines her love for crafting and entrepreneurship to inspire and connect with others.
With a knack for transforming yarn into beautiful creations and a flair for sharing valuable insights about running a successful crochet business, Alison embodies the perfect blend of creativity and practicality.
Read more about Alison’s crochet journey.
More Articles
If you enjoyed this post and crochet is your thing, you may like some other crochet articles from our blog.
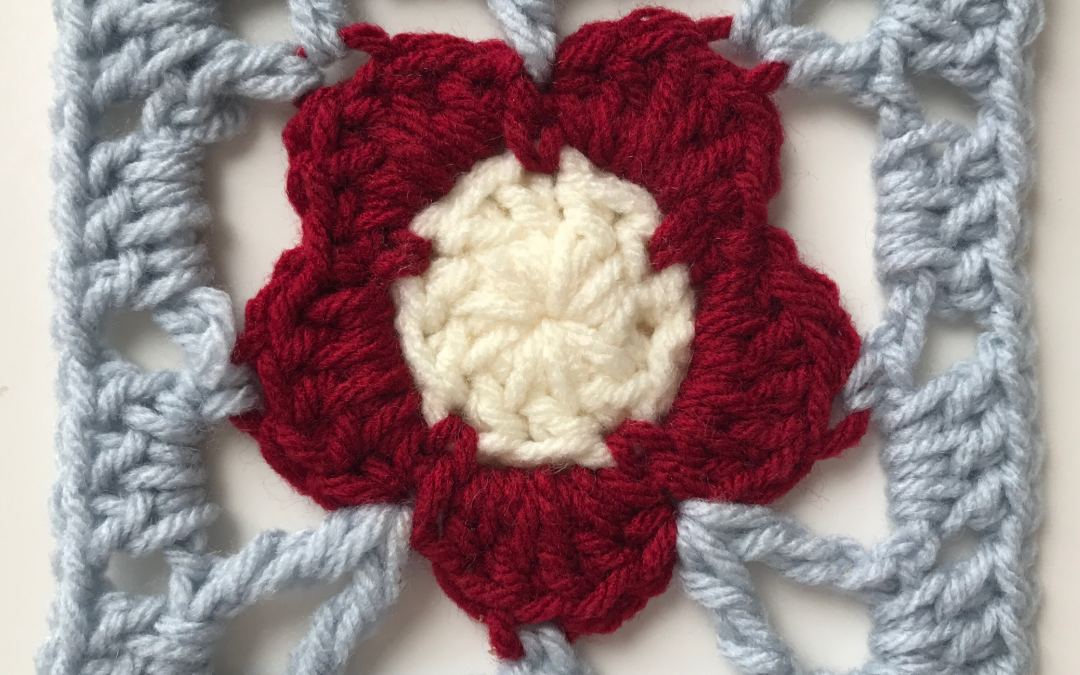
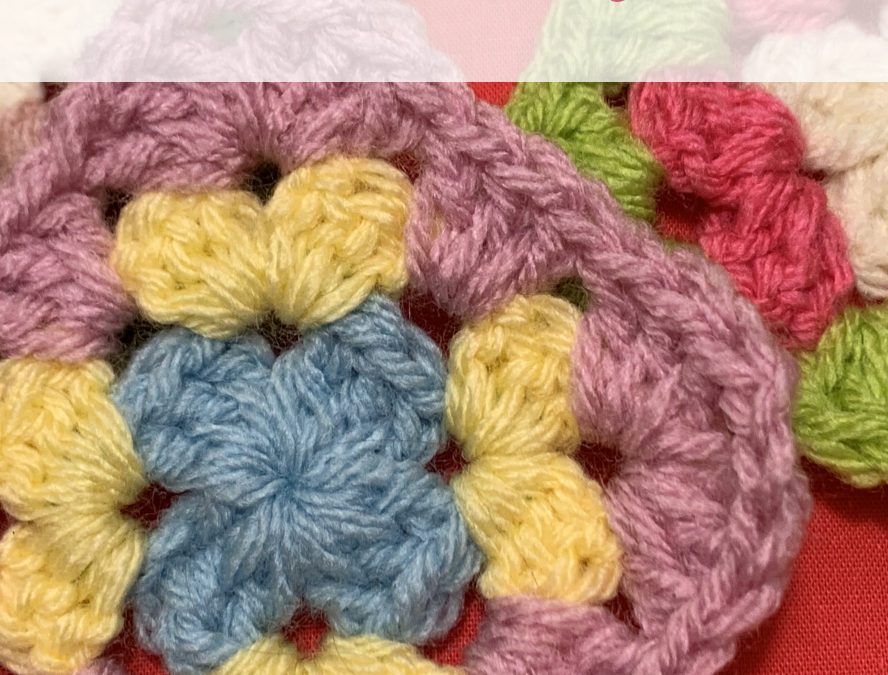
Tudor Rose Granny
Discover how you can use our Tudor Rose granny for blankets or make them up into a bag.
No Results Found
The page you requested could not be found. Try refining your search, or use the navigation above to locate the post.