No Results Found
The page you requested could not be found. Try refining your search, or use the navigation above to locate the post.
Author: Alison – Updated: September 2025
Bring some handmade charm into your home this holiday season with this festive crochet bunting. I’m sharing my original pattern for a “Merry Christmas” garland that you can craft ahead of time and enjoy as part of your seasonal decorations.
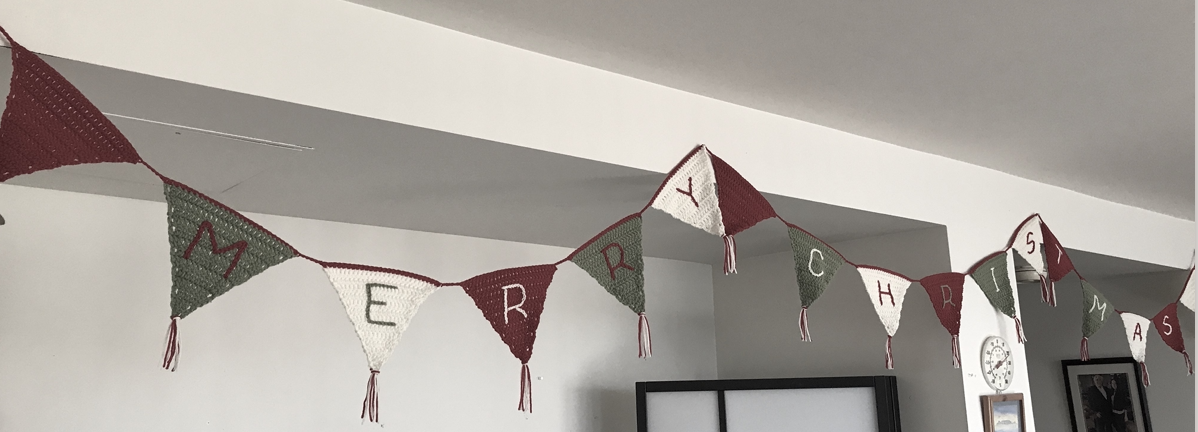
A pennant is a little triangular flag, and for this project you’ll make seventeen of them. Once finished, they’re strung together to spell out a joyful Christmas message. You can follow the pattern in classic red, green, and white, or change up the colors to suit your own style or even adapt it for other celebrations throughout the year. To see the full step-by-step process, watch the video on YouTube here.
For this bunting, I used Impeccable acrylic yarn in size [4] worsted weight. You’ll need one ball each in red, green, and white. The exact shades I chose were Ruby Red, Sage Green, and Ivory. Get this yarn here.
5mm crochet hook. Get this hook here.
Tapestry needle. Get a similar needle here.
Each pennant is about 20 cm (8 inches) wide, 19 cm (7 ½ inches) tall, and 22 cm (8 ¾ inches) along the two long sides of the triangle.
The gauge is approximately 14 stitches and 8 rows over a 10 x 10 cm (4 x 4 inch) square.
When complete, the full bunting chain with end loops measures around 4 meters (just over 13 feet) in length.
I have made a video about making the Christmas Bunting and you can watch it on YouTube by clicking the video below.
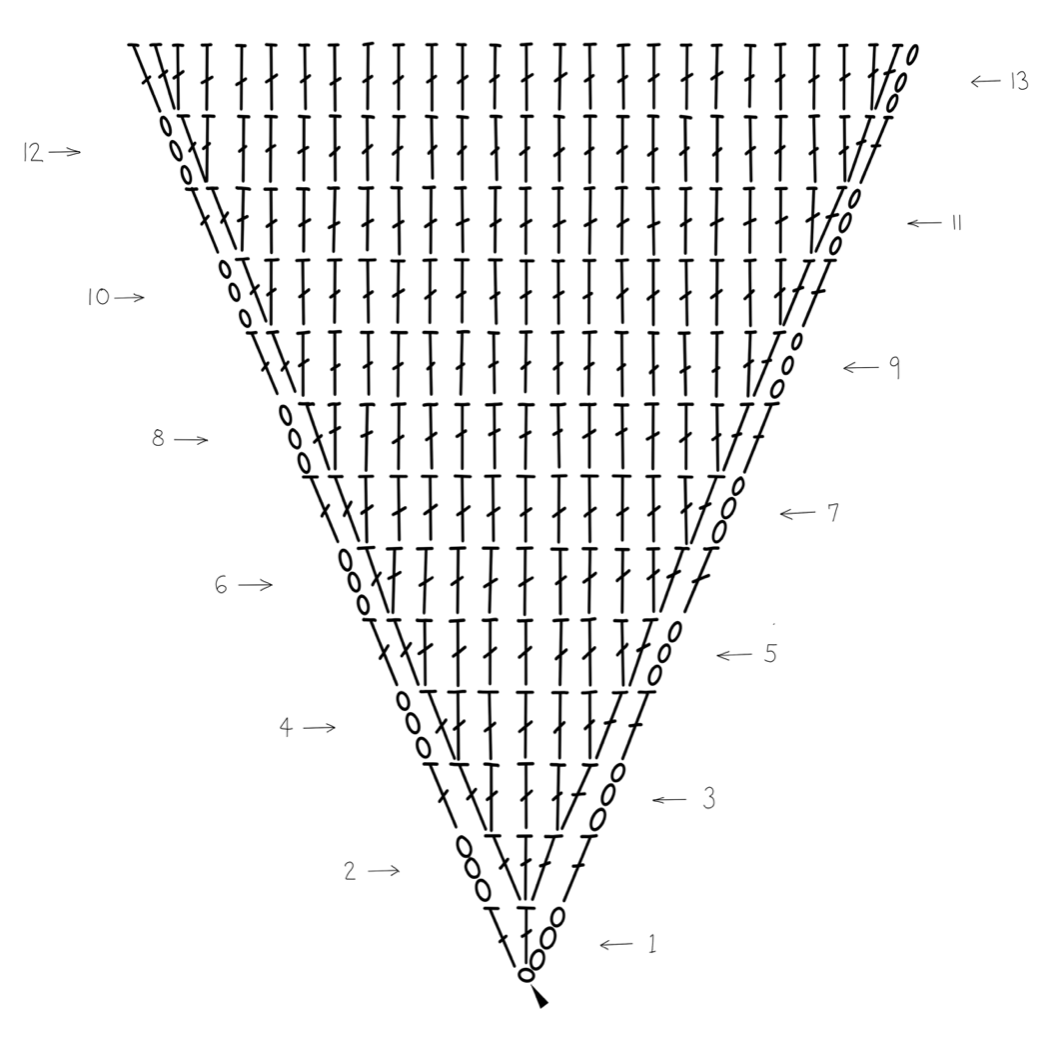
Begin by making all the pennants. Each one starts at the bottom tip of the triangle and is worked upward. You’ll increase two stitches at the second stitch in from each edge on every row for 13 rows.
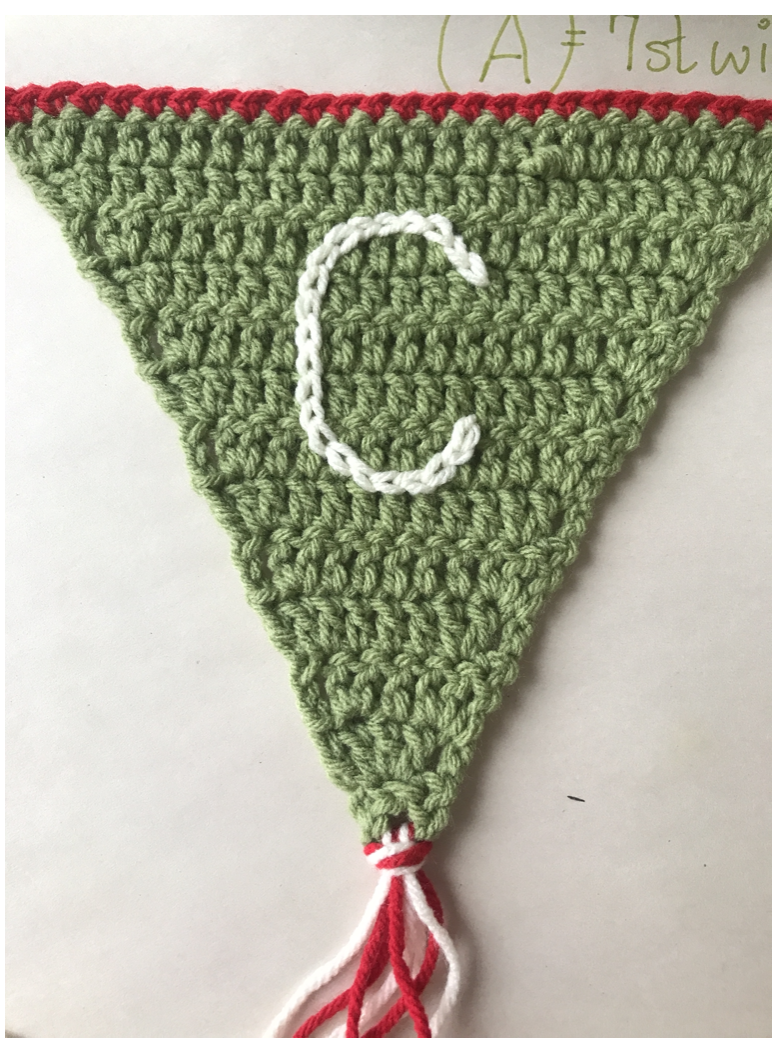
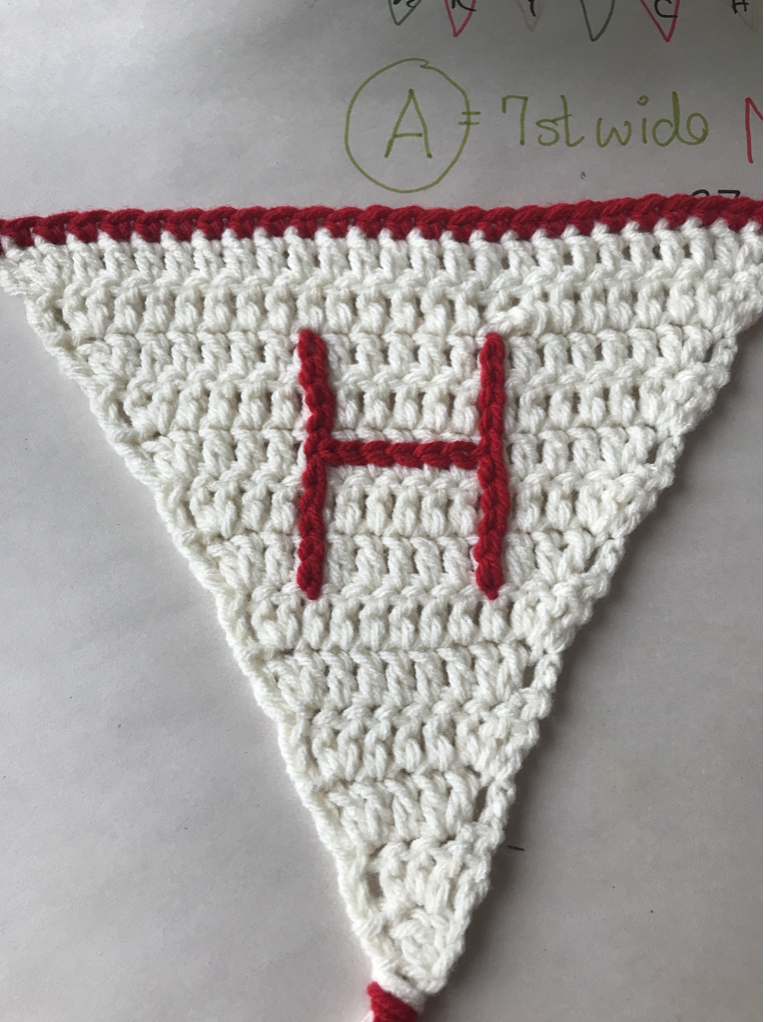
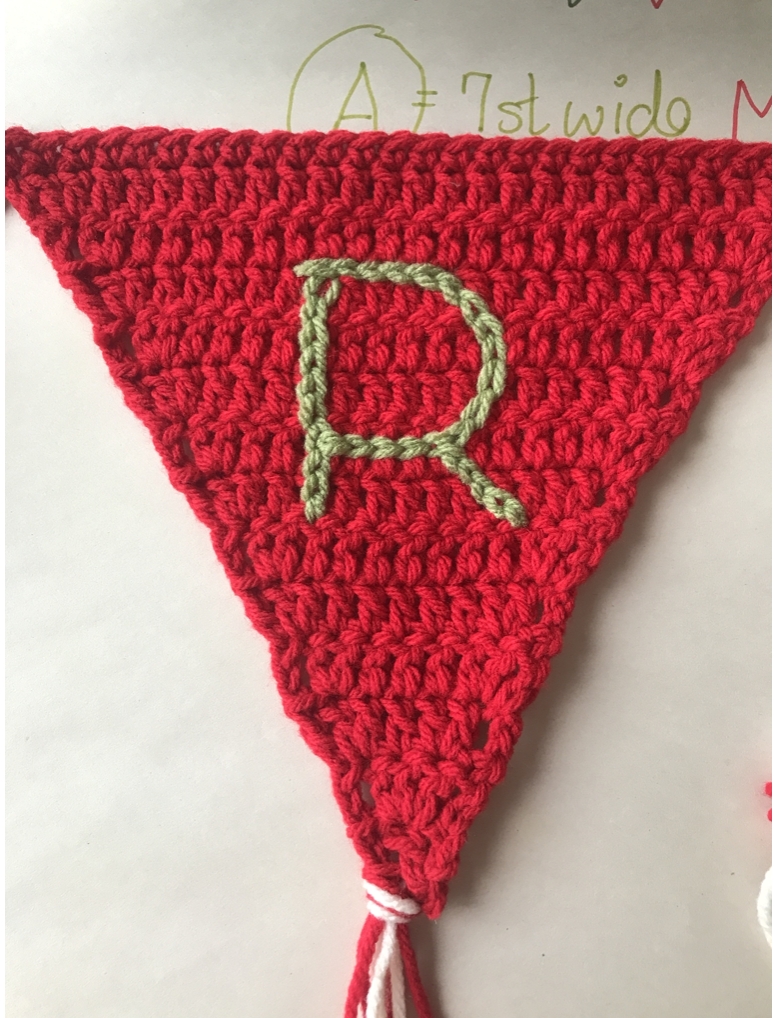
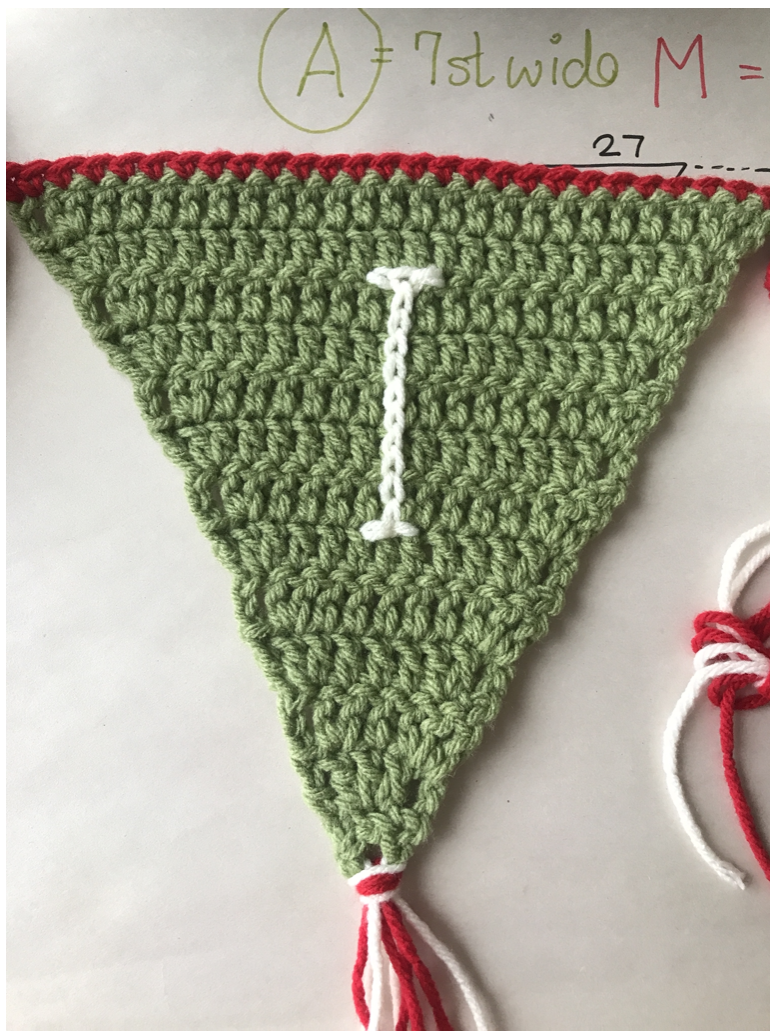
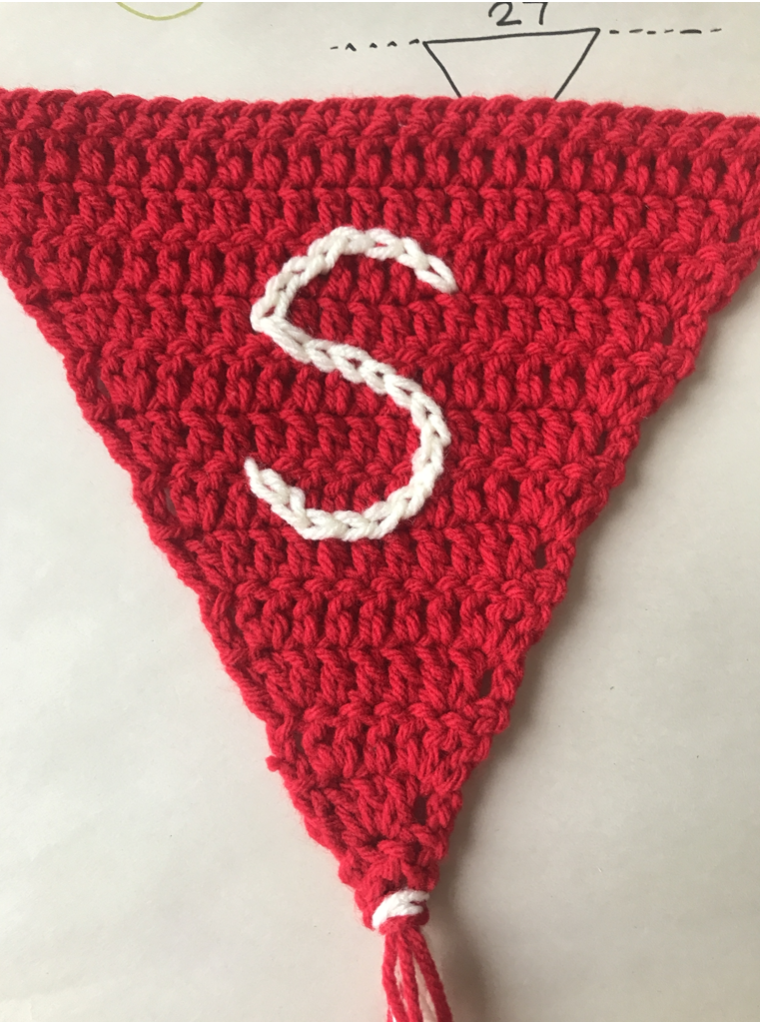
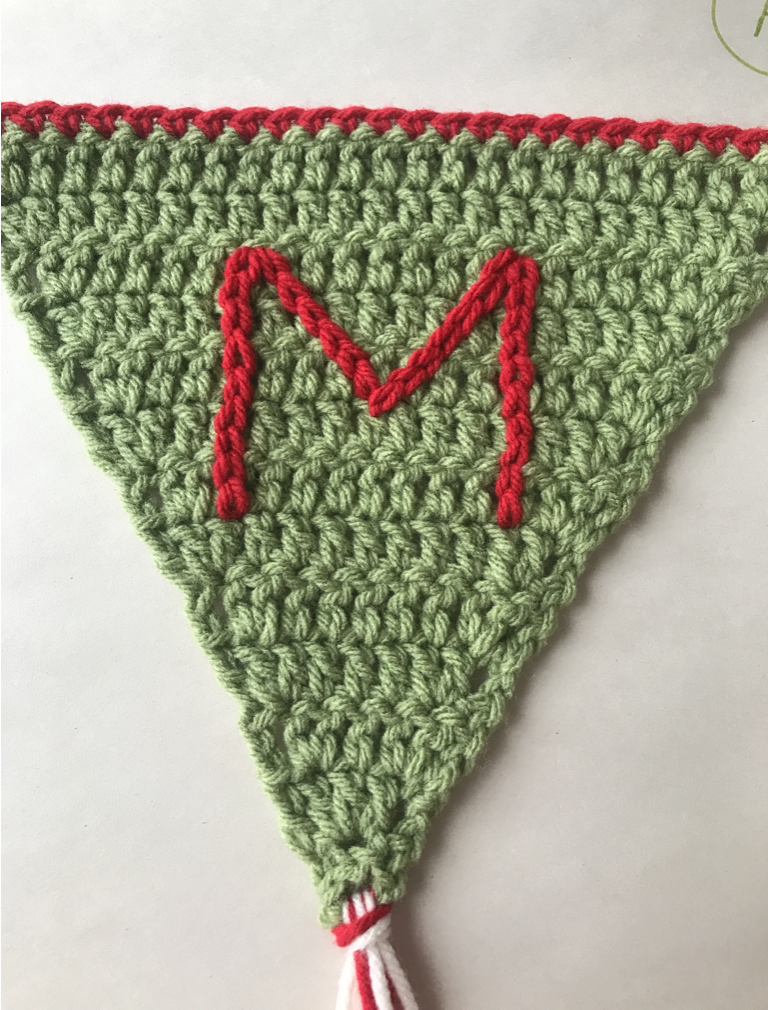
Once the pennants are complete, embroider the letters onto them using a simple chain stitch. This creates the words for your bunting.
Next, make the bunting cord with a long chain stitch. Add a small loop at each end so your garland is easy to hang.
Finish by attaching tassels to the ends of the bunting for a festive touch.
This pattern is written using US (American/Canadian) crochet terminology.
For example, a double crochet (dc) is worked as follows:
ch = chain stitch
sc = single crochet
dc = double crochet
st = stitch
sl st = slip stitch
Make 17 pennants in total. 6 red, 5 green and 6 white.
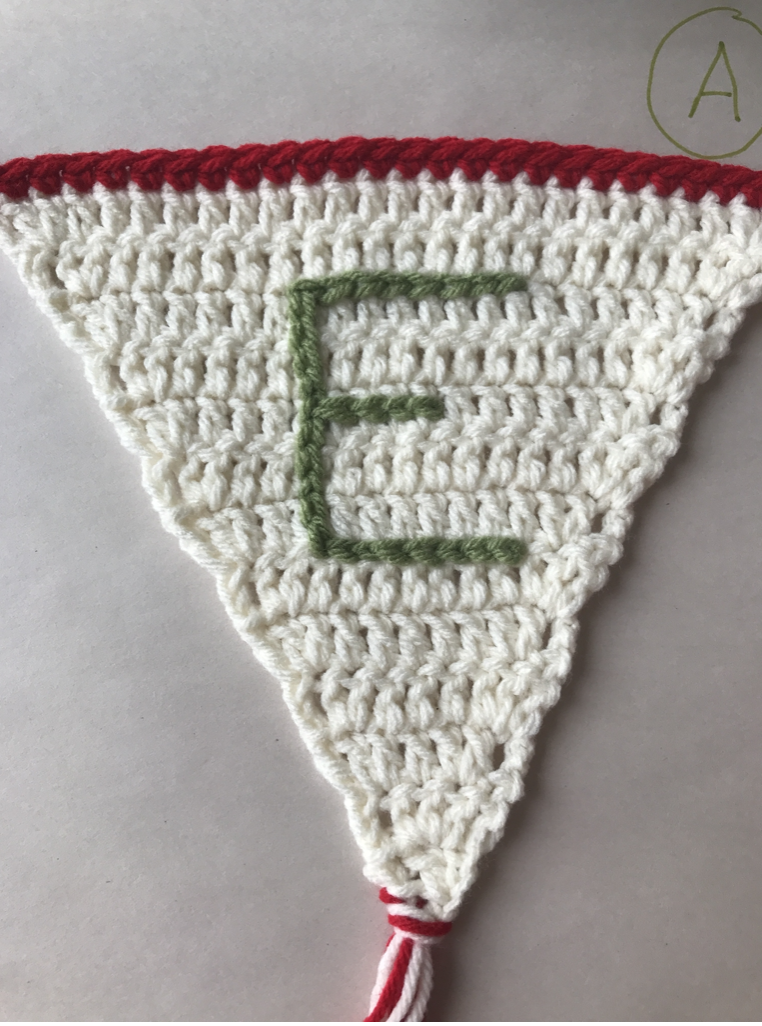
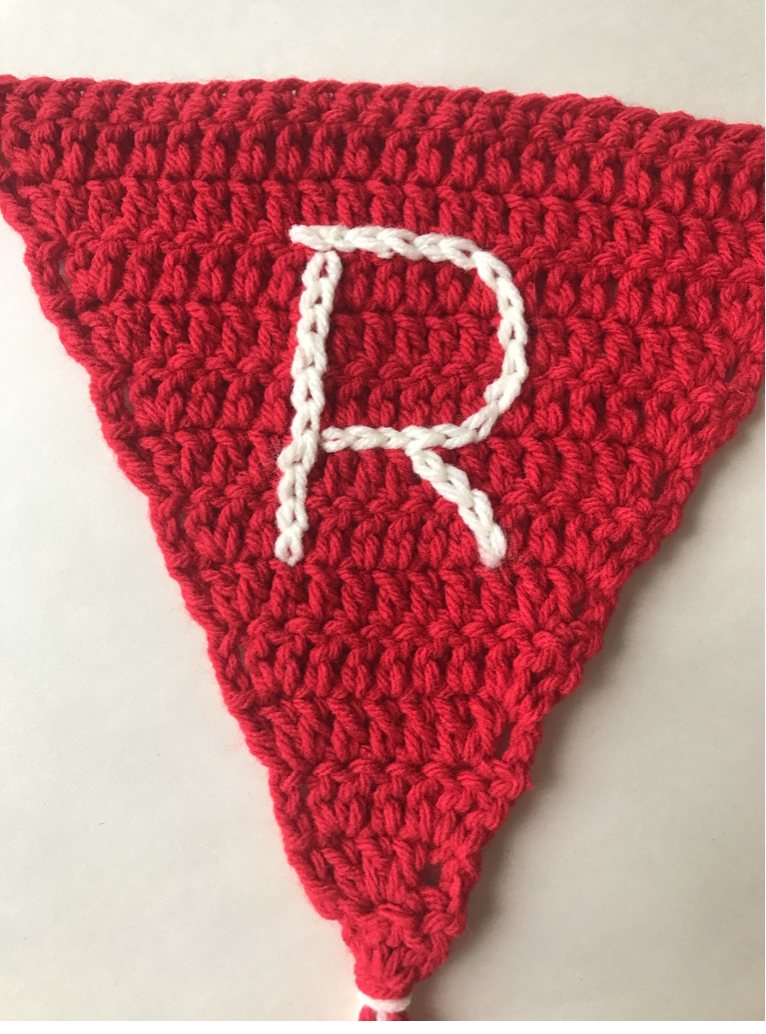
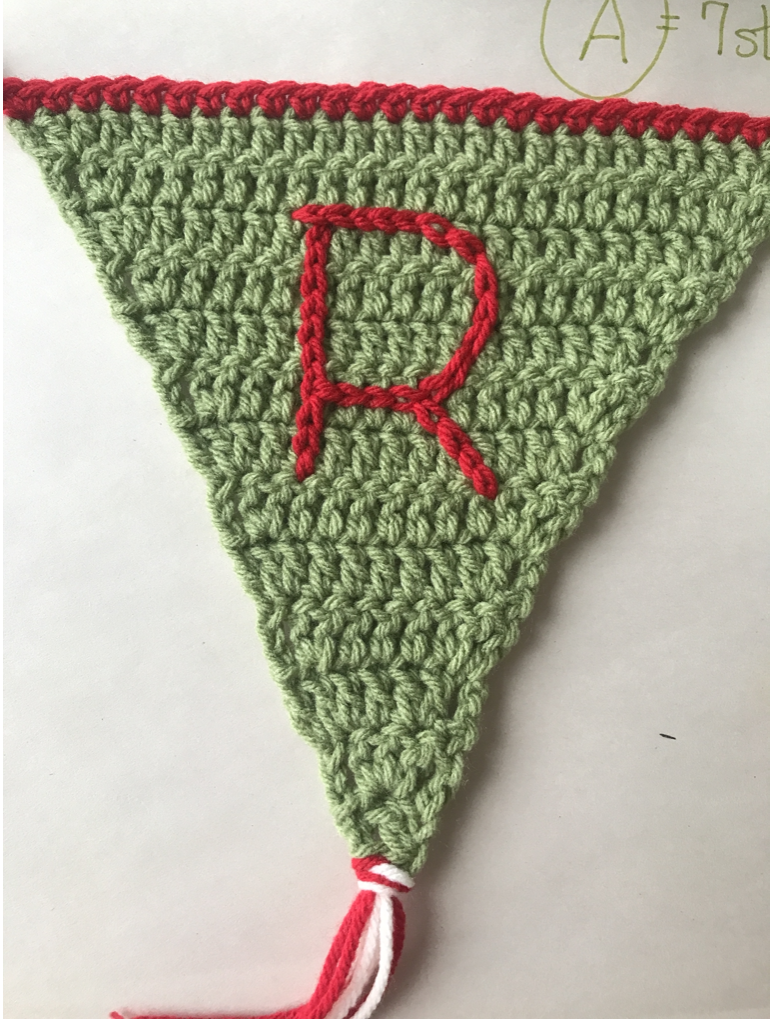
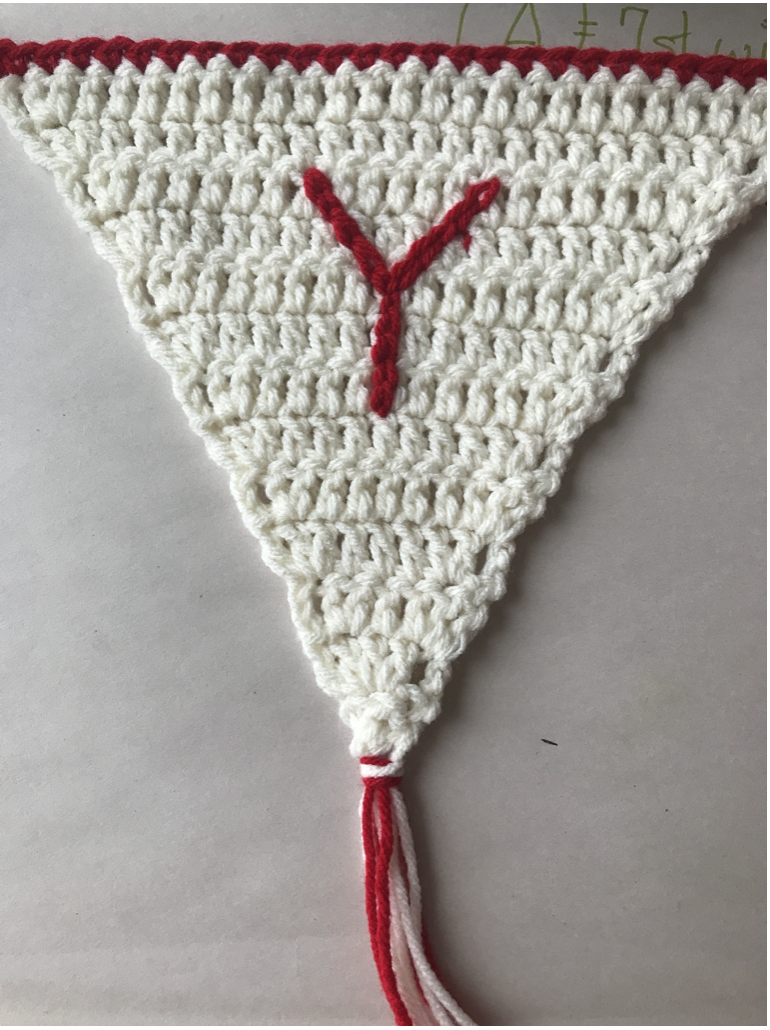
On 14 pennants embroider the capital letters:
M E R R Y C H R I S T M A S
Leave three pennants blank.
With a tapestry needle and contrasting yarn embroider each letter.
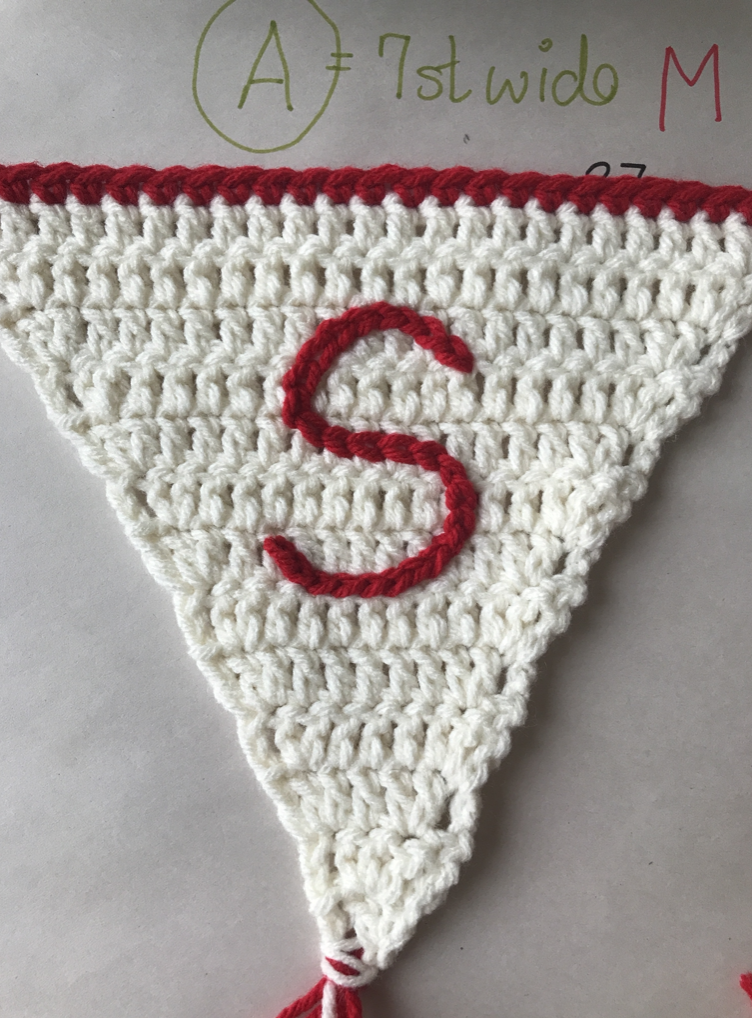
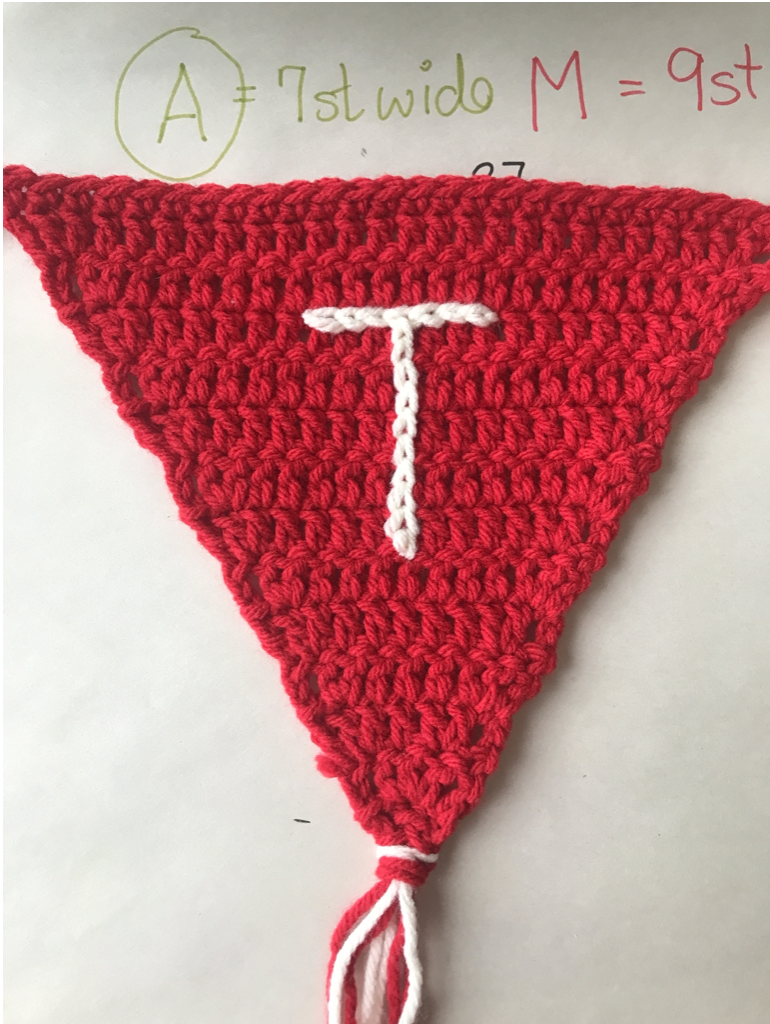
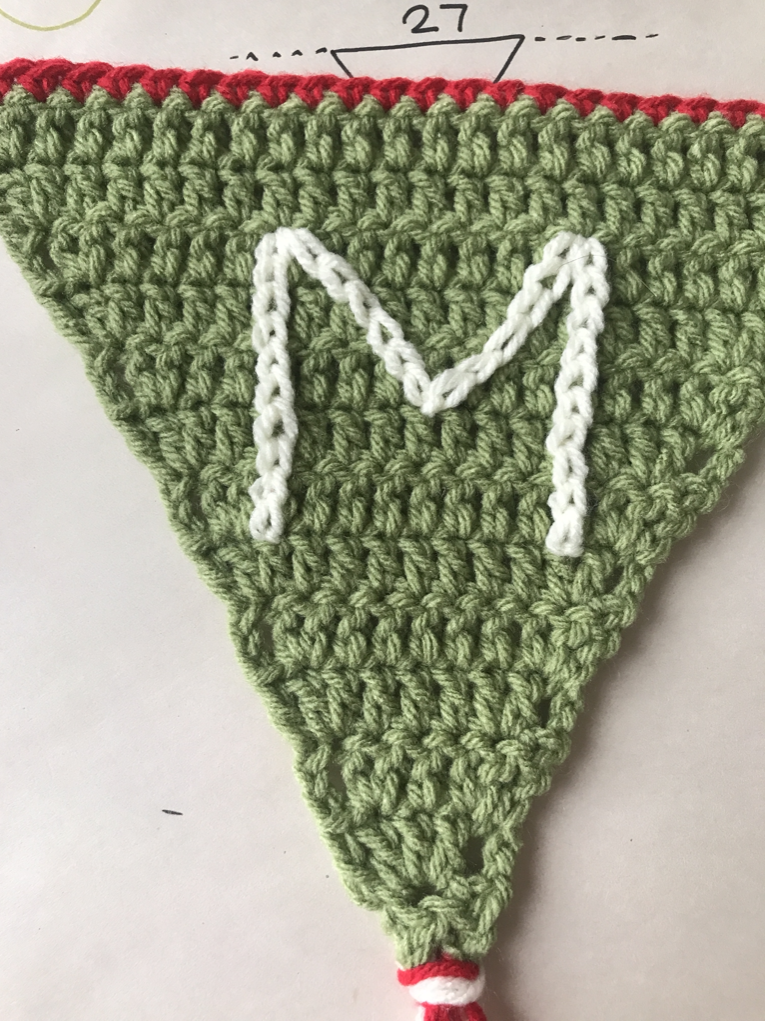
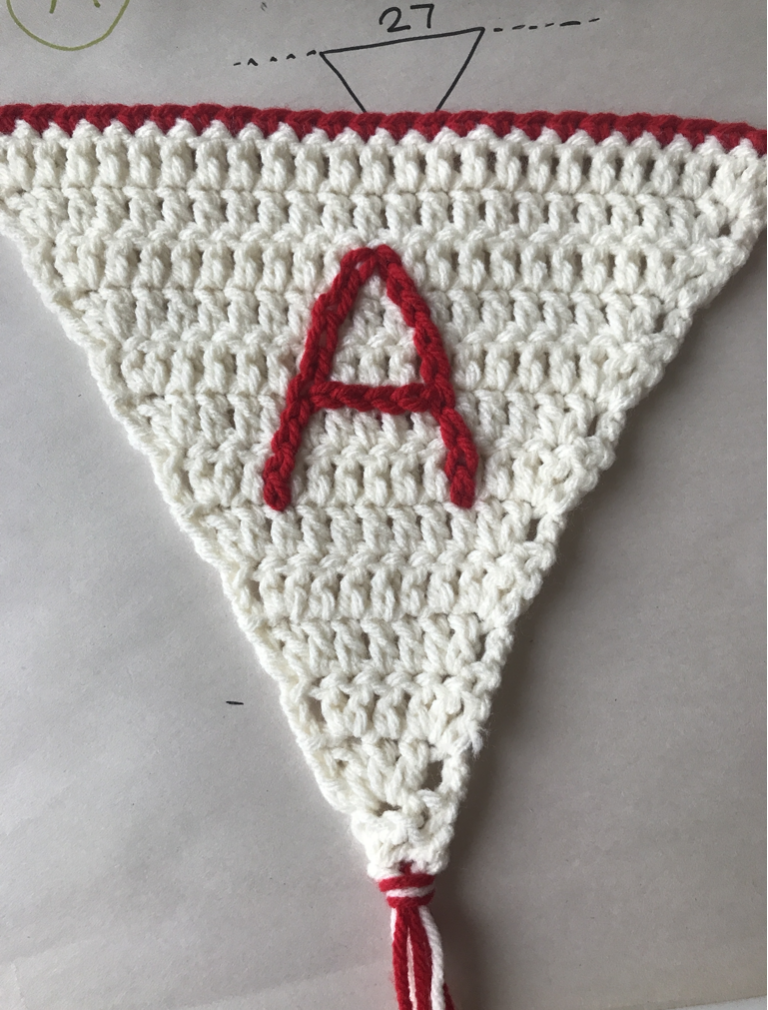
Align your letters from row 6 to row 11. Try to place the letters in the middle and do not pull too hard.
The letter M will be wider than all the other letters being 9 stitches across whereas the other letters will be 7 stitches across and the “I” only 3 stitches wide.
Keep the embroidery chain stitch at an even tension.
Here are the photos of each pennant I made showing the embroidery chain stitch letters to help you as a guide.
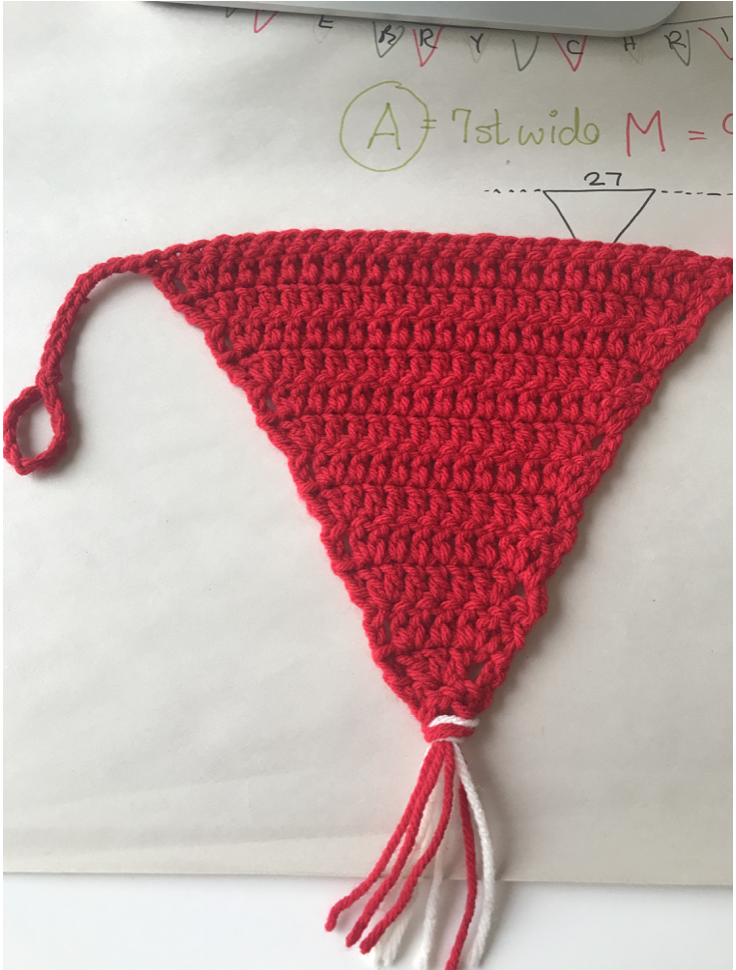
With red, ch10, and sl st into the first chain to form a loop. Chain 10.
Single crochet across the top 27 stitches of the first pennant.
Chain 5 for the gap.
Join the next pennant.
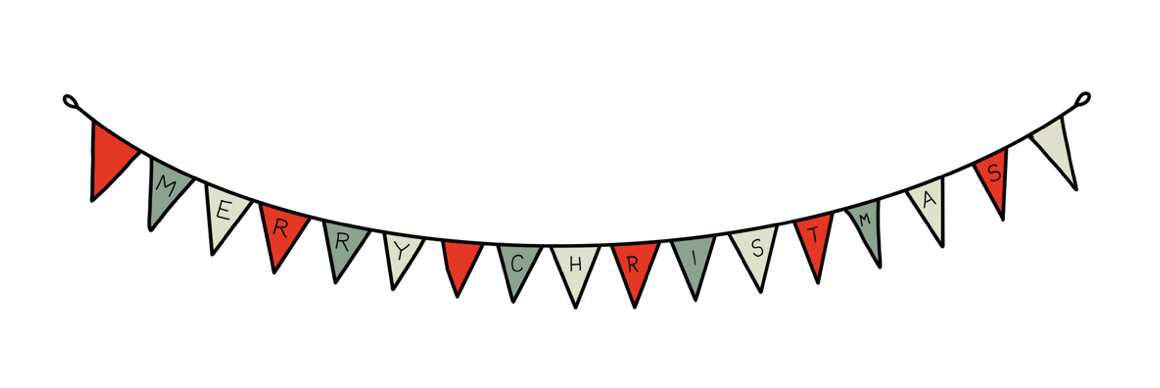
Make sure the pennants are added in the correct order to spell the words “_MERRY_CHRISTMAS_” with a blank pennant at the front, a blank pennant between the two words and a blank pennant at the end.
After the last pennant is joined, ch20 and slip stitch into the 10th chain from the hook to form a loop.
Fasten off. Weave in the ends.
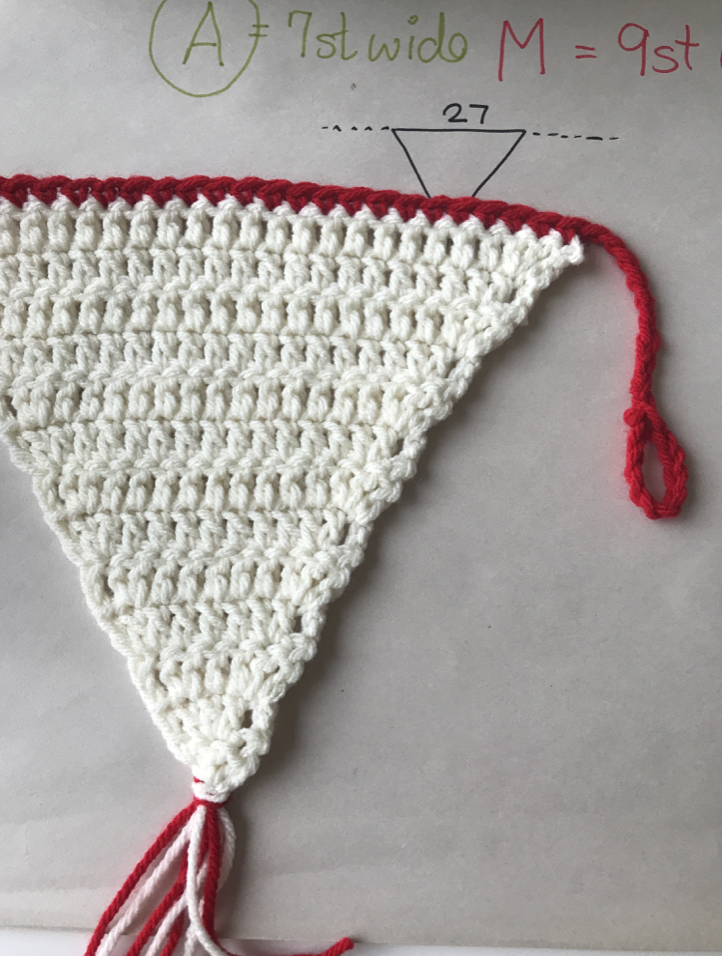
Here are the photos of the two end pennants.
They show the 10 chain loops with which to hang your bunting.
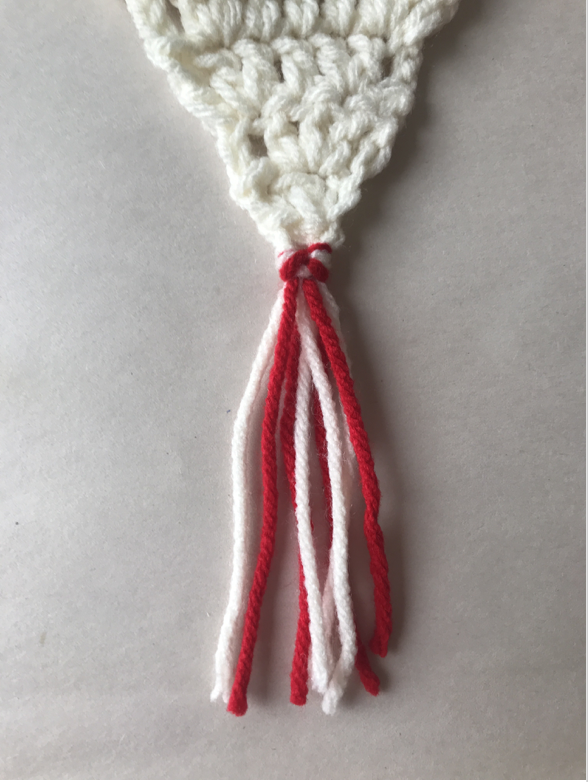
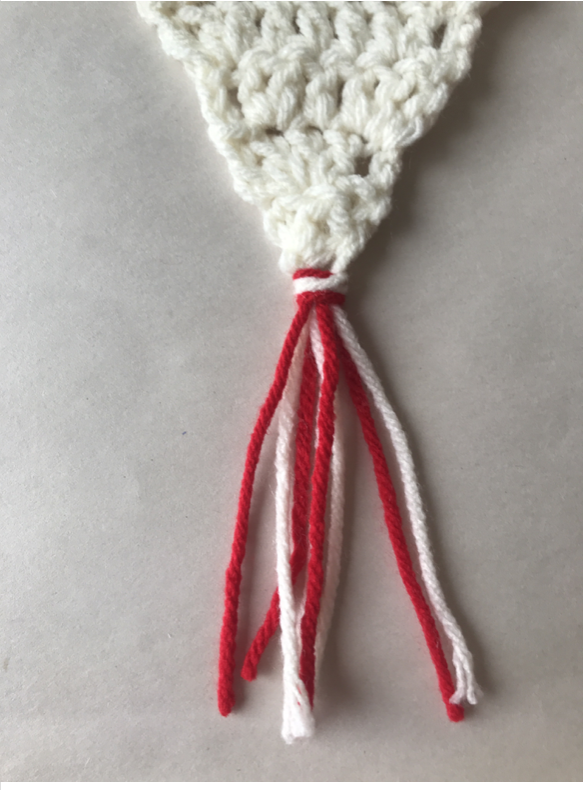
The tassels hang at the point of each pennant. Cut four strands of yarn, two strands of red and two strands of white, 20cm (8 inches) long.
Fold in the middle.
I ran out of green and so I only used red and white.
Right side facing, from behind, insert your hook into the base point of a pennant and pull the folded loop of the 4 strands through for about 2cm, then pull the rest of the loose strands through the folded loops.
Gently ease the tassel into place.
Repeat on every pennant.
Slightly trim the tassels with sharp scissors if necessary.
At Old English Creations, we’re building a small but heartfelt crochet business that celebrates creativity, mindfulness and the joy of making. Our focus is on sharing original crochet patterns, tips and inspiration which encourages you to bring more handmade beauty into your life.
We currently earn a micro income through sales of our unique patterns on Etsy, with plans to grow further through our YouTube channel and our blog. Right now, the income is modest and just enough to buy more yarn and keep the creativity flowing, but every purchase, view and share truly helps support Alison’s work and passion for crochet design.
You can find us on YouTube at Old English Creations, where we post occasional tutorials, pattern walkthroughs and crochet inspiration. If you enjoy a video, please like and share it because it makes a real difference in helping us grow.
Visit our home base at OldEnglishCreations.com for patterns, behind-the-scenes posts and crochet insights. It’s also where you’ll find resources for both hobby crocheters and those looking to turn their passion into a small business.
Join our newsletter to receive early access to new patterns, practical crochet business tips, and creative ideas to keep your hook moving.
Follow us on Instagram at @oldenglishcreations for snapshots of works-in-progress, finished pieces and plenty of colorful yarn inspiration.
Alison is a passionate crochet enthusiast and dedicated business blogger. She combines her love for crafting and entrepreneurship to inspire and connect with others.
With a knack for transforming yarn into beautiful creations and a flair for sharing valuable insights about running a successful crochet business, Alison embodies the perfect blend of creativity and practicality.
Read more about Alison’s crochet journey.
If you enjoyed this post and crochet is your thing, you may like some other crochet articles from our blog.
The page you requested could not be found. Try refining your search, or use the navigation above to locate the post.
Inspiration Looking at the wonderful old cable patterns with deep texture inspired me to make this collection of three cozy cable headbands for you. These headbands can be used as ear warmers as well. I live in Vancouver, Canada where the winters can be rainy...
The page you requested could not be found. Try refining your search, or use the navigation above to locate the post.
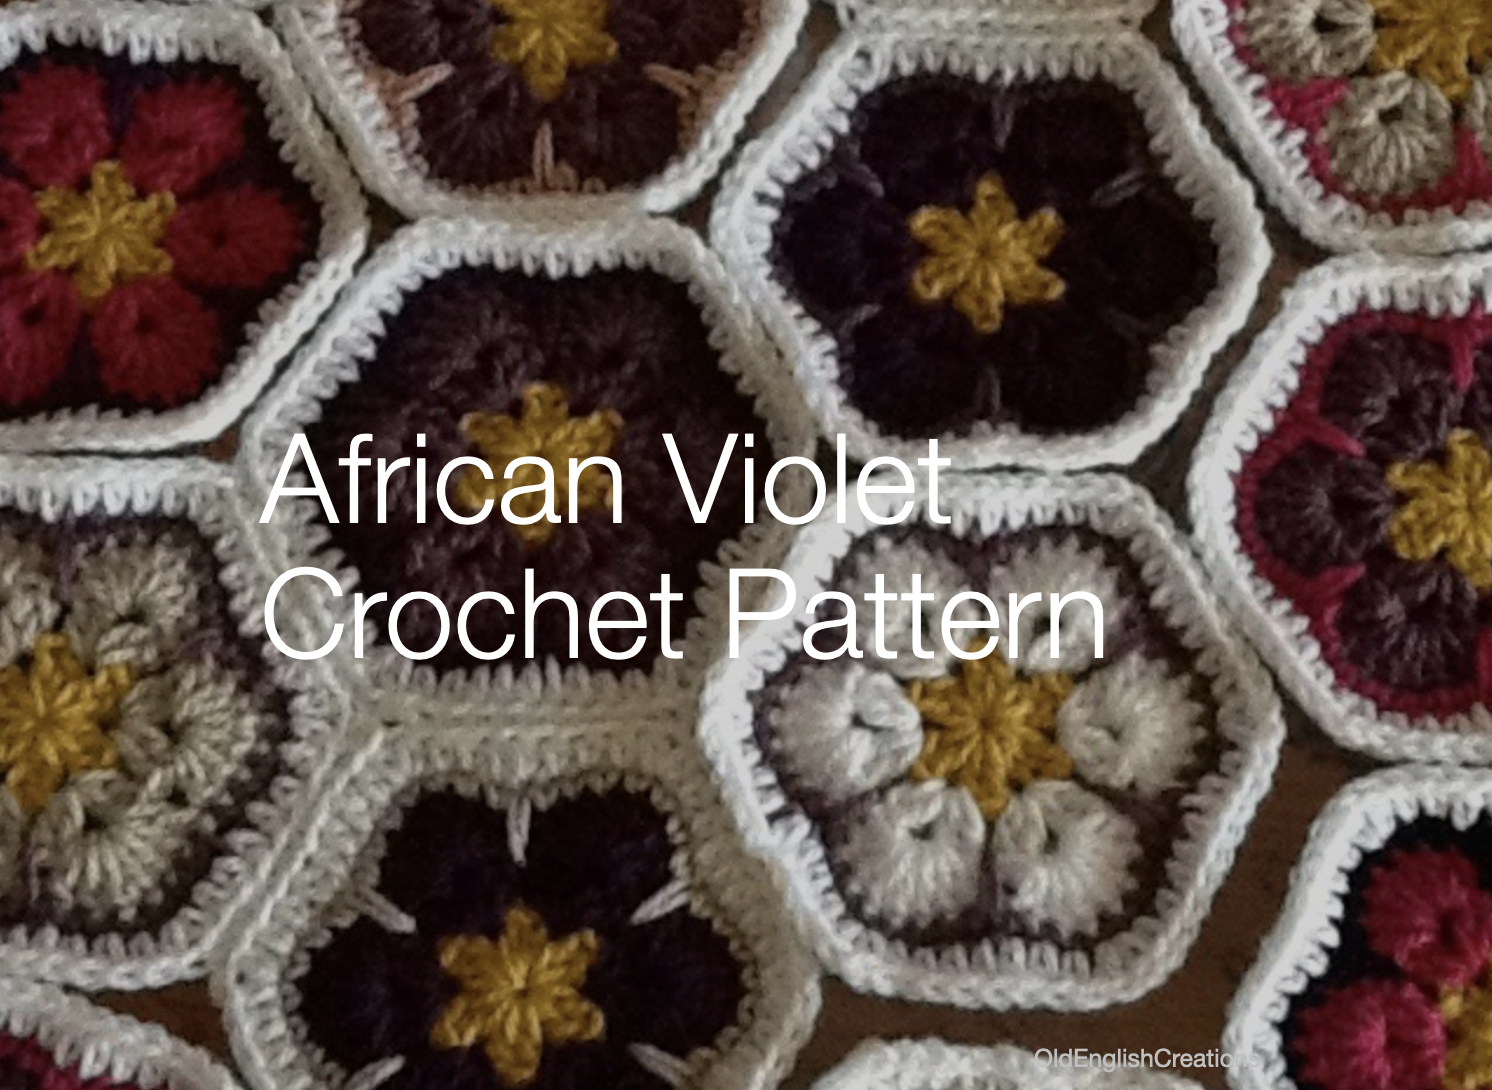
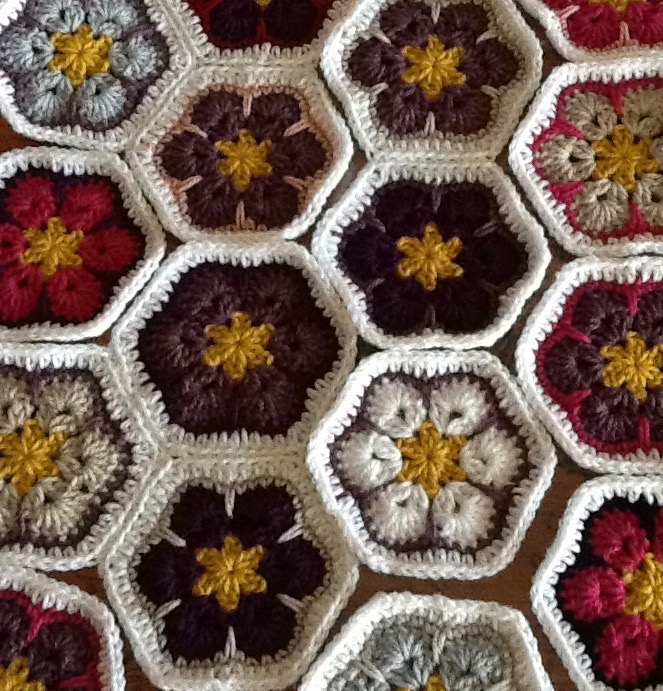
The African Violet is a delightful indoor plant that blooms in a variety of violet and purple shades.
The petals can be deep purple through to pale pink and white as well.
The edges of the petals are different colours and add interest to the shape.
The flowers are surrounded by dark green almost circular leaves. Each bloom has a small yellow center.
The basic structure of yellow, violet and green leaves is an excellent shape that lends itself to crochet.
African violets like to be in bright spots but not direct sunlight.
Place them anywhere and even in the bathroom near a window.
When the flowers die off pinch them out as others will grow in their place.
They are forgiving little plants and will bloom several times a year.
This dainty little plant can be easily grown from a leaf cutting just thrust into fresh soil and the new leaves will shoot up from the cut base of the original leaf.
The trick to watering an African violet is to use tepid water and never cold water.
Never drip water onto the leaves, but instead carefully pour water onto the soil in the pot.
Water once a week with about a half a cup of water.
If the leaves get dusty you can brush them lightly with a dry paintbrush or a pastry brush.
Shapes can be powerful symbols in themselves.
Many motifs in crochet are square and this one is a hexagon. Six sided shapes are found in nature where bees make honey.
The balance of six side makes the shape of a hexagon itself somewhat satisfying to see and agreeable to work with.
Use this basic six sided motif to create many items.
It can be used for a simple coaster or combined with others to make larger projects like scarves, shawls or blankets.
With the African violet flower hexagon motif I have made a small blanket to lay at the bottom of my bed.
When I have a lie down in the afternoon (to read you know) I can slip my feet underneath the light blanket to keep my toes warm in case I nod off.
You will need yarn in yellow, white and complimentary shades of violet, pinks and purples.
You may use as few as two violet colours (one main and one complimentary) or as many colours as you like in a random fashion.
Use one color for the edging and in this case I have chosen white.
Note: My bedroom is mainly light and neutral and this is why I chose white as the edging for this blanket. You can select a colour that will compliment your bedroom colour scheme and use that as the edging colour on the last round.
There are four basic crochet stitches used in the African violet flower motif and one special stitch, the spike stitch.
Please note, we use the US crochet stitch terminology and not UK on all patterns on this site.
Spike stitch (sp st) insert your hook into the gap in the row below the current row and pull up a loop loosely (two loops on hook), yarn over pull through both loops.
Center chain ring: With yellow. Ch 5, join with a sl st to form ring.
Round 1: Ch 2 (as 1st dc), dc, ch 1, *dc 2 ch 1*, repeat from * to * [4] times, sl st to join at top of 1st st. Cut yarn.
Round 2: Join violet with sl st into space. Ch 2 (as 1st dc), ch 1, dc 2, * dc 2, ch1, dc 2 * repeat [4] times. Join with sl st.
Round 3: Sl st into next 2 sts (to be in space), Ch 2 (as 1st dc), dc 6 into space, * in next space dc 7 *, repeat from * to * [4] times, join with sl st. Fasten off.
Round 4: Join contrast colour. Sl st to join into the 1st st on the left of a petal. Sc6 until you get to the gap between two petals. * Sp st, sc 7 * repeat from * to * [4] times. Join with sl st. Fasten off.
Round 5: Join white. Hdc1 in every stitch until you get to the middle st of the 7 sts in the petal, in this middle st (hdc 1, ch 1, hdc 1). Continue until end making all 6 points at the top of the petals. Join with sl st. Fasten off.
Sew in all ends by weaving up the edge of the motif.
Layout the motifs is an appealing way if you have use random colours. Take your time with the colour placement.
Pick up two motifs and with right sides facing sew them together.
Sew with white and a tapestry sewing needle through the outer loops only of the top row of stitches. Double stitch at the corners to keep them sharp.
This method leaves an attractive edge to each motif when laid flat.
Do not sew through both loops.
Note: Joining the hexagons by sewing them results in a firmer, smoother and less bulky seam than crocheting them together does.
Sewing may seam seem to take longer but it makes for a far superior finish.
Sewn crochet blankets will last better in the wash and after ten years they will still be joined.
I still own an acrylic crocheted blanket that I made in 1990. I use it every day and wash twice a month and the seams are only now starting to fray.
Alison Heathcote, a passionate crochet enthusiast and dedicated business blogger, combines her love for crafting and entrepreneurship to inspire and connect with others.
With a knack for transforming yarn into beautiful creations and a flair for sharing valuable insights about running a successful crochet business, Alison embodies the perfect blend of creativity and practicality.
If you enjoyed this post and crochet is your thing, you may like some other crochet articles from our blog.
Author: Alison - Updated: February 2025 Repetitive Actions and the Comfort They Bring The Power of Repetition It Begins Repetition is a fundamental part of our human experience. From an early age, we find solace in familiar patterns. As children, we beg to hear the...
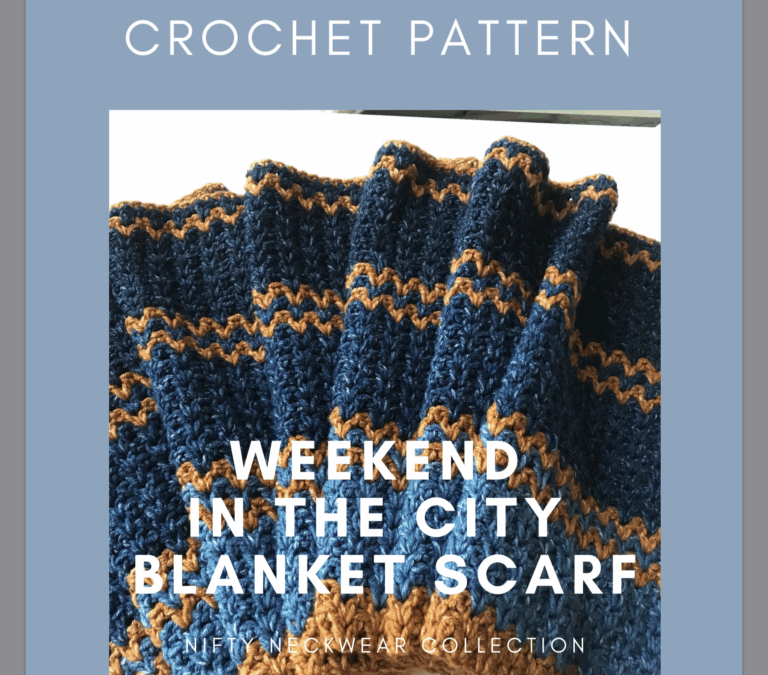
Designed by Alison Stapleton This is a crochet pattern for a beautiful blanket scarf. I wanted to make a soft and cozy blanket scarf for winter. A blanket scarf is the same length as a normal winter scarf, but about twice as wide. It covers your ears and neck...
Discover your crochet niche which is the special segment in the crochet industry that you know well and where you are skilled.
by Alison Stapleton

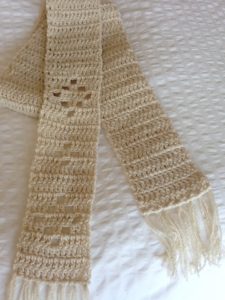
As the seasons change from summer to autumn there is a slight shift in the air.
At this time of the year it is nice to have a light and skinny scarf to wear.
This it the time where for just for the odd day the weather is a bit cooler but it is not yet into full blown cold weather.
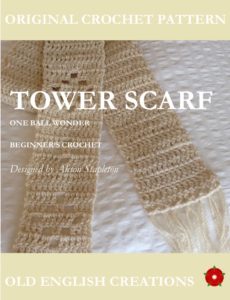
The Tower Scarf is a transitional piece and will work in every wardrobe.
The neutral off-white but buttery shade is a popular colour and works with all complexions.
The Tower Scarf is stylish and comfortable to wear.
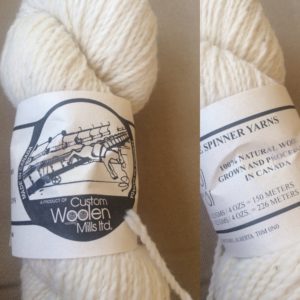
Dress up your cooler weather jackets and tops with this quick and easy beginner’s scarf that only uses one ball of yarn.
The Tower is the Blackpool Tower a famous landmark.
This is a one ball wonder which means you can make it with just one ball of yarn.
It is also a make in a day neckwear accessory which is what it says, you can make this in one day.
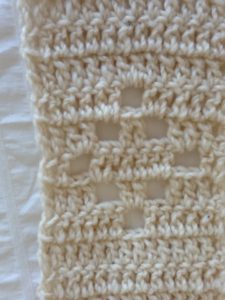
There is a delicate filet crochet pattern at one end which can be either ignored if you are a beginner or you could even add it to both ends of the scarf. The filet makes it an interesting asymmetrical scarf.

This garment is at the beginners crochet skill level as there are only two stitches the chain (ch) and the double crochet (dc). Although you can learn the filet piece as well.
This pattern is written in US crochet terminology.

14 stitches and 6 rows to 4” (10cm) square.

Tower Scarf filet detail
Width 4” (10cm).
Length 67” (170cm) excluding fringe.

Pattern only $2.50 US
We have a growing range of beginner, intermediate and advanced crochet patterns for you to buy.
To get a taste of the quality of our crochet patterns download a free pattern and see.
If you loved using this original designed pattern, help us grow and please promote, like and share with photos of your finished garment.
You can use the hash tag #OECpattern.
We would love to see your completed creations.
You may sell the finished items you created from this pattern and in fact we would love you to do so.
This original pattern may not be reproduced by photocopy, posted on the web or sold without written permission from Old English Creations.
Please respect the craft of the artist.

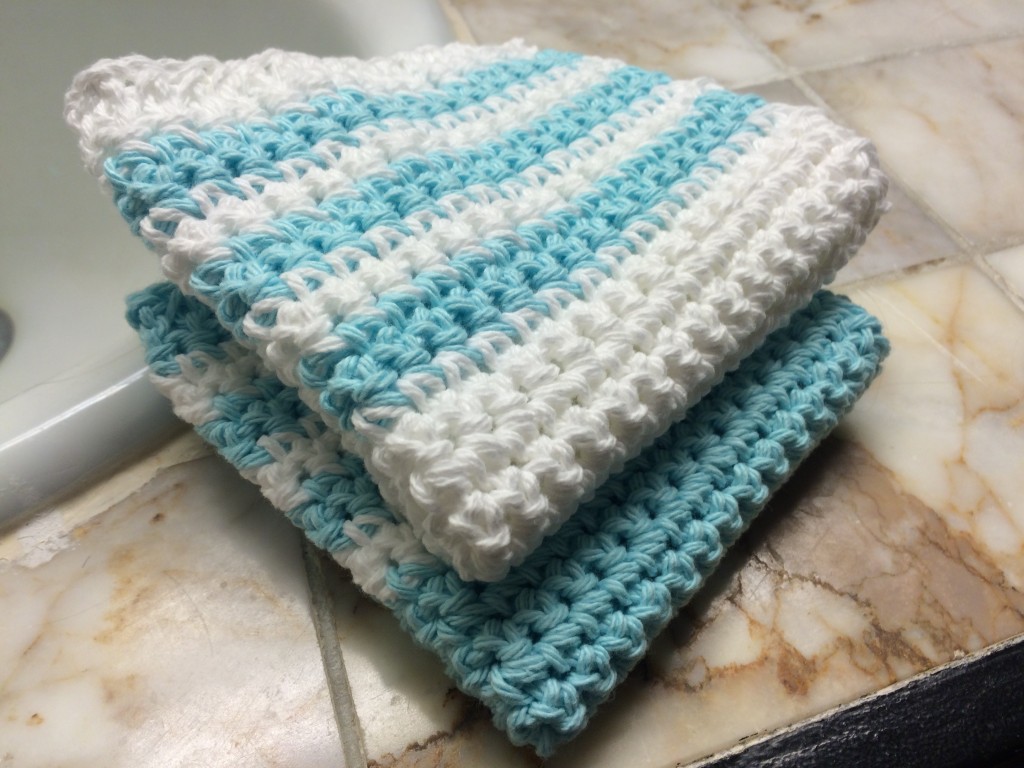
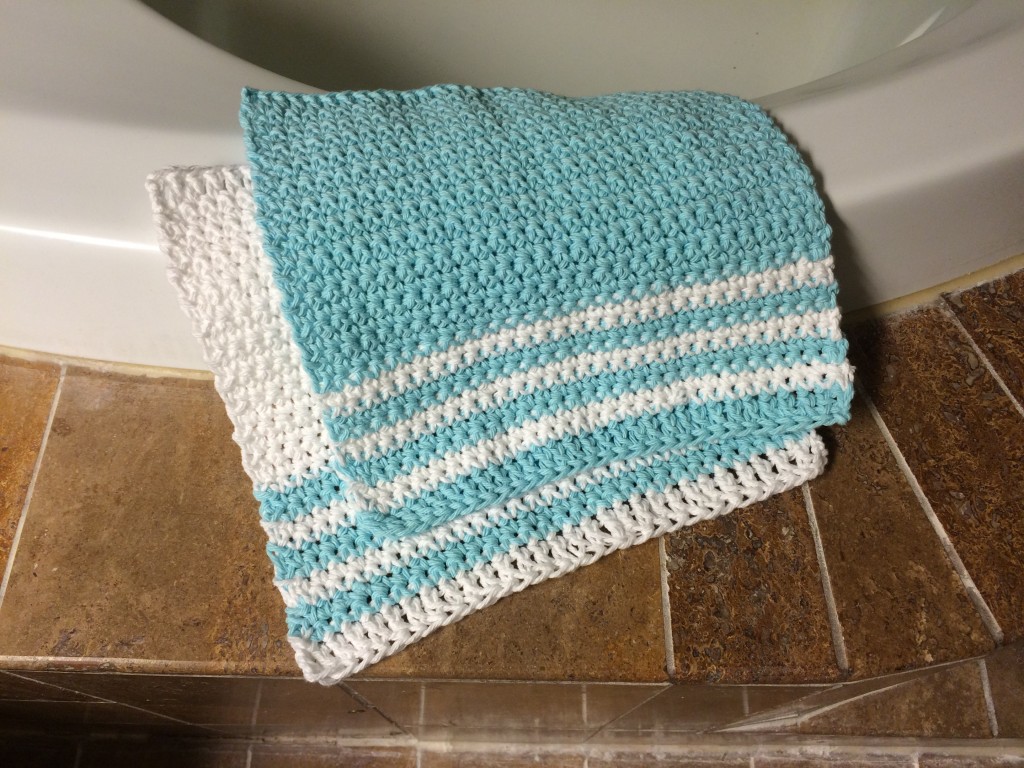
A wash cloth (or flannel as we used to call them) is a soft cotton cloth for use in the bathroom.
Each person in your household should have their own cloth and you can make them in co-ordinating colours to suit your bathroom decor.
Because we have four children I made a different colour for each child. Our eldest daughter had blue and white, our son brown and white (tip here; brown is a good colour for little boys), second daughter pink and white and the youngest daughter has purple/magenta and white.
Cotton wash cloths can be well – washed in the machine and come back fresh each time.

This pattern is at the beginner’s level.


Pattern only $2
If you love using our original designed pattern, help us grow and please promote, like and share with photos of your finished garment, using the hash tag #OECpattern.
We would love to see your completed creations.
All our patterns are Old English Creations original designs created by our talented designers Alison and Lynn.
Each one is technically correct and uses US crochet terminology and not UK crochet terminology.
Our patterns are sold as a PDF downloads. This means you get a file sent to your computer and not an actual paper pattern. You have to print it yourself.
We have a few free pattern available and when you get them you can see the quality of our patterns.
You can print them on paper and you can read them on your iPad or phone.
Our original patterns may not be reproduced by photocopy, posted on the web or sold without written permission from Old English Creations.
However, you may sell the finished item you created from this pattern.
Please respect the craft of the designers.

This cowl is worked from a first row base then the work is twisted to form the Mobius. You continue in the round as it takes you over all the edges you work away from the center first row. Once you get going you can see the twist unfolding.
A Mobius strip is a two-dimensional surface with only one side as this pattern which has only one crocheting edge. Named after August Ferdinand Möbius 1790 – 1868.
This cowl uses the puff stitch.
This pattern is at the intermediate level.
You need to know the following stitches:

[purchase_link id=”2163″ text=”Purchase” style=”button” color=”blue”]
If you love using our original designed pattern, help us grow and please promote, like and share with photos of your finished garment, using the hash tag #OECpattern.
We would love to see your completed creations.
All our patterns are Old English Creations original designs created by our talented designers Alison and Lynn.
Each one is technically correct and uses US crochet terminology and not UK crochet terminology.
Our patterns are sold as a PDF downloads. This means you get a file sent to your computer and not an actual paper pattern. You have to print it yourself.
We have a few free pattern available and when you get them you can see the quality of our patterns.
You can print them on paper and you can read them on your iPad or phone.
You can print most of our patterns in Landscape Orientation, double sided and then fold. This makes it easy to take with you.
Our original patterns may not be reproduced by photocopy, posted on the web or sold without written permission from Old English Creations.
However, you may sell the finished item you created from this pattern.
Please respect the craft of the designers.